
Store-bought closet kits never fit right. You either cut corners on shelf depth or end up with six inches of dead space next to the wall. Custom closets diy projects solve that problem, and you don’t need a cabinet shop to pull one off if you plan the layout before you touch a saw.
This guide walks you through building custom closets that actually match how you store clothes, shoes, and linens, not how a factory assumed you would. You’ll get real measurements, material choices that hold up over time, and an installation order that keeps everything level and square from the first cleat to the last shelf.
We’ll cover designing your layout, picking between melamine, plywood, and solid wood, and the tools you actually need versus the ones sold to you. And since we build custom closet systems every week here on Cape Cod, we’ll flag the mistakes that turn a weekend project into a multi-weekend headache, and when a project’s scope means it’s smarter to call in a carpenter instead.
What you need before building a DIY custom closet
Before you cut a single board, gather the right gear and take honest measurements. Most diy custom closet systems fail not because of bad woodworking, but because someone skipped the tape measure and guessed at shelf depth, and it helps to see how the top closet systems for storage and style handle depth before you commit. Skipping this stage costs you money in return trips to the hardware store and wasted sheet goods.
Tools you actually need
You don’t need a full shop to pull off installing custom closets at home, but a few tools make the difference between a wobbly shelf and one that holds fifteen years of sweaters. Here’s the real list, not the upsell list:
- Circular saw or table saw for breaking down sheet goods
- Track saw or straightedge guide for clean, splinter-free cuts on melamine
- Drill/driver with a countersink bit for pilot holes and screws
- 4-foot level to keep every shelf and rod bracket true
- Stud finder to anchor cleats into framing, not just drywall
- Kreg jig or pocket-hole jig if you want hidden, strong joints without visible screws
- Iron-on edge banding and a household iron for finishing raw melamine edges
Skip the cheap laser levels and specialty closet-brand tools marketed as "required." A good 4-foot level and a stud finder cover 90% of what you’ll do.
Choosing materials for closet organizer systems diy style
Material choice determines whether your closet looks store-bought or custom, and how long it lasts under real weight. Melamine is the most common choice for diy wood closet organizer systems because it’s affordable, comes pre-finished, and cuts cleanly with the right blade. Plywood costs more but takes screws better at the edges and won’t sag under heavy loads like sweaters or stacked bins. Solid wood looks the best but adds cost and requires finishing work most weekend builders skip.
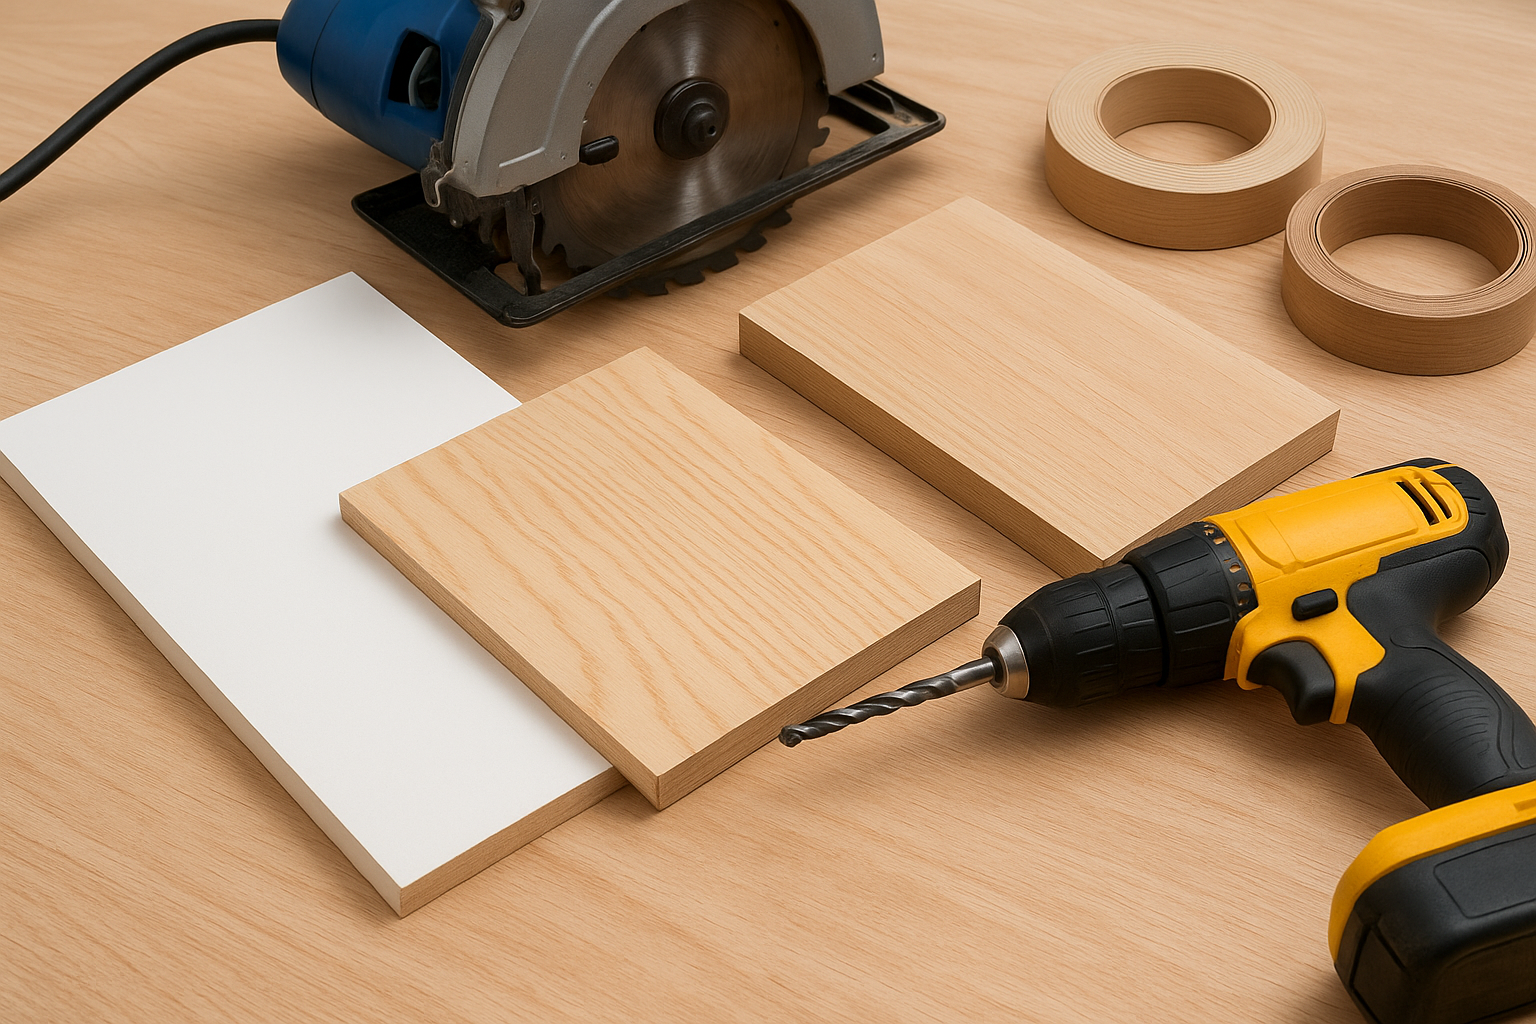
| Material | Cost per sheet | Best for | Downside |
|---|---|---|---|
| Melamine (3/4") | $45-$65 | Shelves, sides, standard closets | Chips if cut with wrong blade |
| Plywood (3/4", birch) | $60-$90 | Heavy-load shelves, hanging rods | Needs edge finishing |
| Solid wood (poplar/oak) | $100+ | Face frames, visible trim | Requires sanding and paint or stain |
A closet system is only as strong as its weakest shelf, so don’t cheap out on the material that carries the most weight.
Measure the space before you buy anything
Start with the actual dimensions of your closet, not a guess. Measure width, height, and depth at three points (top, middle, bottom), since older homes on Cape Cod rarely have perfectly square walls. Note the location of any electrical outlets, HVAC vents, or angled ceilings that will affect your custom closet systems diy layout. Photograph the empty space from multiple angles so you can reference it later when you’re deep in the design phase and can’t remember exactly where that outlet sits.
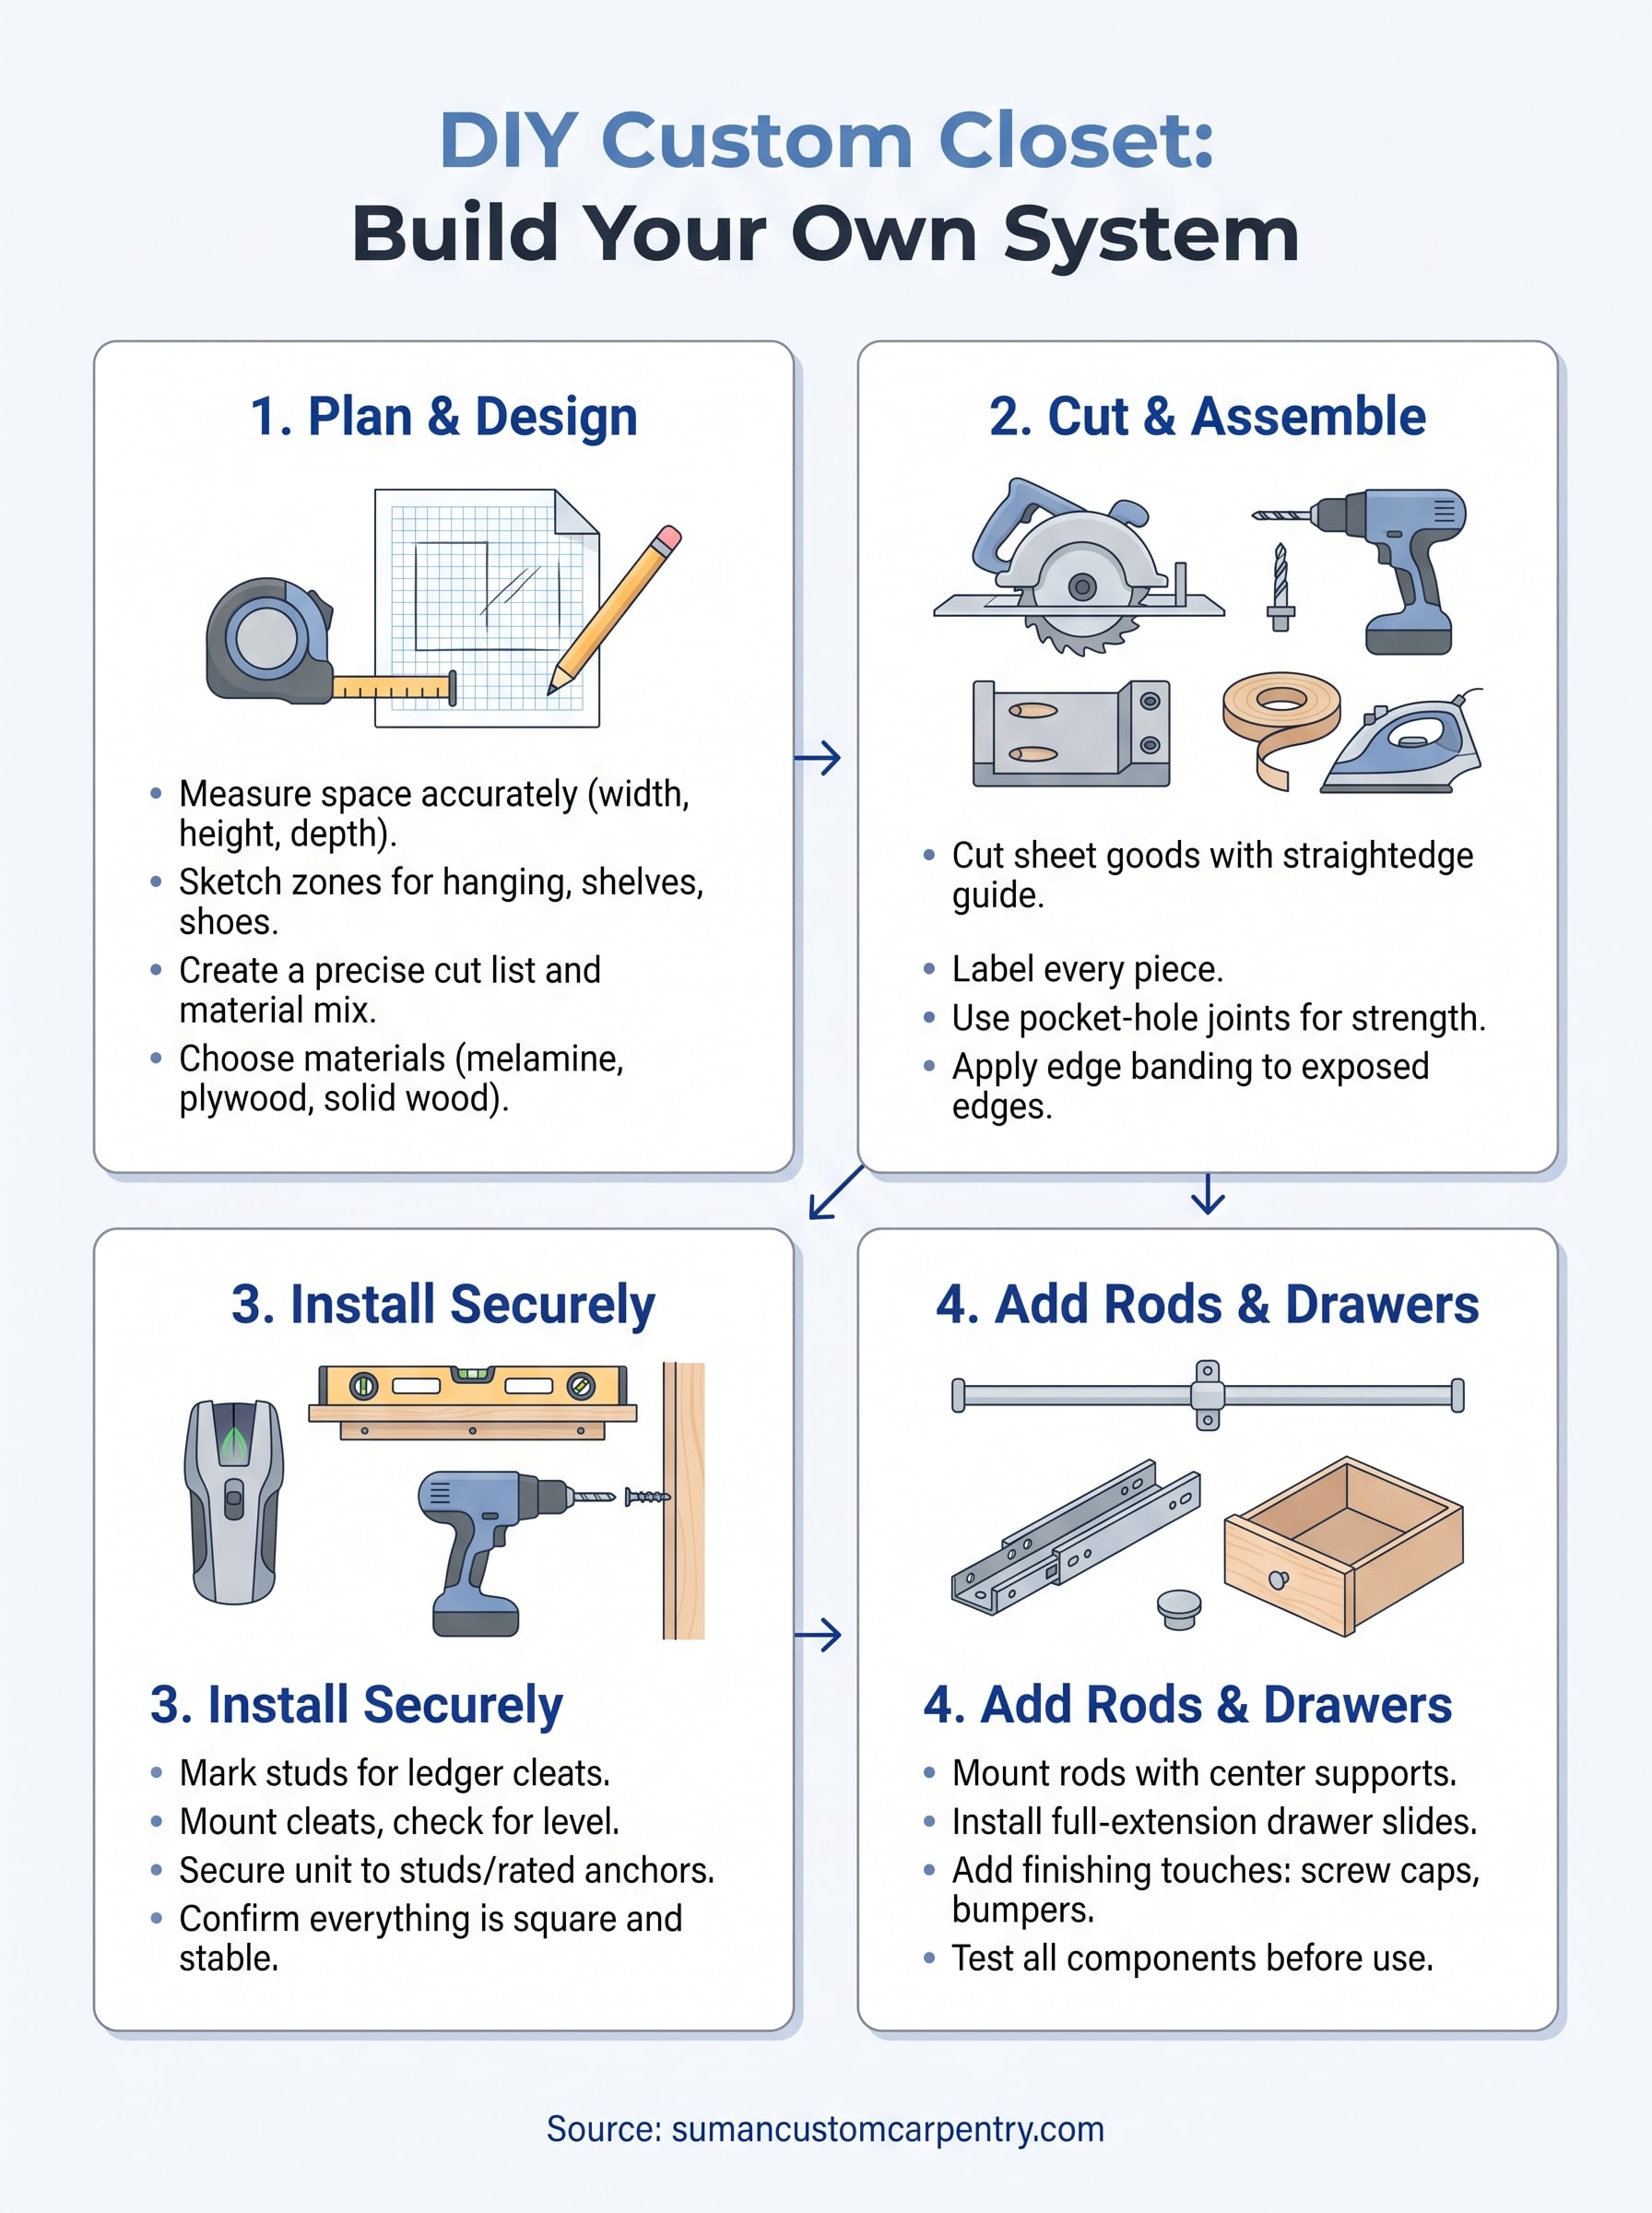
Step 1. Design your closet layout and choose materials
Grab graph paper or a free tool like SketchUp and sketch your closet at scale before you commit to lumber. Divide the space into zones based on what you actually own: hanging clothes, folded stacks, shoes, and accessories all need different depths and spacing, and closet layout ideas for reach-ins and walk-ins can help you decide what goes where. This is the step most people rush when building custom closets, and it’s the one that separates a system that works for years from one you’re redoing next spring.
Sketch your zones before you own lumber
Start with your double-hang section, since shirts and pants need roughly 40 inches of vertical clearance per rod. Long dresses and coats need a single rod with 60 to 68 inches below it. Shelving above rods should sit at least 12 inches deep, while shoe shelves work best at 6 to 8 inches with a slight forward tilt. Sketch these zones directly onto your measured closet outline from the last step so nothing overlaps a vent or outlet, and if you’re working in a walk-in, borrow from these storage-maximizing walk-in layouts.
Design the zones around your clothes first, and the lumber list writes itself.
Lock in your cut list and material mix
Once your layout is set, generate a cut list: every shelf, side panel, and cleat with exact dimensions. This is where custom diy closet systems either stay on budget or balloon into a second trip to the lumberyard. Mixing materials often makes sense here. Use plywood for hanging-rod shelves that carry real weight, and melamine for the lighter folded-stack sections where cost matters more than load capacity.
Write your cut list on paper or in a spreadsheet before cutting, and double-check every measurement against your actual closet, not the plan on screen. Round down slightly on width, about 1/8 inch per side, to account for drywall that isn’t perfectly flat. Skipping this check is the single most common reason how to build custom closets projects end up with gaps you have to shim or trim on install day.
Step 2. Cut and assemble the shelving unit
With your cut list finalized, move to the garage or driveway and start breaking down sheet goods. Cutting accurately here saves you from chasing crooked joints later, and it’s where building custom closets either comes together cleanly or turns into a frustrating fitting exercise.
Cut sheet goods with precision
Support full sheets on foam insulation board or sawhorses so they don’t flex mid-cut, which causes chipping on melamine edges. Run your circular saw against a straightedge guide for every cut, and always cut with the finished face up if you’re using a standard blade, or face down with a track saw. Label each piece with painter’s tape as you cut, marking which shelf and which closet zone it belongs to. This single habit prevents the mixed-up parts pile that turns a two-hour cutting session into a half-day puzzle.
Measure once, cut once, but label every piece twice.
Assemble with pocket screws or cleats
Once your panels are cut, dry-fit the whole shelving unit before driving a single screw. This catches sizing errors while you can still correct them on the saw. For do it yourself custom closets, pocket-hole joints give you strong, hidden connections between shelves and sides, the same joinery covered in our step-by-step cabinet box build:
- Drill pocket holes 3/4 inch from the shelf edge, spaced every 6 to 8 inches
- Apply wood glue along the joint for melamine or plywood
- Clamp panels square before driving screws
- Check every joint with your 4-foot level as you go
Apply iron-on edge banding to any exposed edges now, while the unit is still flat and easy to work with. Trimming banding after installation, when you’re working at odd angles inside the closet, takes twice as long and rarely looks as clean.
Step 3. Install the system in your closet
Getting your assembled unit into the closet and level is where most installing custom closets projects either succeed or start leaning within a year. The goal here is simple: every cleat and bracket needs to hit a stud, and every shelf needs to sit dead level before you load it with clothes, the same rules that govern installing built-in shelving yourself.
Mark and mount your ledger cleats first
Before you set a single shelf, find your studs and mark them clearly with painter’s tape across the back wall. Snap a level line at your planned shelf heights using a 4-foot level, checking it in three spots since closet walls rarely run true from corner to corner. Screw ledger cleats directly into studs wherever possible, and use heavy-duty drywall anchors rated for at least 50 pounds anywhere a stud doesn’t line up.
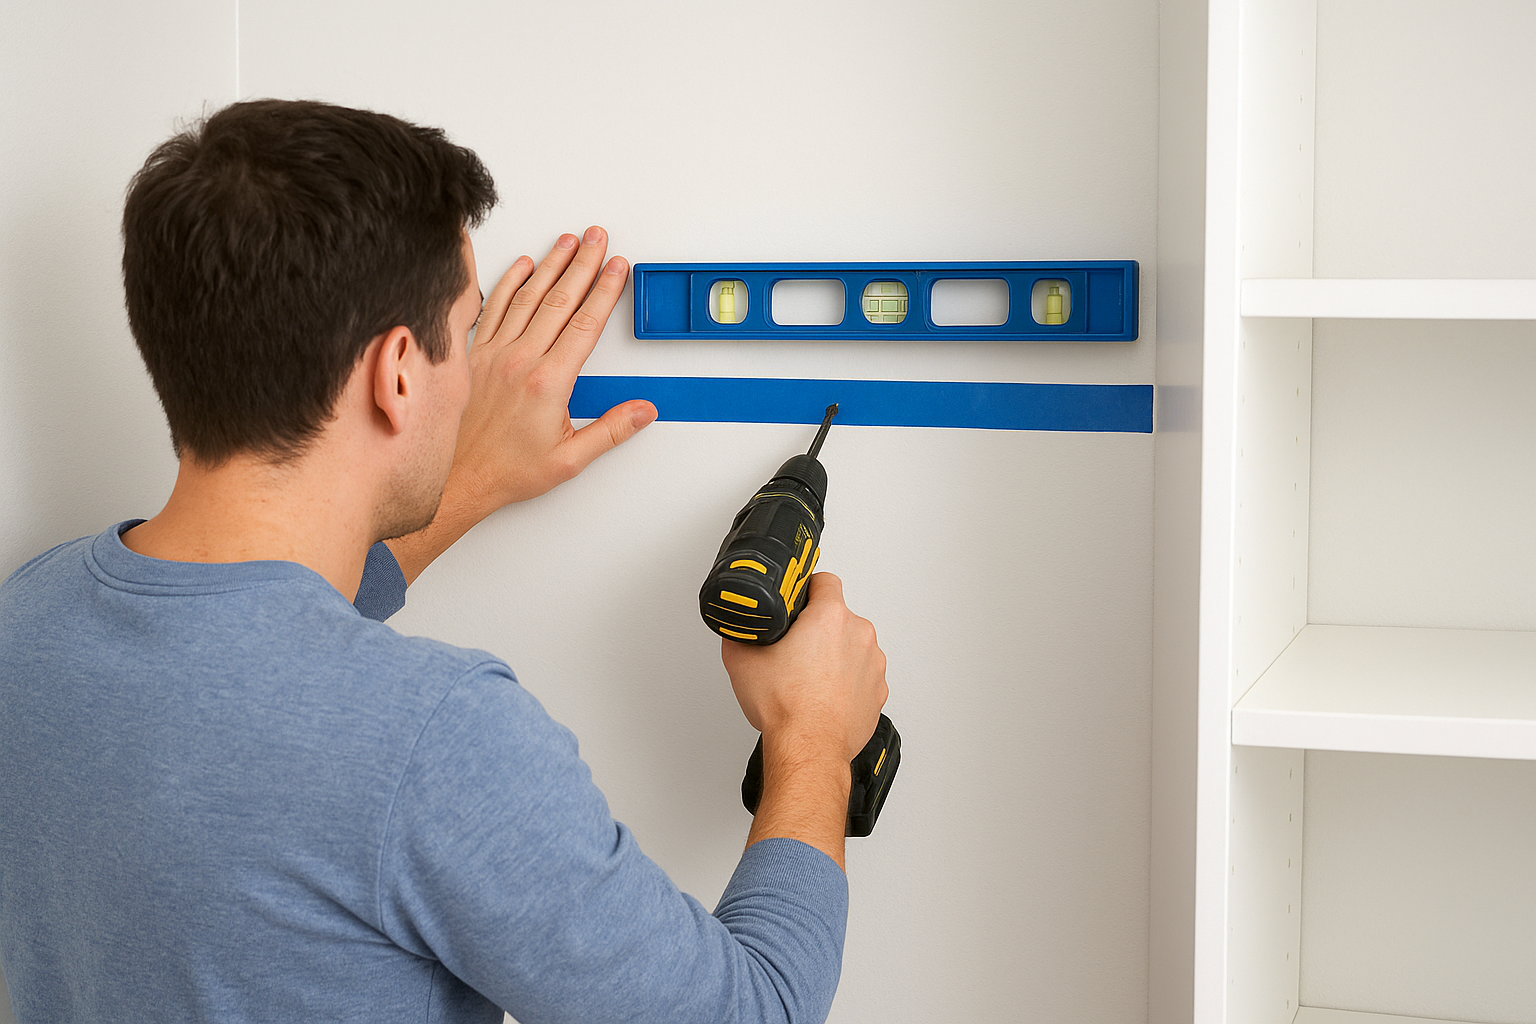
A shelf is only as strong as the stud behind it, not the screw in front of it.
Set the unit and check for square
Lift your assembled shelving unit into place and rest it on the cleats before driving any permanent fasteners. Check the front face with your level, both vertically and horizontally, and shim the base with thin wood shims if the floor slopes, which it often does in older Cape Cod homes. Screw the unit to the side wall studs through the side panels, using at least two screws per stud location for stability.
Secure everything before you load it
Work through this checklist before you call the install finished:
- Confirm every cleat and bracket lands on a stud or a rated anchor
- Recheck level across the top, middle, and bottom shelves
- Tighten every screw fully, since vibration during install can loosen a few
- Push against the top corners to test for wobble before adding weight
Don’t skip that last step. A closet system that flexes when empty will sag once it’s carrying sweaters, shoes, and stacked bins. Take the extra ten minutes now, because fixing a loose install after the closet rod is loaded means unloading the whole system again.
Step 4. Add rods, drawers, and finishing touches
Once your shelving unit is secured and square, it’s time to add the parts that actually hold your clothes. This stage is where custom closet systems diy builds start feeling like a finished room instead of a construction site, and it goes fast compared to the cutting and mounting work you already finished.
Mount rods and brackets at the right height
Measure down from your shelf to set rod height based on what hangs below it: 40 inches for shirts and folded pants, 68 inches for long dresses and coats. Use closet rod end brackets rated for at least 30 pounds, and screw them directly into your side panels or a mounted cleat, never just into melamine face grain. Center-support the rod with a middle bracket on any span over 32 inches, since an unsupported rod will bow under a full load of winter coats within a season.
A sagging rod is almost always a missing center bracket, not a weak rod.
Install drawers and pull-out baskets
For drawer boxes, mount full-extension drawer slides so the drawer opens completely without tipping, which matters more in a closet than a kitchen since you’re often reaching in at an angle. Check each drawer with your level before final screws, since a slightly tilted slide will cause the drawer to drift open or stick shut. Wire baskets work well for a lower-cost alternative in the shoe or accessory zone, and most rest directly on melamine cleats without hardware.
Finish the details
Run through this list before calling the project done:
- Cap exposed screw heads with matching plastic caps
- Add felt bumpers to drawer fronts to soften closing noise
- Install hooks or a valet rod on any open end panel
- Wipe down all surfaces to remove sawdust before loading clothes
These small touches take an afternoon, but they’re what separate a diy custom closets project from something that just looks half-finished.
Enjoy your new custom closet
You now have a system built around your actual clothes, not a generic template from a big-box kit. That’s the real payoff of custom closets diy work: shelves at the right depth, rods that won’t sag, and drawers that glide instead of stick. Every cut, cleat, and screw reflects a choice you made on purpose, and it shows every time you open the door.
Building it yourself also means you understand exactly how it goes together, which makes future tweaks or repairs simple. But if the layout you want involves angled ceilings, built-in lighting, or a scope bigger than a weekend allows, don’t force it. Some closets need a shop’s tools and hands to get right.
When your project outgrows the driveway and garage, let a Cape Cod crew that hand-builds everything in-house design and install a custom closet built to fit your space instead.