
That awkward alcove next to your fireplace where built-in shelves around a fireplace belong, the sloped ceiling in your attic, the narrow gap beside the stairs. Off-the-shelf furniture never fits those spaces right, and you end up with wasted inches or shelves that wobble against a wall that isn’t quite square. A custom shelving unit solves that problem because it’s built to your exact measurements, not the other way around.
Getting one built comes down to a few clear decisions: whether you build it yourself or hire a woodworker, what materials fit your budget and style, and how you plan to use the space once it’s finished. A custom shelving system can hold books, display collectibles, hide clutter, or double as a room divider, and the right approach depends on your skills, timeline, and how permanent you want the piece to be.
This guide walks through both paths. You’ll see what to expect from custom shelving from a design standpoint, how professionals like our shop approach a custom size shelving units project from measurement to installation, and where DIY makes sense versus when it’s worth calling in a carpenter for custom built shelving units that last for decades.
Why custom shelving beats off-the-shelf units
Walk into any big-box furniture store and you’ll find shelving built for a generic room that doesn’t exist. Those units come in fixed widths, usually 24, 36, or 48 inches, with a handful of height options that rarely match the ceiling height in a Cape Cod cottage or the odd dimensions of a converted attic. A custom shelving unit is designed around your actual walls, your actual ceiling, and the actual items you plan to store, which means no gaps, no overhangs, and no shelf that’s six inches too short for your record collection.
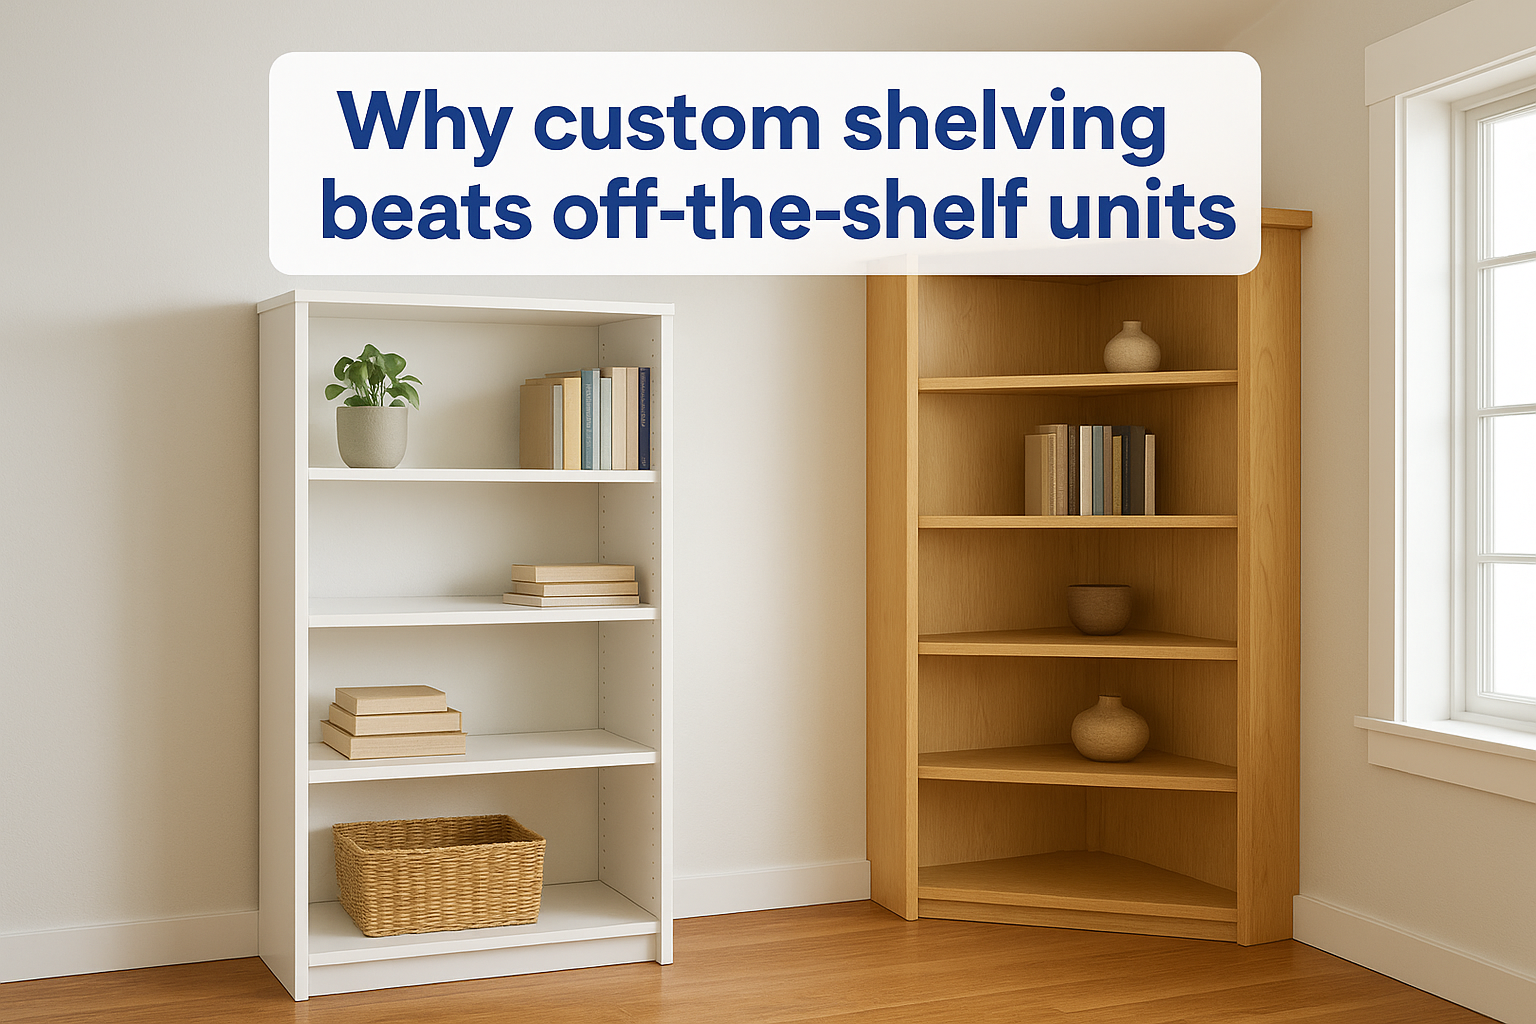
A shelf built to fit your wall will always beat a wall forced to fit a shelf.
The real cost of wasted space
Every inch of unused space in a room is money you already spent on square footage and aren’t getting value from. In a typical 8-foot-wide alcove, a stock unit might leave 6 to 10 inches of dead space on either side because it only comes in standard widths. A custom shelving system fills that alcove edge to edge, turning wasted space into usable storage. Over the life of a home, that’s the difference between a room that feels finished and one that always looks like it’s missing something.
Built for your walls, not the other way around
Older homes on Cape Cod rarely have perfectly square corners or level floors, especially in additions and converted spaces built decades apart from the original structure. Stock furniture assumes flat walls and 90-degree corners, so it wobbles, leans, or leaves visible gaps when your walls don’t cooperate. Carpenters who build custom made shelving units on-site scribe each piece to the actual wall profile, so the unit sits flush no matter how much the wall has settled over the years. That kind of fit isn’t something you can get from a flat-pack kit, regardless of how carefully you assemble it.
Materials and construction that actually last
Most mass-produced shelving is built from particleboard or MDF wrapped in a thin veneer, held together with cam locks and dowels rather than real joinery. It handles light decorative items fine, but it sags under books, sheds its finish over time, and rarely survives a move intact. Custom built shelving units use solid wood or furniture-grade plywood shelving with proper joinery, which means they carry real weight without bowing and can be refinished instead of replaced when styles change.
| Feature | Off-the-shelf shelving | Custom shelving unit |
|---|---|---|
| Fit to space | Standard widths/heights only | Built to exact measurements |
| Material | Particleboard, thin veneer | Solid wood, plywood |
| Weight capacity | Limited, prone to sagging | Engineered for your load |
| Lifespan | 5-10 years average | Decades with care |
| Design flexibility | Fixed configurations | Custom shelf spacing, finishes, features |
A design that matches your home, not a catalog
Beyond fit and durability, a custom size shelving units project lets you match trim profiles, wood species, and finish to the rest of your home instead of settling for whatever a manufacturer decided was popular that season. You choose the shelf spacing based on what you actually own, whether that’s oversized art books, vinyl records, or a collection of ceramics that needs adjustable heights. That level of control is the whole point of going custom in the first place, and it’s why the next step starts with a tape measure, not a shopping cart.
Step 1. Measure your space and define your needs
Grab a tape measure, a notepad, and a level before you look at a single wood sample. Every custom shelving unit starts with accurate numbers, not a rough guess based on eyeballing the wall. Measure width at the top, middle, and bottom of the space, since older Cape Cod homes rarely have walls that run perfectly straight from floor to ceiling. Do the same for height and depth, and note any obstacles like outlets, baseboard heaters, or window trim that might eat into your usable space.
Measure three times, because a shelving unit built off one bad number never fits right.
Record the numbers that actually matter
Write down more than just the overall dimensions. A carpenter building custom made shelving units needs to know about obstructions, wall material, and floor slope before cutting anything.
- Width at top, middle, and bottom of the opening
- Height from floor to ceiling, or to a specific stopping point
- Depth available, factoring in door swing or walkway clearance
- Location of outlets, switches, vents, or radiators
- Floor levelness, checked with a torpedo level
- Wall type: drywall, plaster, or masonry, since it affects how the unit gets secured
Define what the shelving needs to hold
Measurements tell you what will fit, but your belongings tell you how to configure it. List out the actual items going on the shelves, not a general category. Oversized art books need at least 12 inches of depth and wider shelf spacing than paperbacks, which is where book shelving design for any room starts to matter. Vinyl records need vertical dividers or shelves spaced around 14 inches apart to prevent warping. A collection of ceramics or glassware might need adjustable shelf pins so you can change spacing later as the collection grows. This is also where you decide if you want a custom shelving system that’s purely functional or one that mixes open display shelves with closed cabinets for hiding cords, files, or clutter.
Think about how the room will change over time
Finally, think past the immediate need. A nursery bookshelf might need to convert into a teenager’s study shelving in a decade, and a home office unit might need to accommodate a printer or filing drawer you don’t own yet. Building in a little flexibility now, whether that’s adjustable shelves or a slightly deeper cabinet base, saves you from redoing the whole piece later. Once you have real numbers and a clear list of what the space needs to do, you’re ready to decide who actually builds it.
Step 2. Choose your build route: DIY, retail, or pro
Once you know your measurements and what the shelving needs to hold, the next decision is who actually builds it. Three paths exist: build it yourself, order from a configurable retailer, or hire a local carpenter. Each one trades cost against fit, durability, and how much of your own time you’re willing to spend on the project.
The right build route depends on how much your time, skill, and long-term fit are worth to you.
DIY: lowest cost, highest time investment
Building your own shelving works well if you already own basic tools, have a garage or workshop to cut in, and enjoy the process itself. Plywood and pocket screws can get you a functional unit for a few hundred dollars in materials, but expect to spend several weekends measuring, cutting, sanding, and finishing. Mistakes here are expensive too, since a miscut panel means another trip to the lumberyard. DIY makes the most sense for simple, freestanding units in rooms with square walls, not for scribed built-ins that need to match an irregular wall profile, and a built-in shelving DIY guide helps you judge which side of that line your project falls on.
Retail configurators: faster, but still boxed in
Several online retailers let you pick a width, height, and finish from a menu of preset options, which feels custom but still operates inside fixed increments. A custom size shelving units order from one of these companies might get closer to your dimensions than a big-box store, but you’re still choosing from a catalog of modules rather than getting a piece designed around your actual wall. This route suits straightforward rooms with standard ceiling heights and no major obstructions.
Hiring a professional carpenter
For anything with an irregular wall, a sloped ceiling, or a load-bearing requirement like heavy books or a built-in bench, a professional build is the smarter investment despite the higher price tag. Our team at Suman Custom Carpentry builds every custom shelving unit in-house at our Hyannis shop, scribes each piece to your actual walls, and backs the work with a lifetime warranty on the cabinet boxes and doors. That kind of fit and long-term durability isn’t something a configurator or a weekend DIY project can match, especially in older Cape Cod homes where nothing is quite square.
| Route | Cost | Time | Best for |
|---|---|---|---|
| DIY | Lowest | Highest | Simple, square rooms |
| Retail configurator | Mid-range | Low | Standard dimensions, no major obstructions |
| Professional carpenter | Highest | Low, once scheduled | Irregular walls, heavy loads, long-term durability |
Step 3. Set your budget and compare quotes
Before you call anyone, decide on a real number you’re comfortable spending, not just a vague sense of "affordable." A custom shelving unit can run anywhere from a few hundred dollars for a simple DIY build to several thousand for a built-in wall unit with cabinet doors, integrated lighting, and a painted finish. Knowing your ceiling before you start shopping keeps you from falling in love with a design that’s three times what you planned to spend.
What drives the price
Several factors push the cost of a custom shelving system up or down, and understanding them helps you read quotes instead of just comparing bottom-line numbers.
| Factor | Lower cost | Higher cost |
|---|---|---|
| Material | Plywood, paint-grade | Solid hardwood, stained finish |
| Configuration | Open shelves only | Doors, drawers, lighting |
| Wall condition | Square, standard walls | Scribed fit for irregular walls |
| Size | Single small unit | Full wall, floor to ceiling |
| Install | DIY or simple hardware | Professional on-site installation |
A quote that skips materials and install details isn’t a real quote, it’s a guess.
Getting quotes you can actually compare
Gather quotes from at least two or three sources, whether that’s a retail configurator, a general contractor, or a local shop building custom shelving near you, and make sure each one breaks down the same categories. A quote for custom built shelving units should list material grade, finish type, hardware, and whether installation and delivery are included, not just a single lump sum, and it helps to know what custom millwork costs, how long it takes, and what to ask before you compare numbers. Ask each source these questions directly:
- What wood species or panel material is included at this price?
- Is the finish paint, stain, or clear coat, and how many coats?
- Does the quote include installation, or is that billed separately?
- What’s covered under warranty, and for how long?
- Is there a cost difference for adjustable shelves versus fixed?
Requesting itemized answers to those five points turns a vague number into something you can actually weigh against another shop’s offer.
Reading the fine print on warranties
Don’t skip the warranty language when you compare quotes, since it tells you how confident a builder is in their own work. Suman Custom Carpentry backs every project with a lifetime warranty on cabinet boxes and doors and a 3-year warranty on painted finishes, which factors into the price but also protects the investment for decades. A lower quote that skips a warranty entirely often costs more in the long run once something needs repair or replacement.
Step 4. Choose materials, finishes, and features
Once your budget is set, the fun part starts: picking what the shelving actually looks and feels like. A custom shelving unit can go in almost any direction stylistically, but the wood species, finish, and add-on features you choose all affect both price and durability, so it helps to know your options before you sit down with a builder.
Picking a wood species
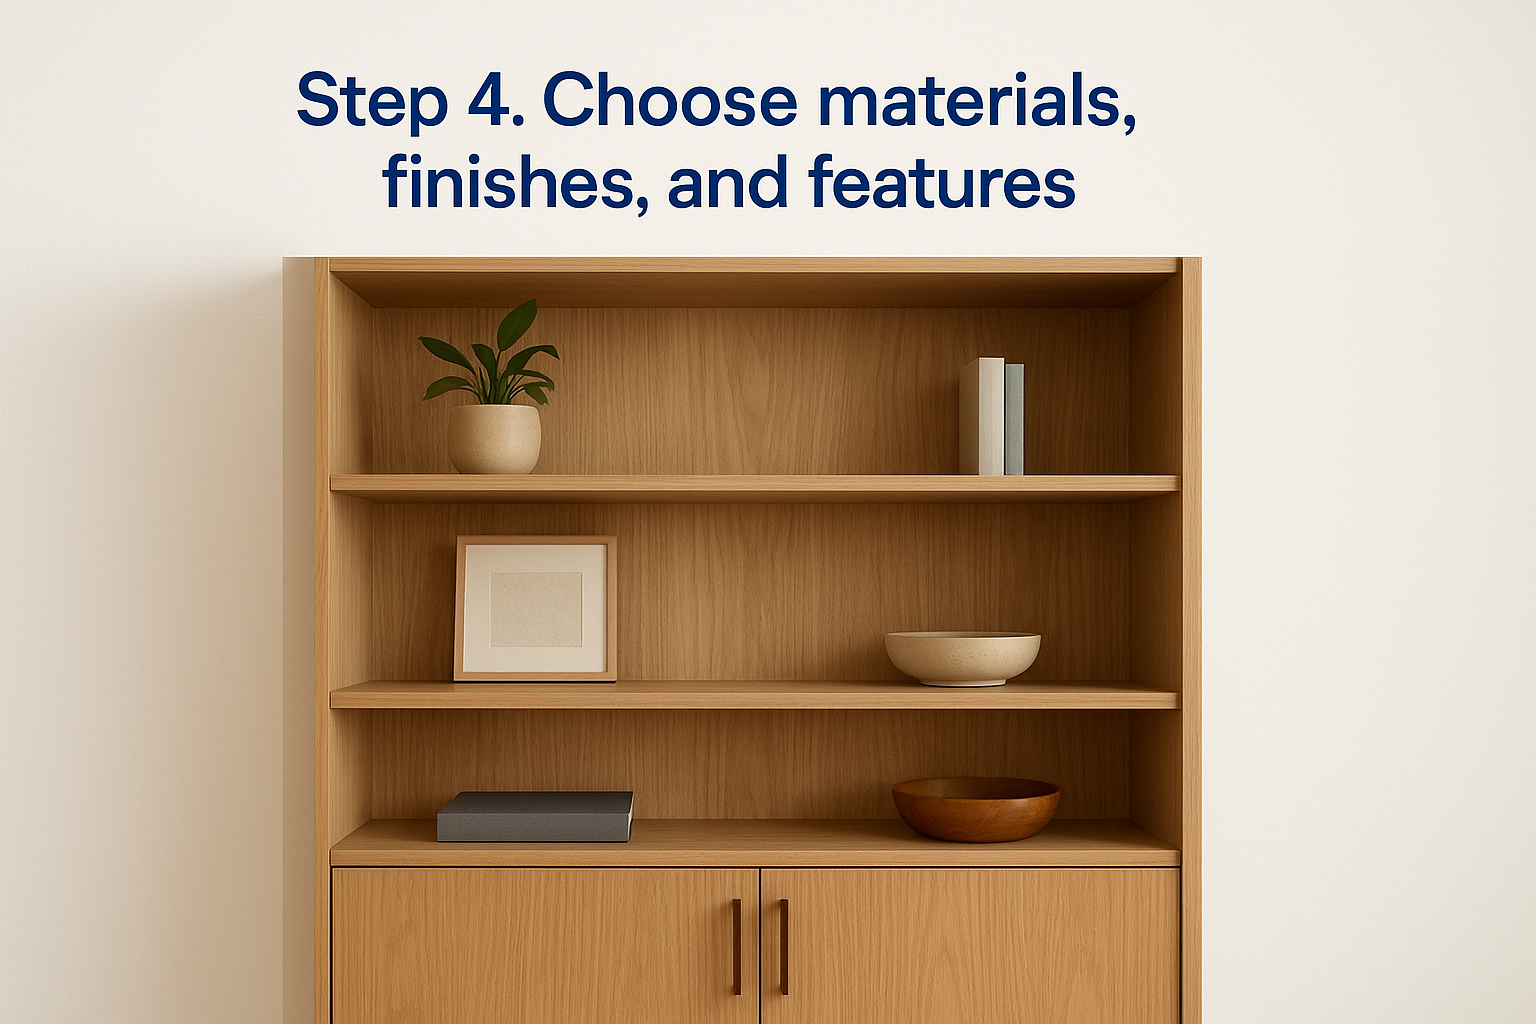
Solid wood and furniture-grade plywood both outperform particleboard, but they come with tradeoffs in cost, weight, and appearance. Maple and birch plywood take paint well and cost less than hardwood, and how to pick the right wood usually comes down to that balance. Oak and walnut show off natural grain but cost more per board foot. Pine is budget-friendly but dents easier under heavy use.
| Material | Cost | Best for |
|---|---|---|
| Painted plywood | Lower | Playrooms, closets, hidden storage |
| Oak | Mid-range | Living rooms, libraries |
| Walnut | Higher | Statement pieces, home offices |
| Pine | Lower | Casual spaces, low-traffic areas |
The material you choose should match how hard the shelving actually gets used, not just how it looks in a showroom.
Choosing a finish that fits your home
Finish affects both looks and maintenance down the road. Paint hides grain and matches trim throughout the house, but it shows scratches more than stain, so it’s worth reviewing the different types of wood finishes side by side. Stain highlights the wood’s natural character and holds up better to daily wear. Clear coat lets the raw material speak for itself, which works well with premium hardwoods like walnut or cherry. Whatever you pick, ask how many coats are applied and whether the finish is food-safe if the shelving is going near a kitchen.
Adding features that make the unit work harder
Beyond the basic shelf, a custom made shelving units project can include features that turn a simple storage piece into something built specifically around your habits:
- Adjustable shelf pins for changing spacing later
- Integrated LED lighting for display shelves
- Cabinet doors or drawers to hide clutter
- Built-in bench seating at the base
- Cord management cutouts for electronics
- Crown molding or trim that matches existing woodwork
Each feature adds cost, so prioritize the ones that solve a real problem in your space rather than adding everything the shop offers. Once materials and features are locked in, it’s time to sit down with a designer and turn those choices into a finished layout.
Step 5. Work with a designer to finalize the layout
With materials and features picked, the next step turns your list of wants into an actual drawing. In a design consultation, a designer or carpenter walks your space, confirms the measurements you took earlier, and sketches how a custom shelving unit will sit against your specific walls. This is where rough ideas become real dimensions, shelf spacing gets finalized, and you catch problems on paper instead of after the wood is cut.
A drawing you approve before cutting starts saves you from a piece you regret after installation.
What a good design meeting covers
Expect the designer to bring more than a sketchpad. A solid design meeting for a custom shelving system should walk through the same checklist every time, so nothing gets missed before production starts.
- Confirm final measurements against your original notes
- Review shelf spacing against your actual items, not general guesses
- Finalize wood species, finish, and hardware selections
- Discuss electrical needs if lighting or outlets are part of the design
- Set a clear timeline for build and installation
Going through each point out loud, rather than skimming a written proposal, catches mismatches early, like a shelf spaced too tight for a photo album or a cabinet door that swings into a doorway.
Reviewing drawings before anything gets cut
Ask for a scaled drawing or 3D rendering before any wood gets touched, not just a verbal description of the plan. Suman Custom Carpentry provides drawings during design consultations so you can see exactly how a custom size shelving units project will look against your wall, including shelf heights and door placement, before a single board is cut. Reviewing a drawing lets you catch issues that are hard to picture from a written estimate alone, like a shelf landing right at eye level where you’d rather have open display space, or a support column blocking part of the intended layout.
Locking in the final plan
Once you’ve reviewed the drawing and confirmed every measurement, sign off on the final version before production begins. Changes made after the build starts almost always cost more and push back your timeline, since materials often get pre-cut to the approved dimensions. Treat this sign-off like the last chance to catch a mistake for free, because it usually is. With a finalized layout in hand, you’re ready to move from planning into an actual build and installation schedule.
Step 6. Schedule the build and installation
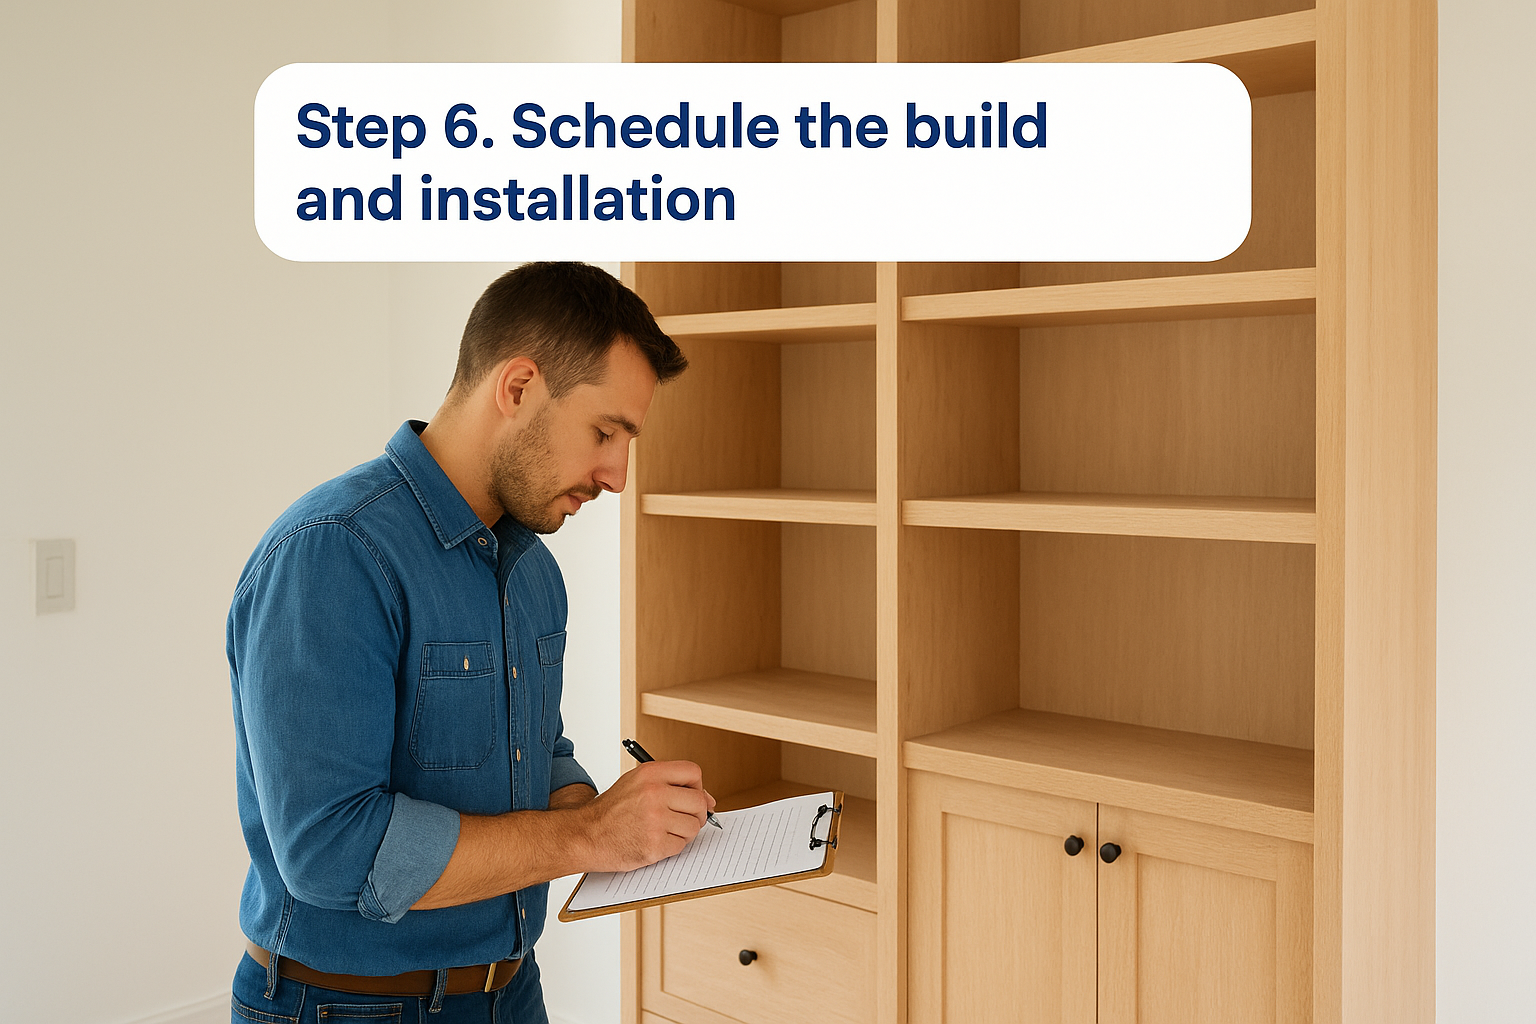
With drawings approved and materials chosen, the timeline becomes the next thing to nail down. A custom shelving unit doesn’t happen overnight, and setting realistic expectations now keeps you from calling every week wondering where things stand. Ask your builder for a start date, an estimated build length, and an installation window before you sign off on anything, the same way any interior carpentry project should have a clear beginning and end.
What a realistic timeline looks like
Build times vary depending on complexity, material availability, and how many other projects a shop has queued up. A simple open-shelf unit in paint-grade plywood might take one to two weeks in the shop. A custom built shelving units project with cabinet doors, integrated lighting, and a stained hardwood finish can run four to six weeks before it ever reaches your house. Suman Custom Carpentry typically builds full kitchen projects in 40 to 60 days, and standalone shelving units usually fall on the shorter end of that range since there’s less involved than a full kitchen build.
A realistic timeline set upfront beats a surprise delay halfway through the project.
Preparing your space before installers arrive
Before the crew shows up, clear the area completely, including furniture, rugs, and anything hanging on nearby walls. Confirm parking access if you’re in a tight neighborhood or downtown area, since installers often need to bring in full sheets of material or pre-assembled sections. If electrical work is part of the design, like integrated lighting, make sure that’s scheduled with an electrician ahead of time rather than as an afterthought once carpenters are already on-site.
What to expect on installation day
Installation for a custom shelving system typically takes anywhere from a few hours to a full day, depending on size and whether scribing to an irregular wall is involved. Here’s a rough rundown of what happens:
- Installers confirm the space matches the approved drawing
- The unit or its sections get carried in and positioned
- Pieces get scribed and shimmed to fit the actual wall profile
- Doors, drawers, and hardware get adjusted for smooth operation
- A final walkthrough covers any touch-ups needed
Ask about touch-up policies before installation day, since minor scuffs from moving materials into the house are common and a good shop handles them before calling the job finished. Once everything’s installed and adjusted, the last piece of the puzzle is keeping it looking that way for years to come.
Step 7. Maintain your new shelving for years
A custom shelving unit built with solid materials and real joinery doesn’t need much upkeep, but a little routine care keeps it looking new for decades instead of years. Most maintenance takes minutes, and skipping it is usually what leads to a finish wearing thin or a joint loosening long before it should.
A few minutes of care each season is cheaper than refinishing a shelf that was never dusted or checked.
Daily and weekly care
Dust builds up faster on open shelving than most people expect, especially near heat vents or in beach-adjacent homes where salt air settles on every surface. Wipe shelves down with a dry microfiber cloth weekly, and use a slightly damp cloth for painted surfaces that show fingerprints or smudges more easily than stained wood. Avoid spray cleaners with ammonia or bleach on finished wood, since they break down the topcoat faster than plain water and mild soap ever will.
Seasonal checks that prevent bigger problems
Build a quick seasonal habit around your custom made shelving units so small issues get caught before they turn into repairs. Check these four things every few months:
- Hardware: tighten any loose hinges, knobs, or shelf pins
- Humidity gaps: look for small seams opening between panels during dry winter months, common in older Cape Cod homes with forced-air heat
- Finish wear: check high-touch areas like door edges for thinning paint or stain
- Level: confirm the unit still sits flush against the wall, especially in homes that settle seasonally
Catching a loose hinge or a hairline gap early takes five minutes. Ignoring it for a year usually turns into a repair call instead of a quick fix you could’ve handled yourself.
When to call in a professional
Most upkeep is DIY-friendly, but certain issues are worth handing back to whoever built the piece. A custom shelving system with a lifetime warranty on the cabinet boxes and doors, like every project from Suman Custom Carpentry, means structural issues get repaired at no cost rather than something you patch yourself and hope holds. Call a professional for anything involving warping, a door that won’t close flush no matter how much you adjust the hinges, or damage from water or humidity that’s gone beyond the surface. Reaching out early, before a small issue spreads, keeps the repair simple and keeps your warranty coverage intact.
A shelving unit that finally fits
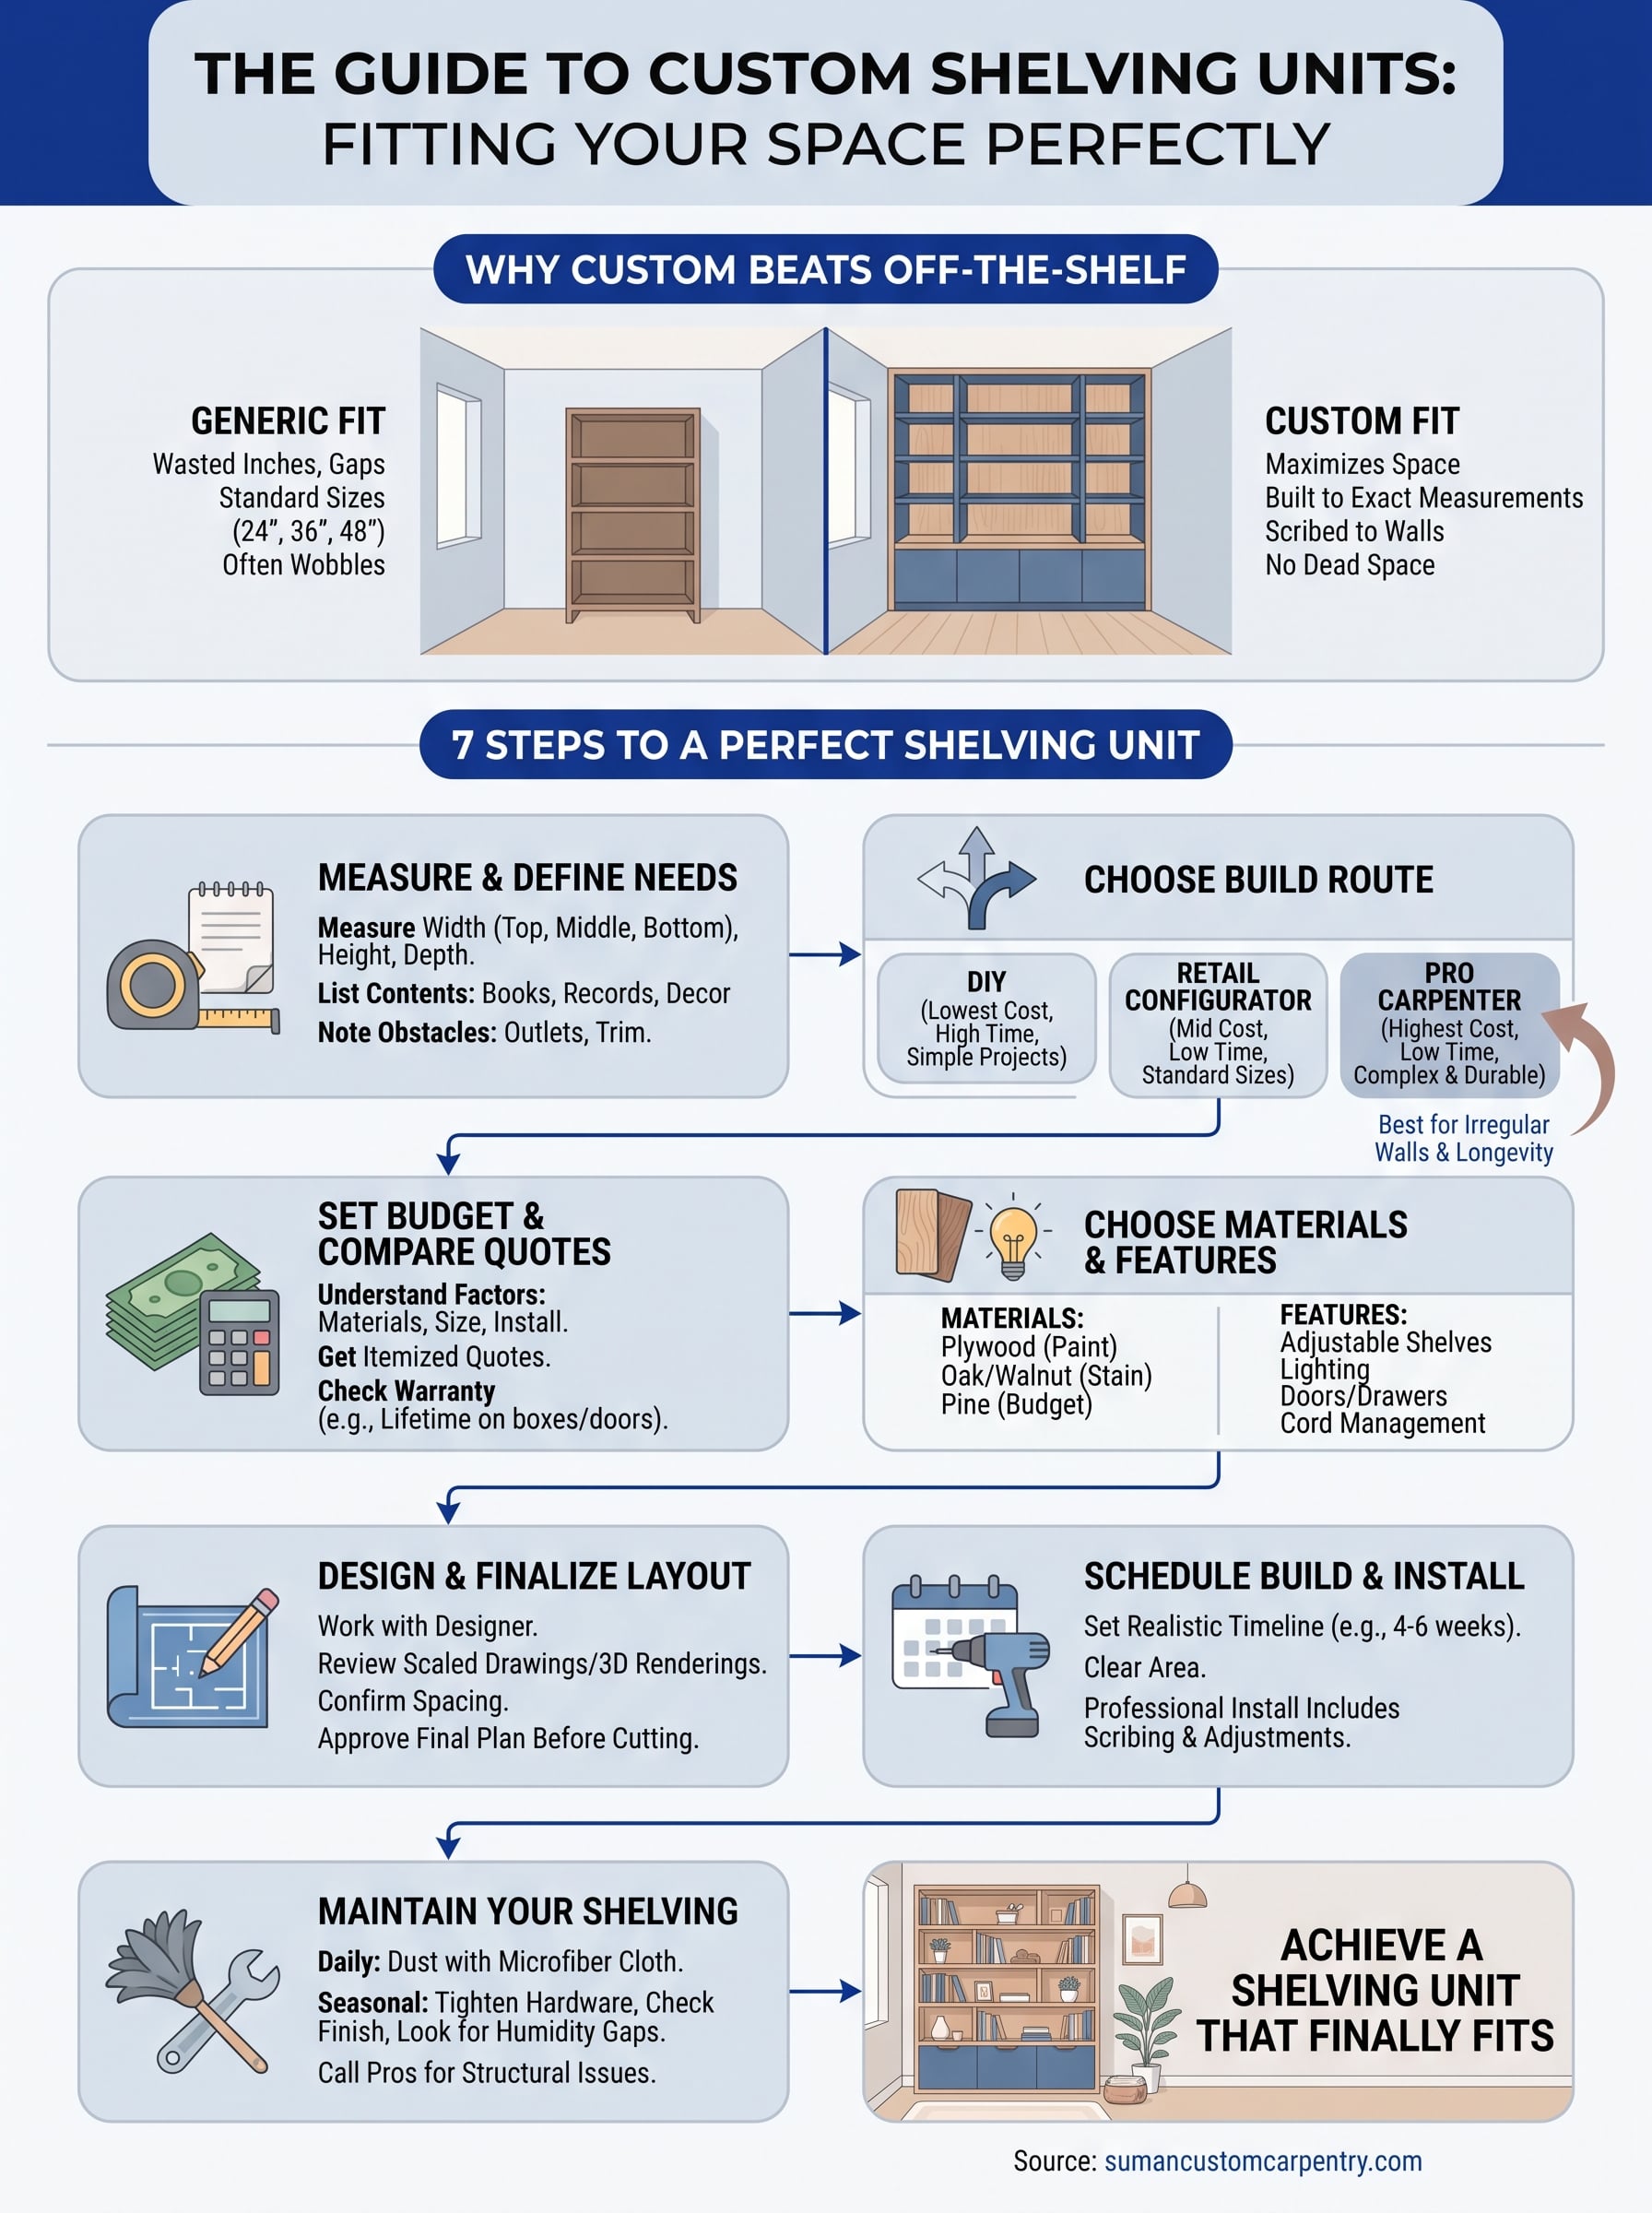
Getting a custom shelving unit built comes down to the same steps every time: measure carefully, pick the right build route, set a real budget, choose materials that match how you live, and finalize a design before anyone cuts wood. Skip any of those steps and you risk ending up with the same wasted space and wobbly fit you were trying to avoid in the first place.
That awkward alcove or sloped attic ceiling doesn’t have to stay awkward. Whether you’re leaning toward a weekend DIY project or ready to hand the whole thing to a professional, the goal is the same: a piece built around your walls instead of the other way around. If you’re on Cape Cod and want that fit without the guesswork, schedule a design consultation with our Hyannis shop and see what a shelving unit built specifically for your space actually looks like.