Bathroom wainscoting does two things at once: it protects your walls from moisture and adds real architectural character to a space that’s often overlooked. But not all wainscoting ideas for bathroom projects are created equal. The wrong material or style can warp, peel, or just look out of place within a year, especially in a humid coastal environment like Cape Cod.
At Suman Custom Carpentry, we design and hand-build custom millwork right here in our Hyannis shop, including bathroom trim and paneling built to handle the moisture that comes with living near the water. We’ve seen firsthand what holds up and what doesn’t, and that experience shapes every recommendation below.
This article covers five wainscoting styles worth considering for your next bathroom project, from classic raised panel to sleek modern board and batten, along with practical guidance on materials that last in wet spaces.
1. Custom shop-built wainscoting
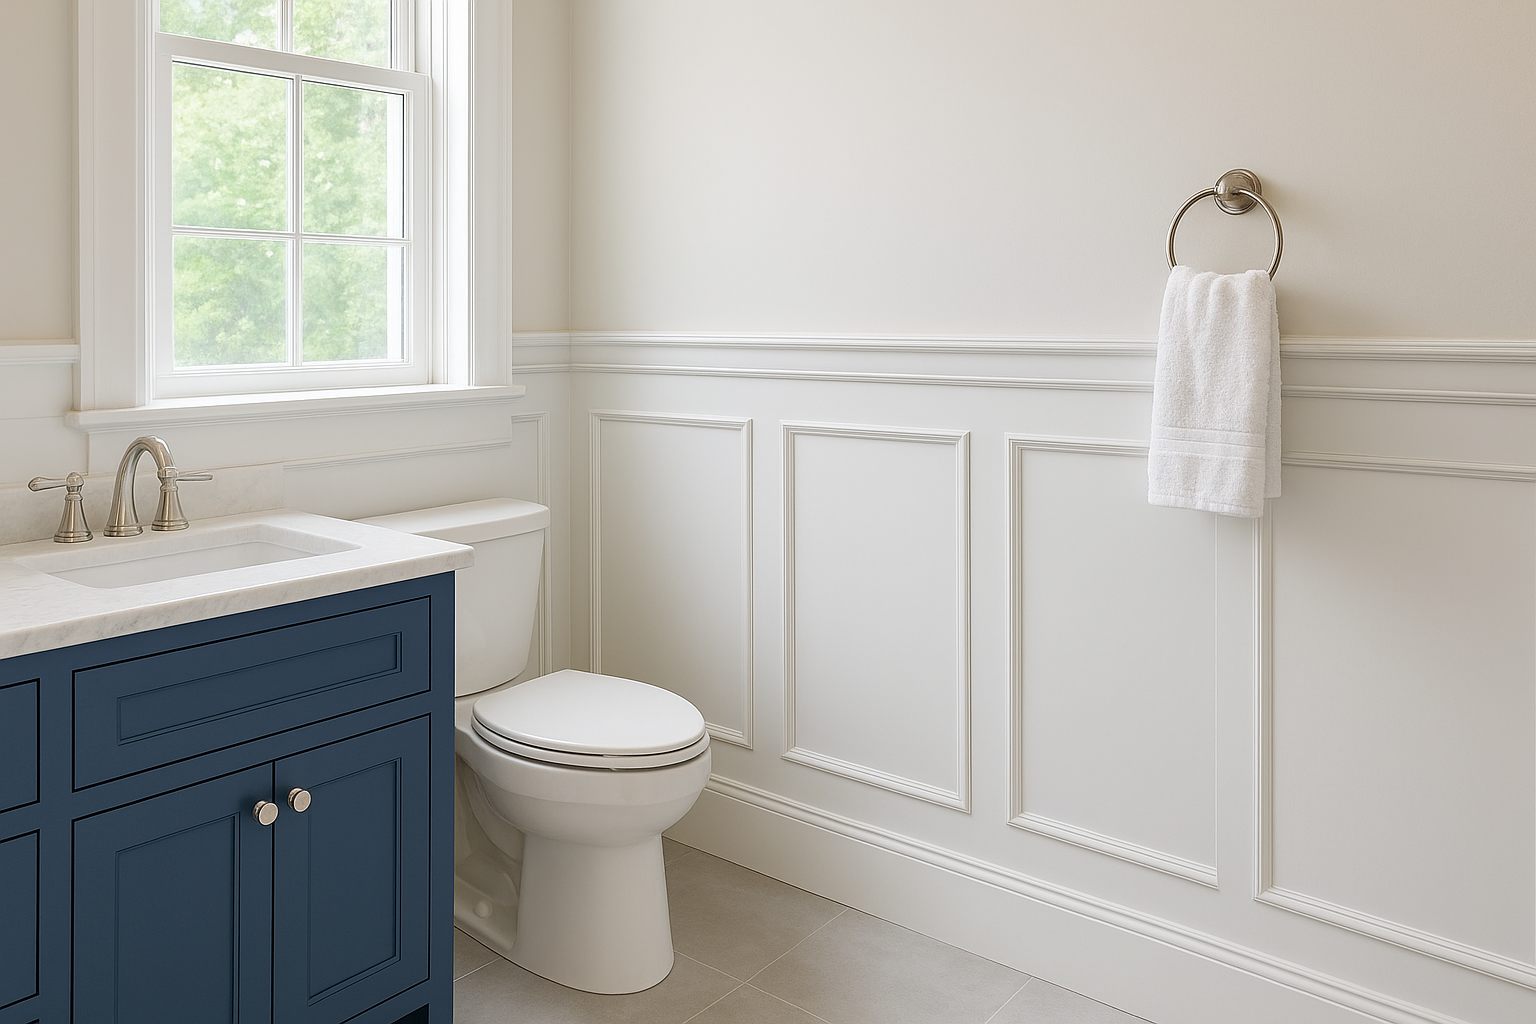
Custom shop-built wainscoting is the highest-quality option on this list, full stop. When a carpenter builds your panels, rails, and stiles by hand in a dedicated shop, every component is sized and fitted to your specific bathroom. You get profiles that match your home’s existing trim, proportions that look intentional, and a finished product that off-the-shelf kits simply can’t replicate.
Look and feel
Shop-built wainscoting typically features raised or recessed panel construction, which adds depth and shadow lines that flat sheet paneling can’t produce. The result is a formal, architectural look that works in traditional, transitional, and even some modern interiors. If you’re exploring wainscoting ideas for bathroom projects that need to match existing millwork throughout the house, custom is almost always the right path.
Best height and layout
Most bathrooms look best with wainscoting running between 36 and 54 inches from the floor. In a taller space or a primary bath with high ceilings, you can push that to 60 inches without the room feeling heavy. A carpenter will account for window sills, door casings, and fixture placement so the cap rail lines up cleanly with every element in the room.
Materials and finishes
Shop-built wainscoting is typically constructed from paint-grade hardwood or MDF with a moisture-resistant primer coat. In a bathroom, a quality carpenter will apply a full-coverage primer before any finish coat goes on, sealing the wood against humidity.
Skipping the primer step is the number one reason painted wood wainscoting fails early in wet spaces.
Moisture and cleaning tips
You should wipe down painted wood wainscoting with a damp cloth rather than soaking it. Keep caulk joints at the floor and cap rail fresh, and reseal any nail holes or cracks that open up seasonally.
Budget and DIY difficulty
Custom shop-built wainscoting carries the highest upfront cost on this list, typically ranging from $45 to $90 per linear foot installed. It’s not a realistic DIY project unless you have serious woodworking experience and a proper shop setup.
2. Painted beadboard wainscoting
Painted beadboard is the most recognizable wainscoting style in traditional American homes, and it translates well into bathrooms because of its texture and approachable cost. The narrow vertical grooves break up flat wall space without overwhelming a smaller room.
Look and feel
Beadboard gives a bathroom a cottage or farmhouse character that pairs naturally with chrome or brushed nickel fixtures. The vertical groove pattern draws the eye upward, which makes a low-ceiling bathroom feel taller than it actually is.
Best height and layout
Running beadboard to 32 to 42 inches works well in most bathrooms. Keep the cap rail level and account for any tile transitions or floor trim so the installation reads as intentional rather than improvised.
Materials and finishes
You can install beadboard using tongue-and-groove solid wood planks or MDF sheet panels. In a bathroom, MDF panels need a moisture-resistant primer on all edges before painting, or they’ll swell near the floor.
Priming the back face of each panel before installation adds real protection in humid bathrooms.
Moisture and cleaning tips
Wipe painted beadboard with a lightly damp cloth and avoid soaking the grooves directly. Recaulk the base and cap rail annually to block moisture from working behind the panels.
Budget and DIY difficulty
Beadboard is one of the most budget-friendly wainscoting ideas for bathroom projects, running roughly $15 to $35 per linear foot installed. It’s a manageable DIY project if you’re comfortable with basic trim work and painting.
3. Board and batten half wall
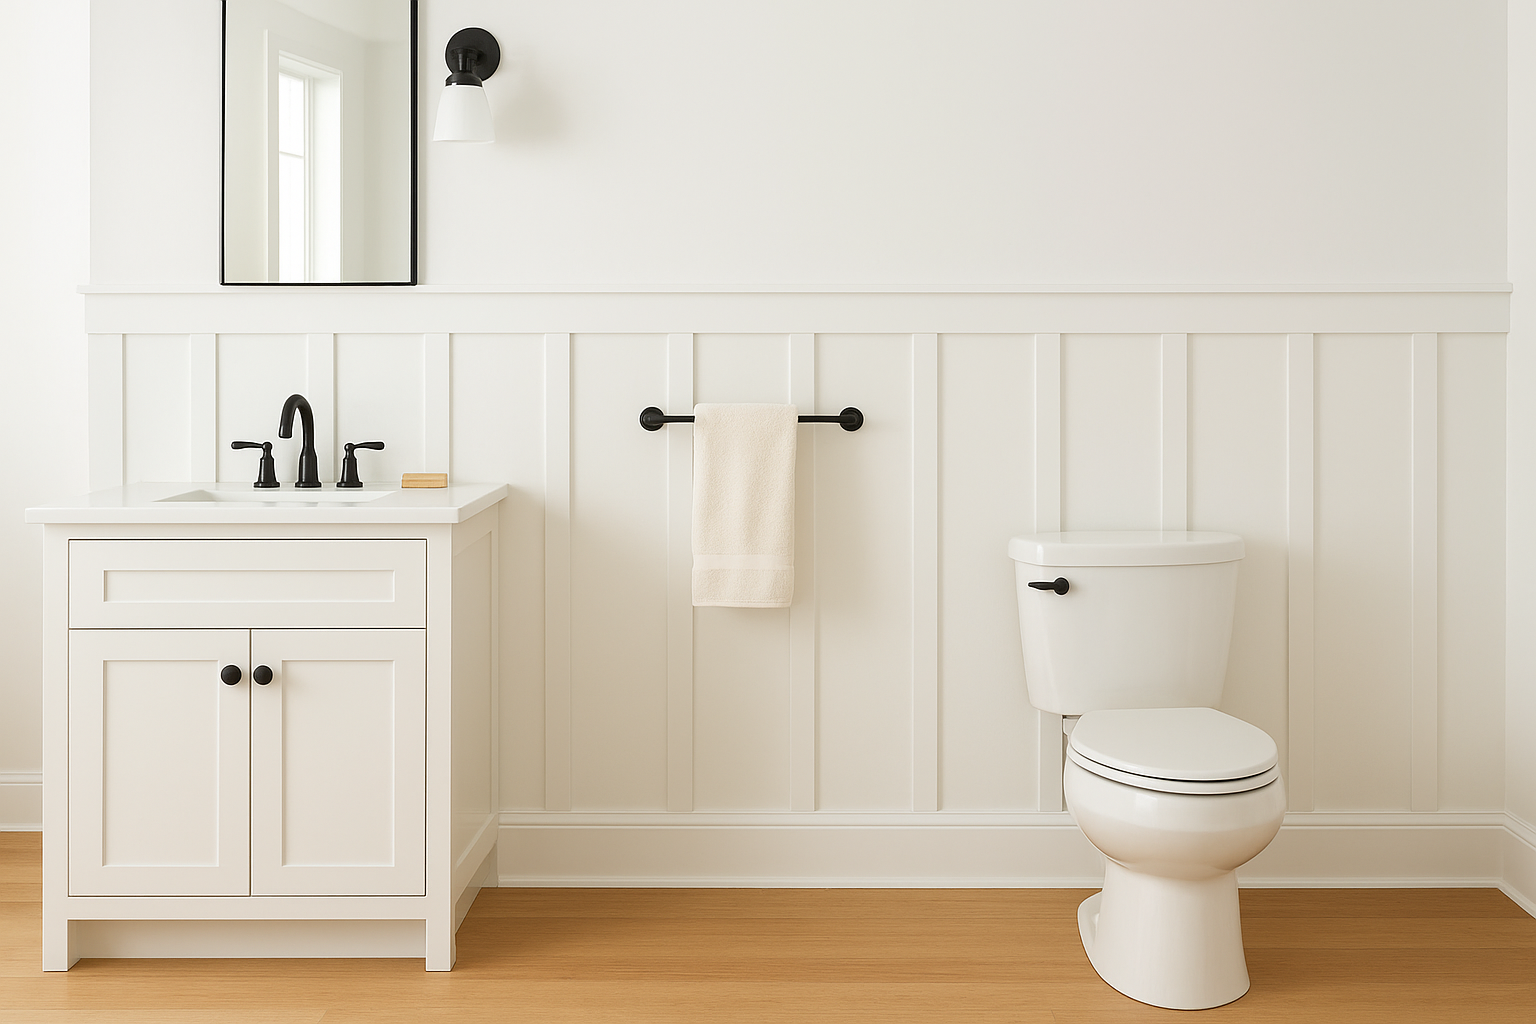
Board and batten takes a different approach than beadboard or raised panel work. Instead of continuous texture, you get clean vertical boards separated by open flat wall space, which reads as sharper and more contemporary than traditional paneling styles.
Look and feel
This style suits modern farmhouse and transitional bathroom designs well. The bold vertical lines create strong visual rhythm without the fussiness of detailed molding profiles, making it one of the more versatile wainscoting ideas for bathroom spaces with cleaner aesthetics.
Best height and layout
Running board and batten to 42 to 48 inches hits a natural proportion for most bathrooms. Space your battens evenly between 8 and 16 inches apart depending on room width and the look you want.
Uneven batten spacing is immediately noticeable, so measure and mark every position before driving a single nail.
Materials and finishes
Use MDF or finger-jointed pine for both the flat boards and battens. Both take paint cleanly, and MDF holds a crisp edge profile that solid wood sometimes won’t. Prime all cut edges before installation in a bathroom.
Moisture and cleaning tips
Board and batten is easy to wipe down because the flat surfaces have no grooves to trap moisture. Recaulk the base and cap rail each year to keep water from working behind the panels.
Budget and DIY difficulty
Expect to pay roughly $20 to $40 per linear foot installed. The straightforward geometry makes this one of the more DIY-friendly options on this list with basic tools and patience.
4. PVC bathroom wainscoting
PVC wainscoting is built specifically for wet environments. Unlike wood or MDF, cellular PVC won’t absorb moisture, swell, or rot, which makes it one of the most practical wainscoting ideas for bathroom installations where humidity stays consistently high.
Look and feel
PVC panels come in beadboard, flat panel, and tongue-and-groove profiles, so you can match many of the same visual styles you’d get from wood. The surface is smooth and paintable, though some profiles have a slightly synthetic appearance up close that traditionalists may notice.
Best height and layout
Run PVC wainscoting to 36 to 48 inches for most bathrooms. The material cuts cleanly with standard woodworking tools, so hitting precise heights around fixtures and windows is straightforward without special equipment.
Materials and finishes
Cellular PVC trim boards are the standard choice here. They accept latex or acrylic paint well and hold color without the repeated edge-sealing prep that MDF requires, which cuts installation time noticeably.
PVC won’t swell at cut edges the way wood-based products will, so you skip a critical failure point entirely.
Moisture and cleaning tips
PVC is waterproof by nature, so wiping it down with any household cleaner won’t damage the surface. Recaulk seams and the base rail annually to prevent water from working behind the panels over time.
Budget and DIY difficulty
Expect $18 to $40 per linear foot installed. PVC is straightforward to cut and fasten, making it a solid DIY candidate for anyone comfortable with basic finish carpentry.
5. Tile or stone wainscot
Tile and stone take a fundamentally different approach than any wood-based option on this list. Instead of panels and rails, you’re setting fired ceramic, porcelain, or natural stone directly against the wall substrate, which makes this one of the most waterproof wainscoting ideas for bathroom applications you can choose.
Look and feel
Tile and stone deliver a polished, permanent look that works in both traditional and contemporary bathrooms. Subway tile creates clean horizontal lines, while large-format stone slabs bring a spa-like quality that no painted panel can match.
Best height and layout
Running tile to 36 to 48 inches suits most bathrooms. Finish the top edge with a bullnose or pencil tile cap to close the installation cleanly without leaving raw cut edges exposed.
Materials and finishes
Porcelain and ceramic tile are the most practical choices because they’re dense, non-porous, and widely available. Natural stone like marble or travertine adds visual depth but needs sealing after installation to stay stain-resistant.
Unsealed natural stone in a bathroom will absorb moisture and discolor over time, so sealing is not an optional step.
Moisture and cleaning tips
Tile is inherently water-resistant, so the grout lines are your only real maintenance point. Seal grout annually to prevent staining and stop moisture from working behind the installation.
Budget and DIY difficulty
Tile wainscoting runs roughly $25 to $75 per square foot installed depending on material choice. Setting tile well requires specific tools and careful technique, making this a difficult DIY project for anyone without prior tile experience.
Wrapping it up
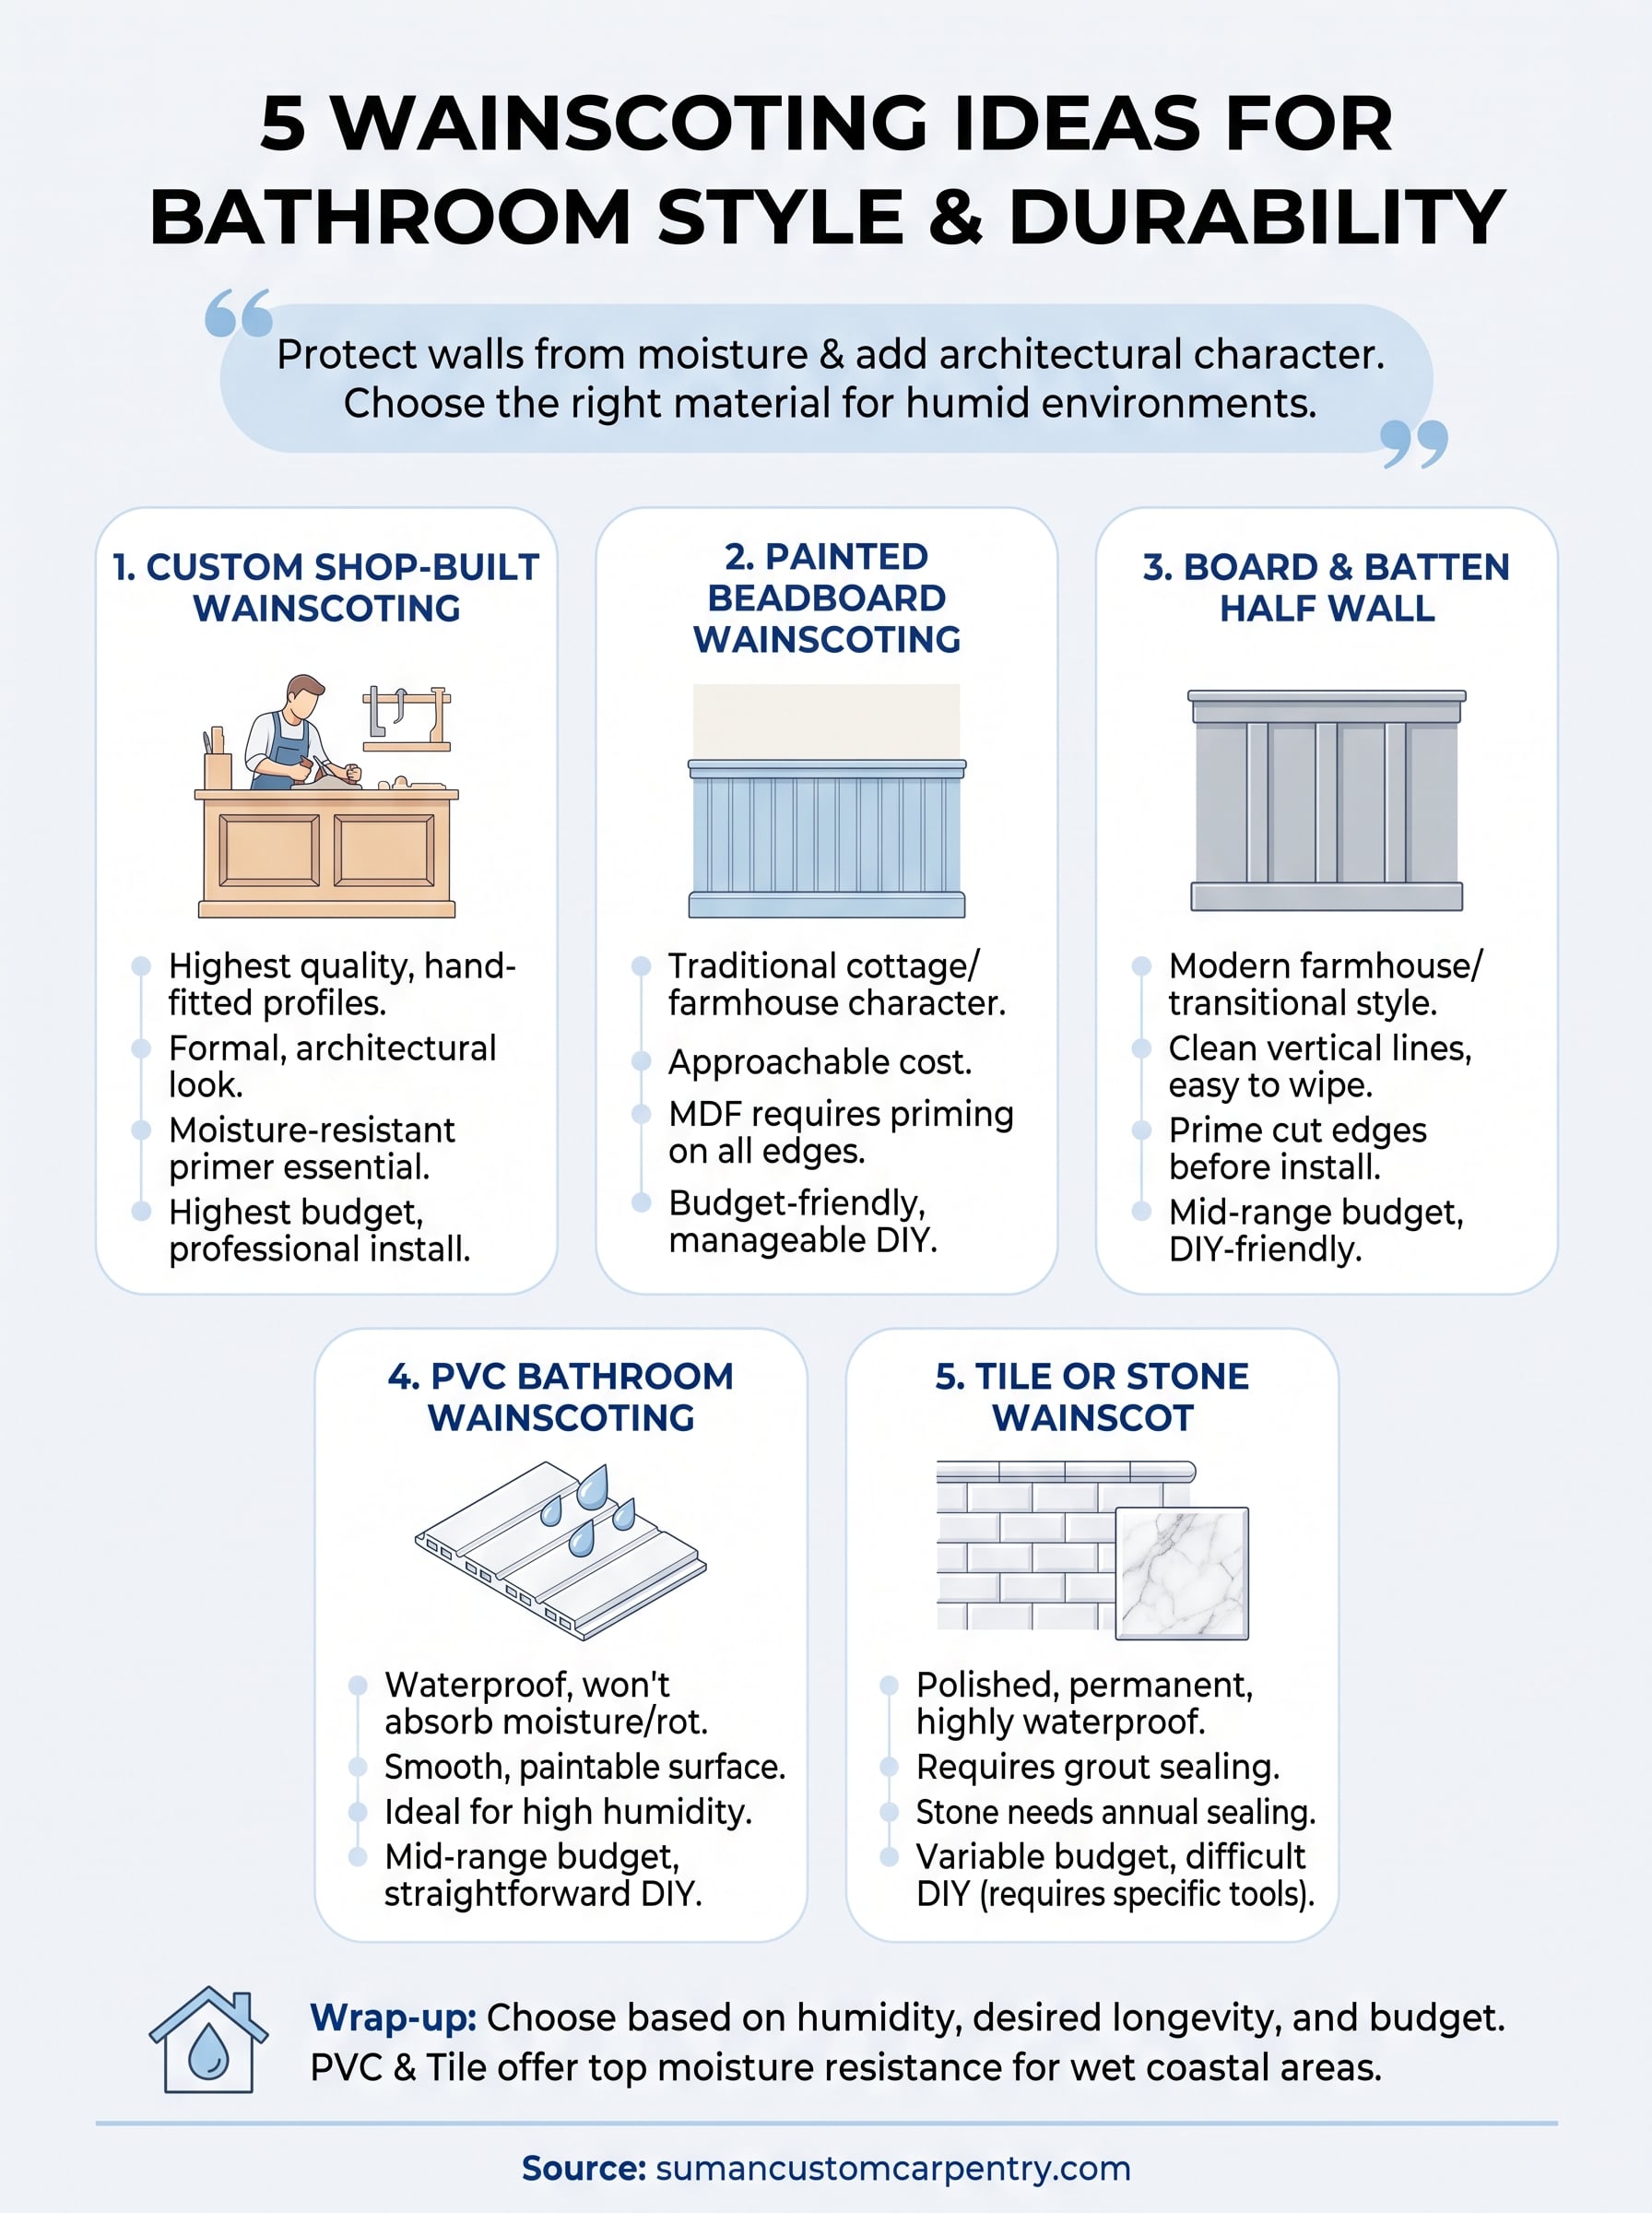
Each of these wainscoting ideas for bathroom projects solves the same core problem in a different way: protecting your walls from moisture while adding real architectural character. Custom shop-built panels give you the highest-quality result. PVC and tile give you the strongest moisture resistance. Beadboard and board and batten land in the middle, balancing cost, appearance, and DIY accessibility depending on your skill level and budget.
The right choice depends on your bathroom’s humidity level, your existing trim profile, and how long you want the installation to last. Coastal homes on Cape Cod deal with persistent humidity that pushes cheaper materials to fail faster than homeowners expect, so material selection matters more here than in drier climates.
If you want a custom installation built to last in your specific space, reach out to Suman Custom Carpentry to talk through your project and get a consultation scheduled.