
Crown molding looks simple until you’re standing on a ladder with a miter saw, staring at a corner that isn’t quite 90 degrees. Learning how to install crown molding takes more patience than skill at first, but once you understand how the angles work, the rest falls into place. This guide walks you through the process the way we’d explain it to a homeowner in our Hyannis shop, no guesswork required.
If you’re searching for straight answers on measuring, cutting, and hanging molding without cracked joints or gapped corners, you’re in the right place. We’ll cover the tools you actually need, how to read a coped versus mitered joint, and the order of operations that keeps a room looking tight from one wall to the next.
Below, you’ll find each step broken down from prepping your walls to nailing the final piece into place, plus the mistakes we see most often on Cape Cod homes with older, uneven ceilings. If your project turns out more complicated than expected, or you’d rather have it done right the first time, Suman Custom Carpentry builds and installs custom trim work throughout the region.
What you need before you start
Before you touch a saw, get your tools and materials staged in the room you’re trimming. Crown molding install goes faster and looks cleaner when everything is within reach, because you’ll be climbing up and down a ladder constantly to check fit. Skipping this prep step is the fastest way to waste a Saturday chasing down a stud finder or running back to the hardware store for more nails.
Tools for the job
You don’t need a full workshop, but a few specific tools make the difference between a tight joint and a gapped one. A compound miter saw set at both angles is non-negotiable for anything other than a coped inside corner.

- Compound miter saw (or a coping saw for inside corners)
- Stud finder
- Laser level or 4-foot level
- Tape measure and a speed square
- Finish nailer (18-gauge, with 2-inch nails) or a hammer and nail set
- Caulk gun
- Sandpaper (120 and 220 grit)
Materials and molding types
Molding profile and material choice affects both cost and how forgiving the install will be. Softer materials like MDF cope and sand easily, while solid wood holds paint and stain better over decades on a coastal home.
| Material | Best for | Notes |
|---|---|---|
| Poplar | Painted trim | Sands smooth, holds nails well |
| Pine | Budget projects | Softer, dents more easily |
| MDF | Painted, budget-friendly rooms | Not ideal for high-humidity areas |
| Oak or hardwood | Stained, high-end finish | Harder to nail, worth it for durability |
Safety and prep checks
Mark every stud along the wall before you start cutting, since blind-nailing into drywall alone will loosen molding within a year. Wear eye protection when cutting, and keep a shop vac nearby for MDF dust.
Good prep work is invisible in the finished room, but it’s the reason the corners still look tight five years from now.
Step 1. Measure the walls and plan your layout
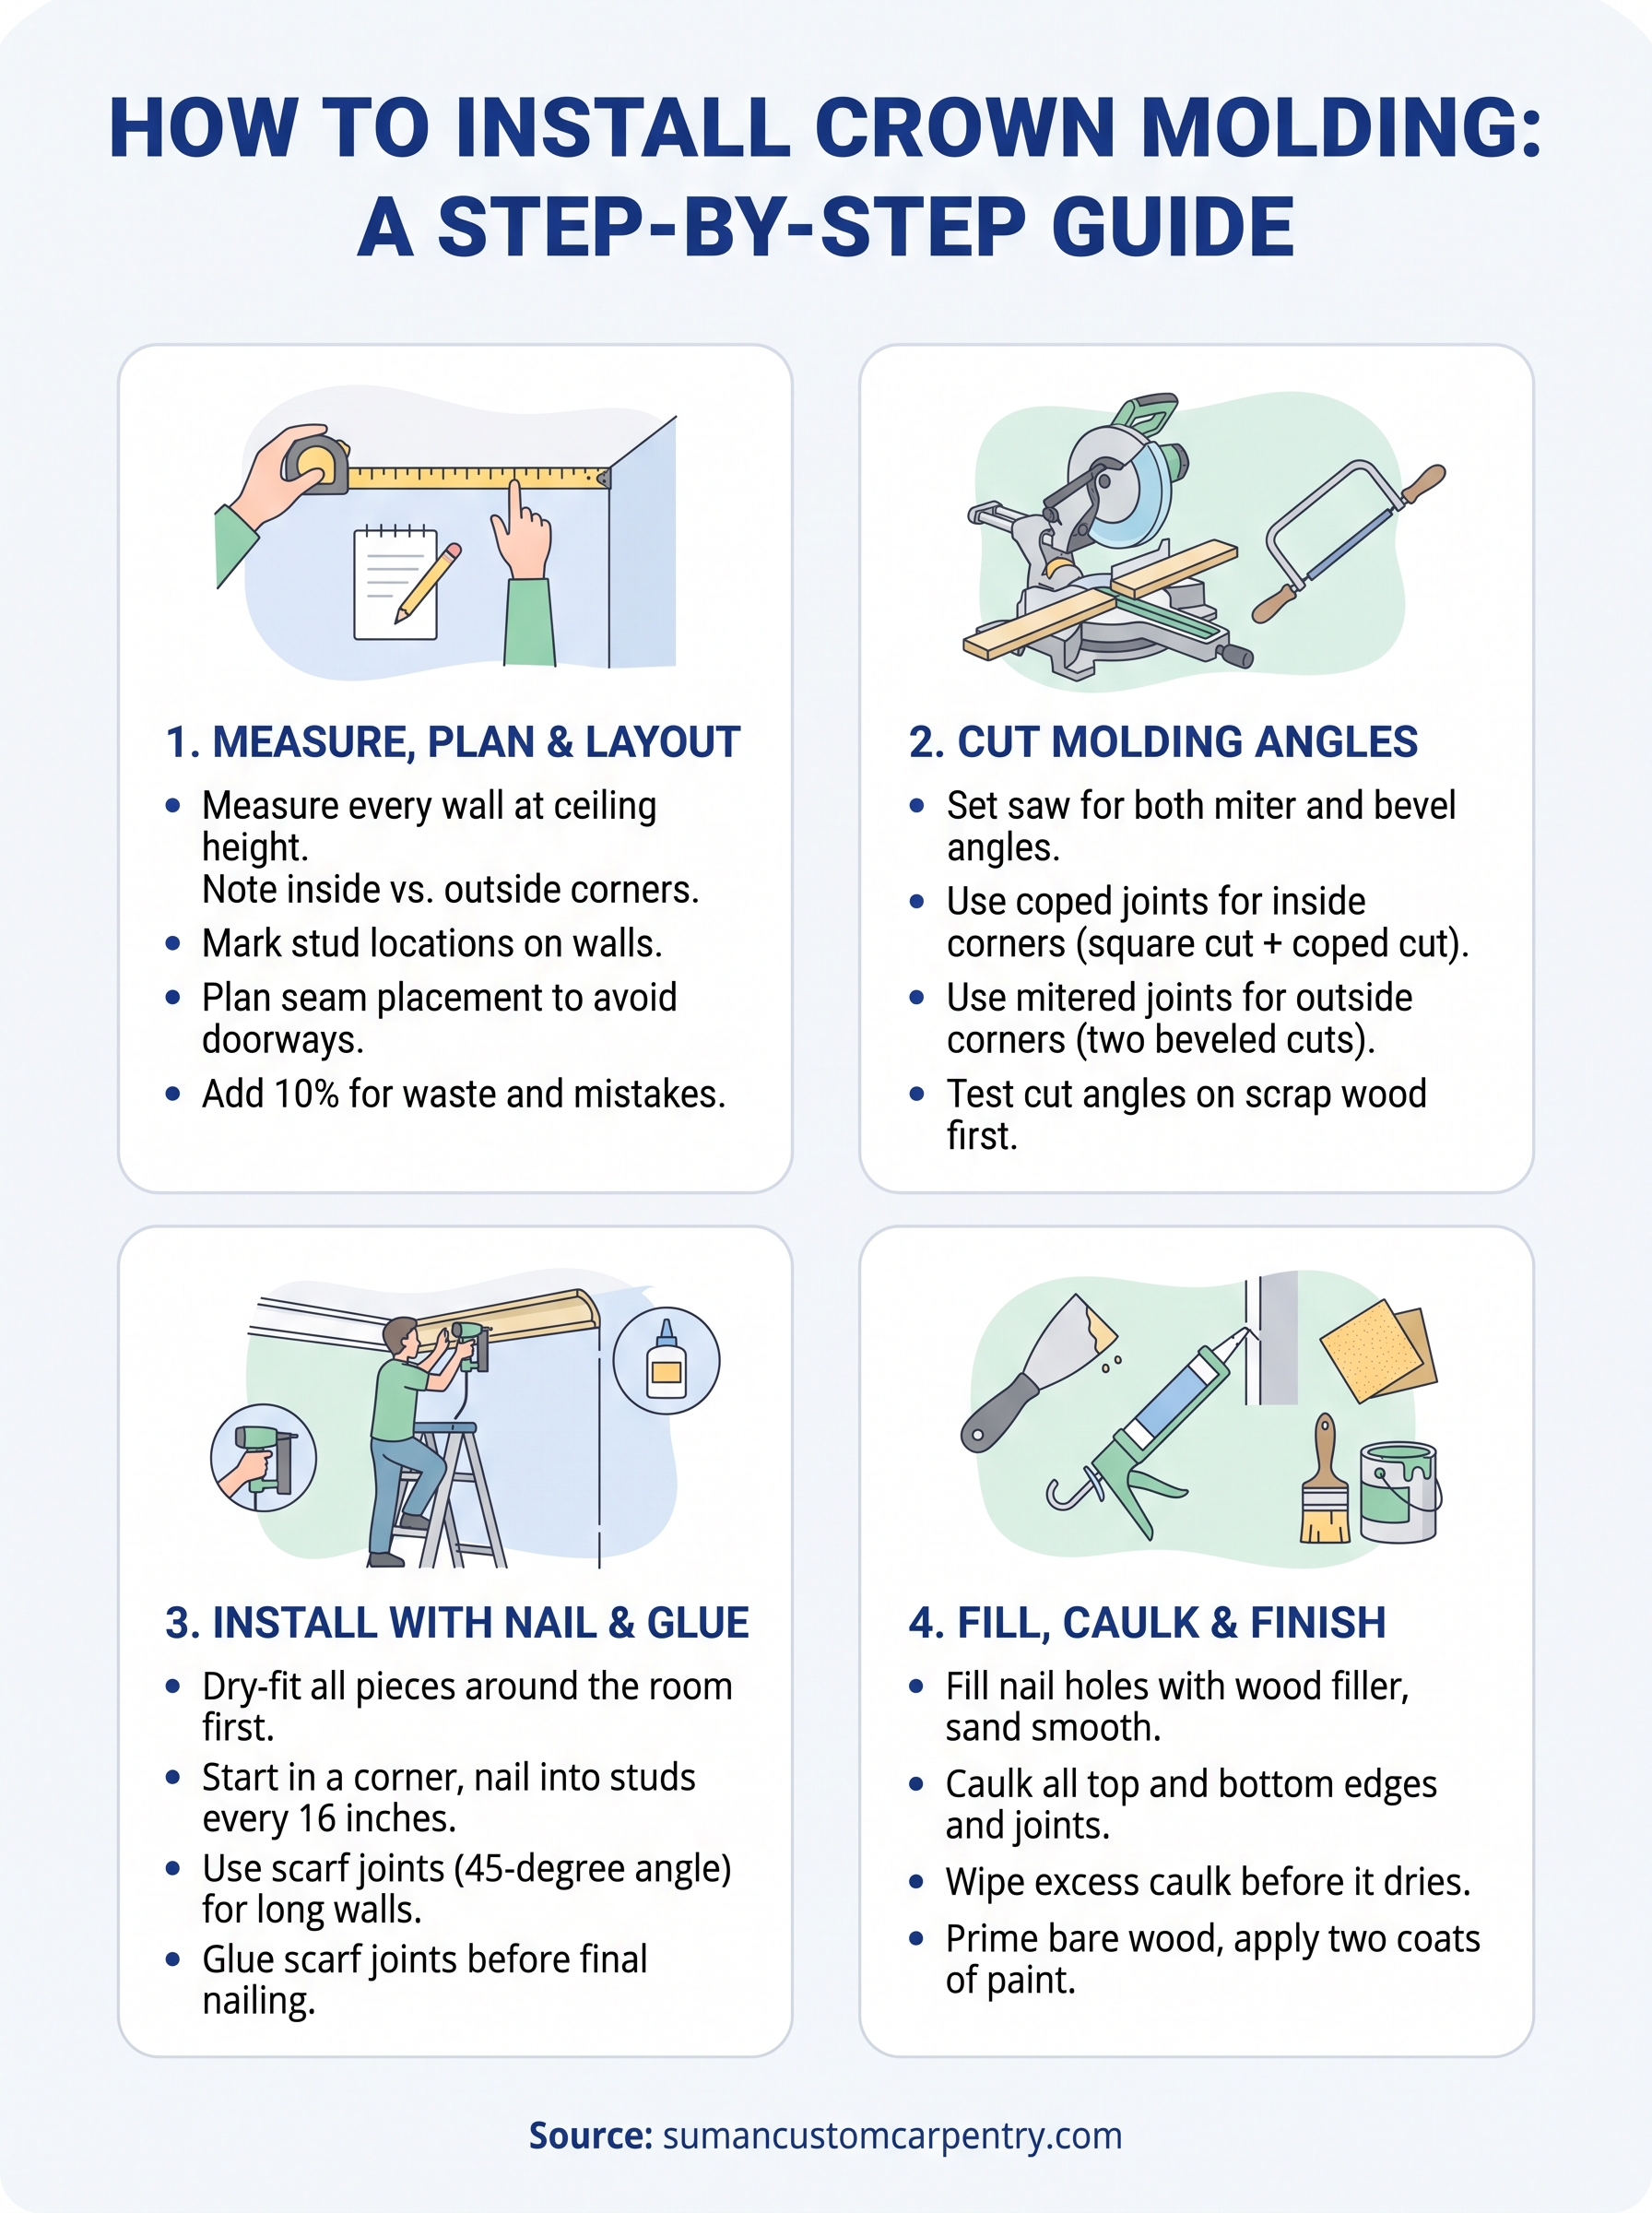
Start by walking the room and sketching a rough floor plan on paper, marking every corner as either inside or outside. This matters because inside corners get coped joints while outside corners get mitered joints, and mixing up the plan halfway through the job means recutting pieces you already installed.
Measuring each wall
Measure every wall at ceiling height, not floor height, since older Cape Cod homes often bow or settle over the decades. Add up your total linear footage, then add 10 percent for waste and mistakes when you order molding.
- Measure wall length at the ceiling line
- Note which corners are inside vs. outside
- Mark stud locations along each wall
- Decide where seams will land (avoid doorways and windows)
Planning seam placement
Plan your seams to land on a stud whenever possible, and never place a seam directly over a doorway or window casing where stress on the wall shows every flaw. Longer walls usually need at least one scarf joint, so decide now where that joint will sit before you start cutting.
A good layout plan on paper saves you from three wasted cuts on the saw.
Once your layout is marked, you’re ready to start cutting angles with confidence instead of guessing.
Step 2. Cut the molding angles
Crown molding sits at an angle against the wall and ceiling, so every cut combines a miter angle and a bevel angle, not just one. Set your saw to the molding’s spring angle first (usually 38 or 45 degrees), since cutting at the wrong spring angle throws off every joint after it.

Setting your saw angles
Most compound miter saws have preset stops for crown molding. For standard 90-degree corners, a 45-degree miter and roughly 31.6 or 33.9 degree bevel (depending on your saw’s setup) gets you close, but always test on scrap first.
| Corner type | Miter angle | Bevel angle |
|---|---|---|
| Inside, 90° | 45° | 33.9° |
| Outside, 90° | 45° | 33.9° |
Coping inside corners
Rather than mitering both sides of an inside corner, cut one piece square and cope the other with a coping saw, following the profile line left by the miter cut. Coped joints hide the small gaps that show up as ceilings settle over the years.
A coped inside corner will outlast a mitered one on almost every real-world wall.
Outside corners still get standard miters, so cut those pieces last once your inside walls are dry-fit.
Step 3. Install the crown molding
With your pieces cut and dry-fit, it’s time to get molding on the wall. Dry-fit every piece around the room first, checking that coped joints nest tightly and outside miters meet cleanly before you drive a single nail. This test run catches problems while you can still recut a piece instead of patching a bad joint later.
Nailing sequence
Start in a corner and work in one direction around the room, nailing into studs through both the top and bottom edge of the molding. Use your finish nailer at the stud marks you made earlier, angling nails slightly to catch both the wall and ceiling framing.
- Tack each piece loosely first, then check the joint fit
- Drive full nails once the fit looks tight
- Nail every 16 inches along studs
- Leave scarf joints unglued until both pieces are nailed
Handling long walls
For walls longer than one piece of molding, cut a 45-degree scarf joint at the seam and nail both ends into the same stud. Glue the scarf joint before final nailing so it doesn’t open up as the wood moves with humidity.
A tight scarf joint disappears completely once it’s painted and caulked.
Step 4. Fill, caulk, and finish the trim
Once every piece is nailed solid, walk the room again and look for gaps at the seams, nail holes, and any spot where the molding didn’t sit flush against the wall or ceiling. Wood filler handles nail holes and small gouges, while paintable caulk handles the longer gaps where molding meets an uneven wall or ceiling line.
Filling and sanding
Press filler into each nail hole with a putty knife, let it dry fully, then sand flush with 120-grit paper before moving to 220-grit for a smooth final surface. Skipping the fine sanding pass leaves visible ridges once you prime the trim.
Caulking the joints
Run a thin bead of caulk along the top and bottom edges where molding meets the wall and ceiling, then smooth it with a wet finger or caulk tool.
- Caulk every seam, even ones that look tight
- Wipe excess immediately, before it skins over
- Let caulk cure fully before priming
Caulk is what makes a good miter cut look like a perfect one.
Priming and painting
Prime bare wood or MDF before your finish coat, since raw wood soaks paint unevenly and telegraphs every seam. Two coats of trim paint, lightly sanded between coats, gives you the crisp finished line you’re after.
Living with your new crown molding
Step back once the paint dries and look at the room from the doorway. That clean line where wall meets ceiling changes how the whole space reads, and it’s worth every hour you spent coping joints and sanding filler smooth. Crown molding holds up well over time as long as your nailing and caulking were solid, but keep an eye on seasonal gaps in the first year as the wood and your home settle together.
Most DIY installs go fine on straight walls with square corners. Where things get tricky is older homes with uneven ceilings, tall rooms, or multi-piece built-up molding, and that’s where a professional eye saves you time and material. If your project has more angles than your saw can handle, or you’d rather skip the ladder entirely, reach out to Suman Custom Carpentry and we’ll get it hung right the first time.