
You don’t need a $30,000 gut job to make your bathroom feel brand new. Most homeowners on Cape Cod start searching for bathroom remodel ideas on a budget because they want that fresh, custom look, but the quotes they’re getting back feel absurd. Here’s the thing: a few smart upgrades can completely change the room without draining your savings account.
At Suman Custom Carpentry, we build custom vanities, cabinetry, and built-ins out of our Hyannis shop every day. That hands-on experience has taught us exactly where your money makes the biggest visual impact in a bathroom, and where you’re just paying for demolition nobody needed. Some projects are worth doing yourself, and some are worth investing in pieces that will actually last. We’ll be straight about both.
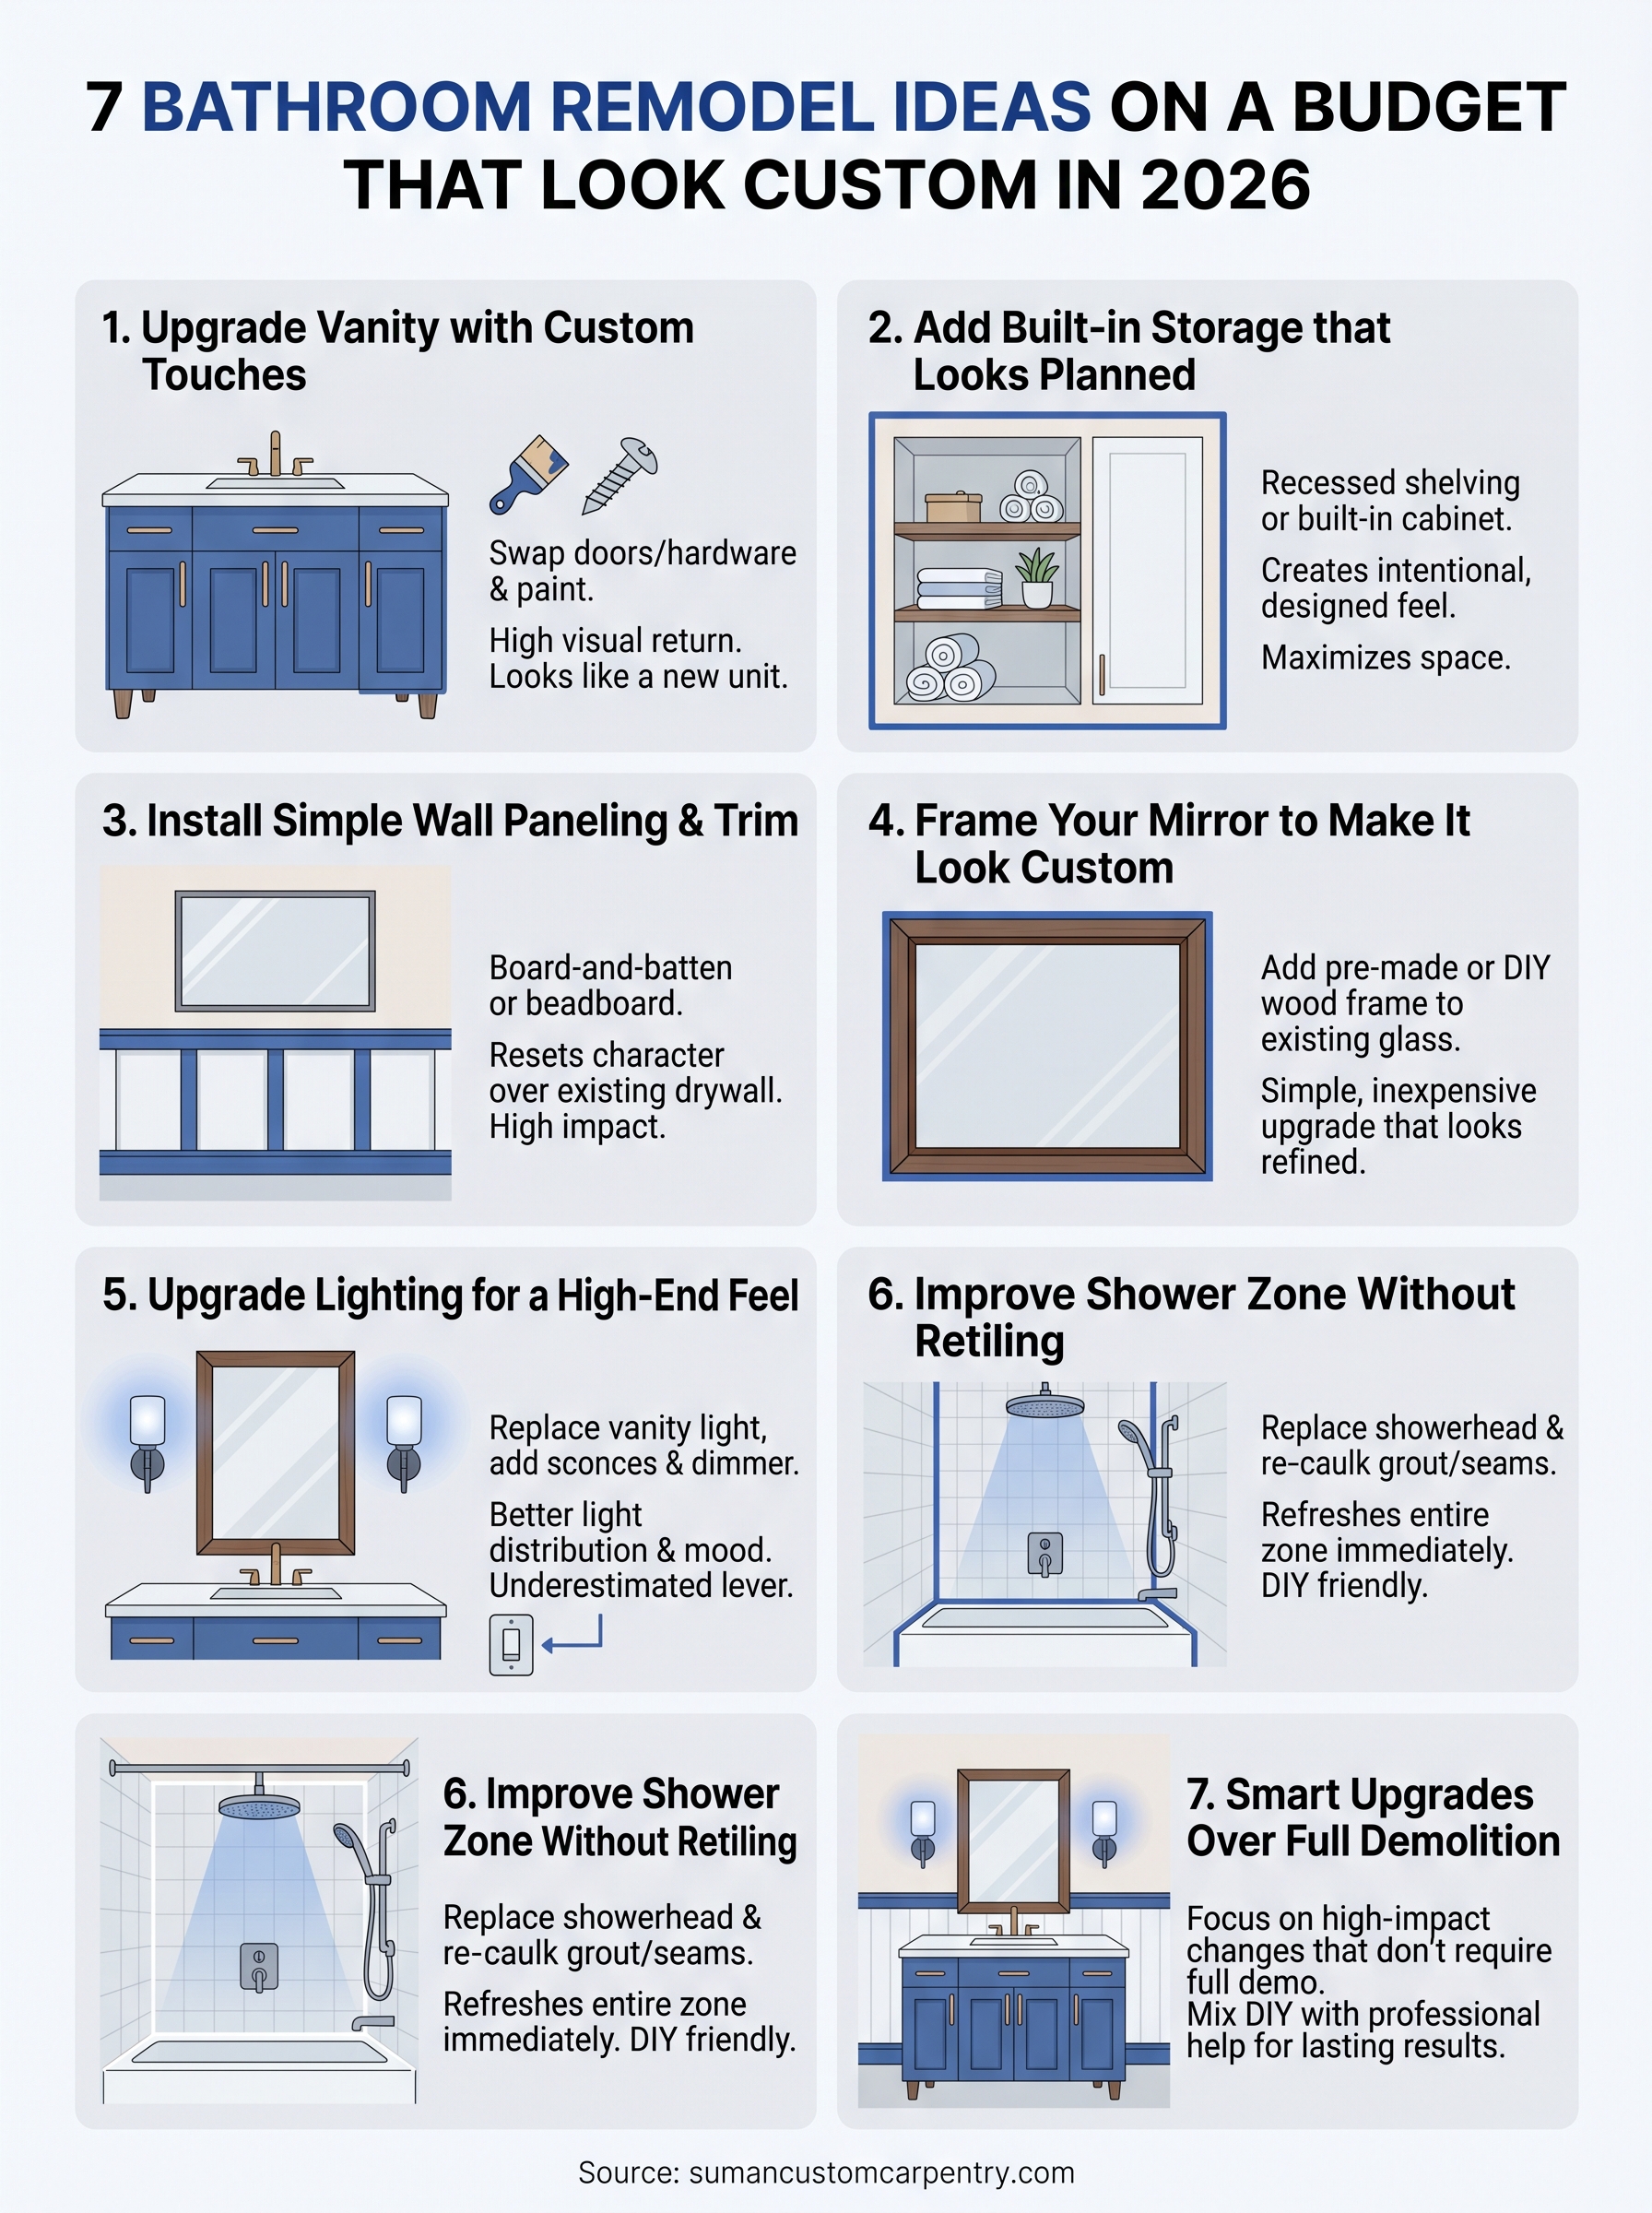
This article covers seven practical ideas that deliver a high-end feel at a fraction of the cost of a full remodel. Whether you’re refreshing a guest bath or finally dealing with that primary bathroom you’ve been avoiding, these strategies work in 2026’s market, real materials, real numbers, no fluff.
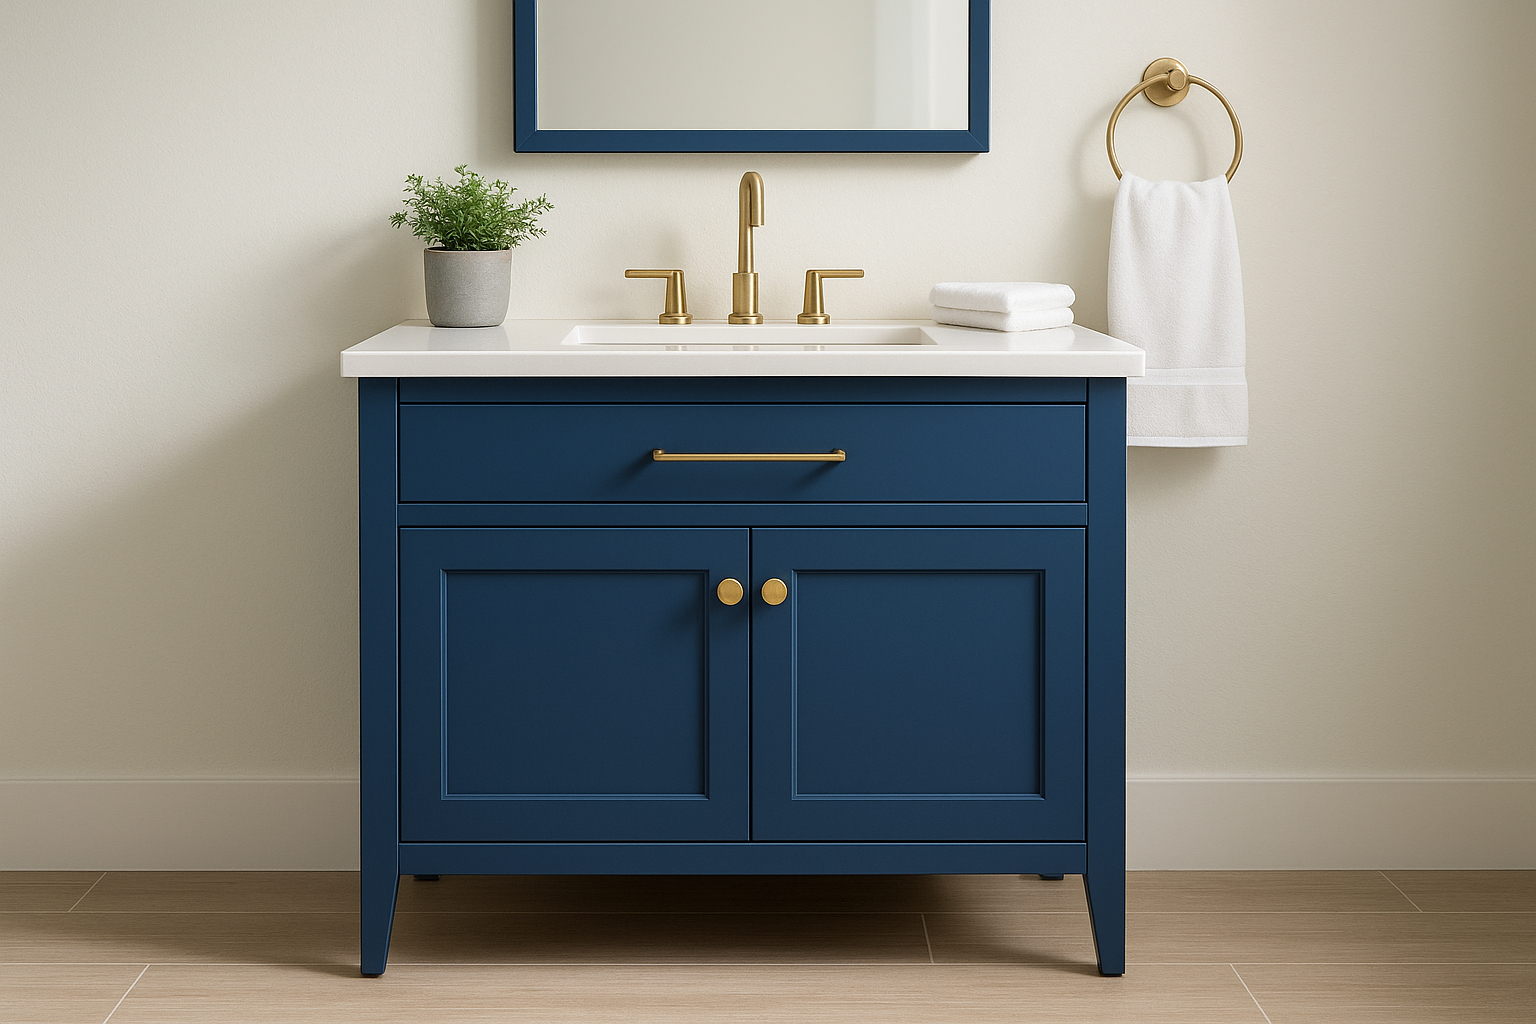
1. Upgrade your vanity with custom cabinetry touches
The vanity is the first thing anyone notices in a bathroom. Swapping out a builder-grade vanity or refreshing your existing one with custom-style details delivers one of the highest visual returns of any bathroom remodel ideas on a budget. You don’t need to replace the entire unit to make it look like you did.
What to do
Replacing cabinet doors and drawer fronts on your existing vanity base is the fastest way to change the character of the room. Add new hardware (pulls, hinges, knobs) and a fresh coat of paint on the cabinet box, and most people won’t recognize it as the same piece. A few specific swaps that work well:
- Replace flat slab doors with shaker-style panels for a cleaner, more tailored look
- Add furniture-style legs to a floating vanity base to make it feel intentional
- Install new hardware in one consistent finish throughout the entire bathroom
DIY vs pro
Painting the cabinet box and swapping hardware are solid DIY projects if you’re comfortable with basic prep work, sanding, and primer. Door replacement is manageable too, but you need accurate measurements, or you’ll end up with gaps or doors that won’t seat properly. Calling a professional carpenter makes sense when you want doors custom-built to size, when your vanity has non-standard dimensions, or when you want features like soft-close hinges that require precise fitting to work reliably.
If your existing vanity box is structurally sound, replacing just the doors and hardware can cut your cost by more than half compared to a full unit swap.
Typical cost range in 2026
Your total spend depends heavily on how much of the vanity you’re actually replacing. Stock doors are cheaper upfront but may not fit perfectly, while custom-built doors cost more and fit exactly.
| Item | Typical Cost |
|---|---|
| New hardware (pulls and knobs) | $30 to $150 |
| Paint and supplies (DIY refinish) | $60 to $120 |
| Stock replacement doors | $80 to $300 per door |
| Custom-built vanity doors (local carpenter) | $400 to $900 for a standard two-door vanity |
Common mistakes to avoid
Skipping the primer is the most common reason painted vanities look tired within a year. Bathroom humidity is brutal on surfaces, so a bonding primer before any topcoat is not optional. Choosing hardware at the wrong scale is the other frequent error: oversized pulls on a small vanity look awkward, and tiny knobs on a wide drawer front look like an afterthought rather than a design choice.
2. Add built-in storage that looks planned
Built-in storage transforms a cluttered bathroom into a room that feels intentional. Open shelving recessed into a wall or a built-in linen cabinet flanking the vanity signals to anyone walking in that the space was actually designed, not assembled from whatever was on the shelf at the hardware store. This is one of the bathroom remodel ideas on a budget that delivers serious visual impact per dollar spent.
What to do
Recessed shelving between wall studs is the most achievable built-in project for most bathrooms. Standard stud spacing gives you roughly 14.5 inches of width, which is enough room for toiletries, rolled towels, or small plants. You can also frame a simple cabinet box into an unused corner and add painted doors or open shelves to create a built-in look without opening the wall at all.
DIY vs pro
Framing a shallow niche is a realistic weekend project if you’re comfortable with basic carpentry. Anything involving load-bearing walls or significant drywall cuts is worth hiring a professional for. A local carpenter can also build a custom linen tower sized to your ceiling height and finished to match your existing vanity, which freestanding furniture never quite does.
A built-in that fits your exact space will always look more intentional than a freestanding unit pushed against the wall.
Typical cost range in 2026
| Project | Typical Cost |
|---|---|
| DIY recessed niche (materials only) | $50 to $150 |
| Custom built-in linen cabinet (pro-built) | $600 to $1,800 |
Common mistakes to avoid
Cutting into walls without checking for plumbing or electrical wiring first turns a weekend project into an expensive repair. Always use a stud finder and confirm what’s behind the drywall before you make a single cut. Building shelves too shallow is the other common error: anything under 10 inches deep becomes nearly useless for real bathroom storage.
3. Install simple wall paneling and upgraded trim
Wall paneling and trim upgrades are among the most overlooked bathroom remodel ideas on a budget. A plain painted wall reads as unfinished; a wainscoted or paneled wall reads as designed. Adding shaker-style or board-and-batten paneling to the lower half of your bathroom wall can completely reset the room’s character for a few hundred dollars in materials.
What to do
Board-and-batten is the simplest option: vertical boards spaced evenly across the wall with a horizontal rail capping the top. You can also install beadboard panels below a chair rail for a more traditional look. Both approaches work directly over existing drywall, which keeps demo costs at zero.
DIY vs pro
This is one of the more DIY-friendly projects on this list. Cutting and nailing MDF boards is manageable for anyone comfortable with a miter saw and a nail gun. Hire a professional when your walls are out of plumb, which is common in older Cape Cod homes, because unlevel walls make paneling gaps obvious and difficult to fix without experience.
Getting the top rail level is the single most important step: everything below it either looks intentional or exposes the problem.
Typical cost range in 2026
| Project | Typical Cost |
|---|---|
| DIY board-and-batten (materials only) | $80 to $250 |
| Pro-installed paneling and trim | $400 to $900 |
Common mistakes to avoid
Skipping caulk at every seam before painting lets moisture into the joints, and bathroom humidity will pull them apart within a season. Choosing boards that are too narrow for the wall height is the other frequent misstep: thin strips in a tall bathroom look weak and draw attention to the ceiling rather than the craftsmanship.
4. Frame your mirror to make it look custom
A builder-grade mirror glued flat to the wall is one of the most common features in bathrooms across Cape Cod, and one of the easiest things to upgrade. Adding a frame around your existing mirror is a straightforward change that sits firmly in the bathroom remodel ideas on a budget category while looking far more expensive than it actually is.
What to do
You have two practical options: buy a pre-made mirror frame kit designed to adhere directly over your existing glass, or build a simple wood frame yourself from flat or molded trim pieces. Both work over most standard rectangular mirrors. If your mirror has wall clips, the frame can be built around them so you never need to remove the glass at all.
DIY vs pro
This is one of the cleanest DIY wins on the list. Cutting four trim pieces at 45-degree angles and gluing them to the mirror face is well within reach for anyone with a miter saw. A carpenter adds value when you want a thicker, more architectural frame built and painted to match your vanity exactly.
A frame that matches your vanity finish ties the whole room together in a way a standalone mirror never will.
Typical cost range in 2026
| Option | Typical Cost |
|---|---|
| Pre-made mirror frame kit | $40 to $120 |
| DIY wood trim frame (materials) | $25 to $80 |
| Custom carpenter-built frame | $150 to $350 |
Common mistakes to avoid
Choosing a frame that’s too thin for the mirror size makes it look unfinished rather than refined. Also confirm that your adhesive is rated for bathroom humidity before you commit, because standard wood glue will fail within months in a steam-heavy environment.
5. Upgrade lighting for a high-end feel
Lighting is one of the most underestimated levers in any bathroom remodel ideas on a budget list. A single vanity light fixture does more to set the tone of a bathroom than most people realize, and swapping one out takes under an hour with basic electrical knowledge.
What to do
Replace your existing vanity bar light with a fixture that sits closer to eye level and distributes light more evenly across your face. Wall sconces mounted on either side of the mirror eliminate the harsh shadows that overhead-only lighting creates. Adding a dimmer switch to your existing circuit is another fast upgrade that makes the room feel more intentional without any structural work.
DIY vs pro
Swapping a fixture on an existing circuit is a realistic DIY job if you’re comfortable turning off the breaker and working with basic wire connections. Installing new sconces where there’s no existing wiring requires an electrician. A licensed electrician typically charges $100 to $200 per fixture for installation, which is worth it to get the placement right the first time.
Lighting on both sides of the mirror is a design standard in high-end bathrooms for a reason: it works.
Typical cost range in 2026
| Item | Typical Cost |
|---|---|
| New vanity bar fixture (mid-range) | $80 to $250 |
| Wall sconces (pair) | $100 to $400 |
| Dimmer switch (DIY install) | $20 to $50 |
| Electrician installation per fixture | $100 to $200 |
Common mistakes to avoid
Choosing a fixture that’s too small for the mirror width leaves the ends of the mirror dark, which defeats the purpose. Warm white bulbs in the 2700K to 3000K range work far better in bathrooms than cool blue-toned LEDs, which create unflattering light and make the space feel clinical rather than comfortable.
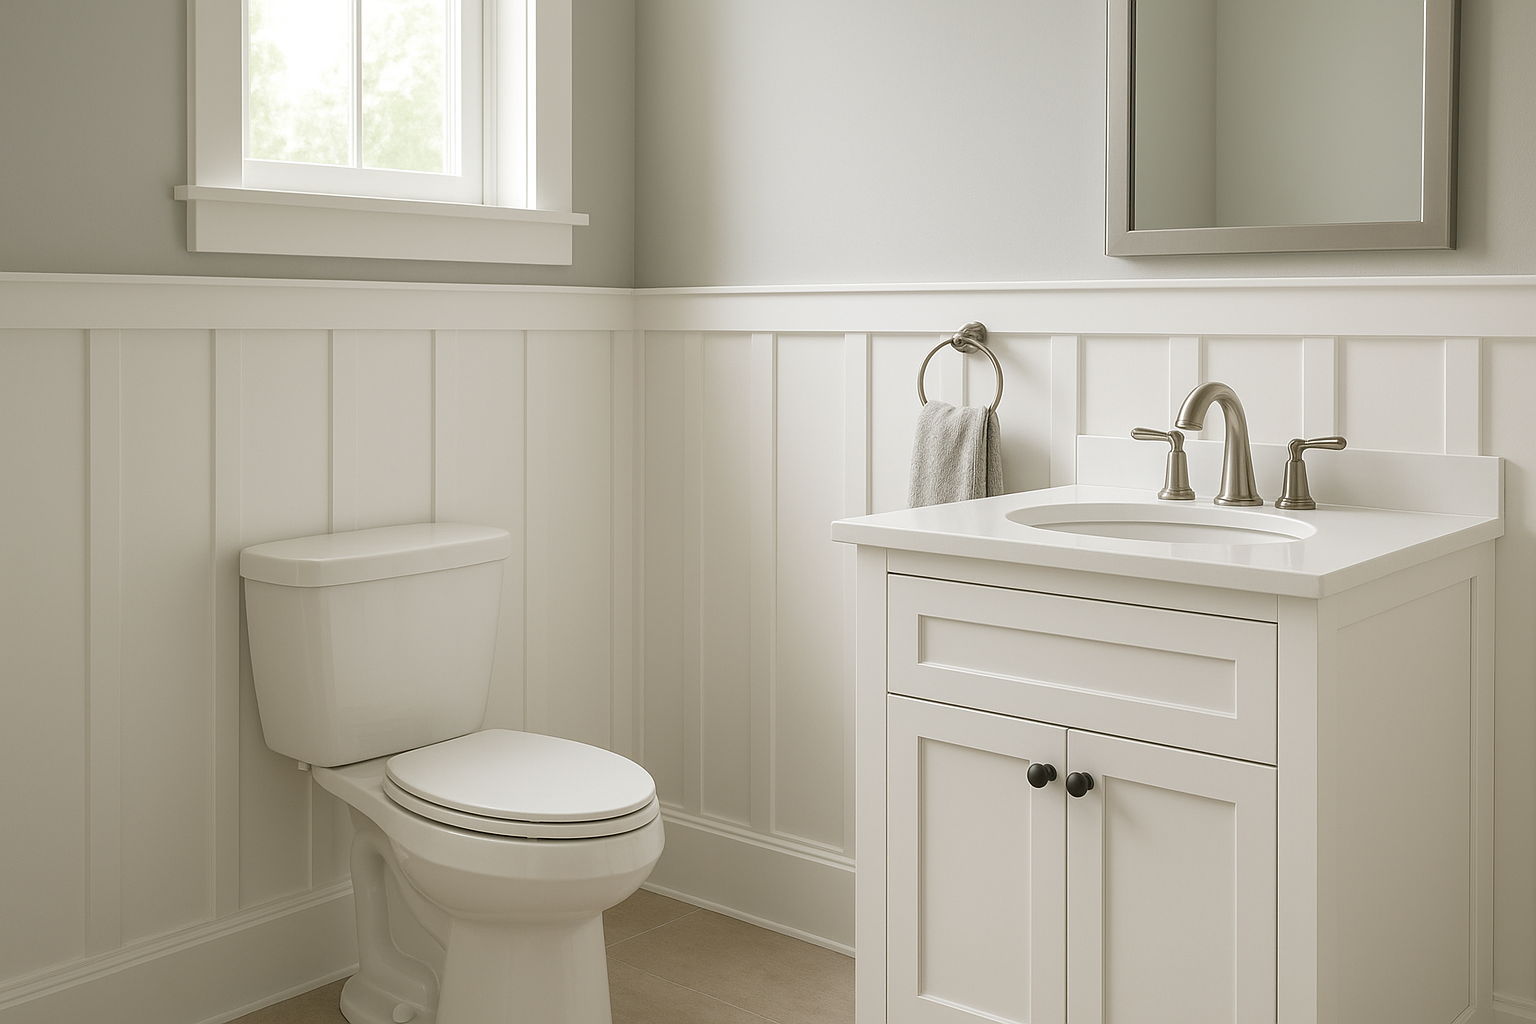
6. Improve the shower zone without retiling
Retiling a shower is one of the most expensive things you can do in a bathroom renovation. The good news is that most showers don’t need new tile to look significantly better. Several targeted upgrades can refresh the entire shower zone, and this approach is one of the most overlooked bathroom remodel ideas on a budget that delivers immediate results.
What to do
Replacing your showerhead is the fastest upgrade with the most noticeable daily payoff. A rainfall or multi-function head costs $40 to $150 and installs in under 20 minutes. Beyond that, re-caulking all the grout lines and seams around the shower surround removes the dingy buildup that makes even clean tile look old, and the whole job takes an afternoon.
DIY vs pro
Re-caulking and fixture swaps are straightforward DIY work you can handle without professional help. A professional makes sense when your existing grout has significant cracking or if you want to add a frameless glass panel or door to an open shower, which requires precise measuring and proper sealing to prevent water damage.
A new frameless glass door on an existing shower surround reads as a significant upgrade without touching a single tile.
Typical cost range in 2026
| Upgrade | Typical Cost |
|---|---|
| New showerhead | $40 to $150 |
| Re-caulking (DIY materials) | $15 to $40 |
| Frameless glass door (pro-installed) | $500 to $1,200 |
Common mistakes to avoid
Using standard caulk instead of mold-resistant silicone in a shower is a mistake that shows within months. Also avoid installing a showerhead that exceeds your home’s water pressure rating, which causes inconsistent flow and accelerates fixture wear.
Next steps
These seven bathroom remodel ideas on a budget cover a range of difficulty and investment, but they share one thing: each one makes your bathroom look more deliberate without requiring a full demolition. Start with the projects that match your current skill level and move toward the ones that require professional help once you have a clearer picture of your total budget.
Some upgrades, like mirror framing, lighting swaps, and re-caulking, you can knock out in a single weekend. Others, like a custom vanity or built-in storage, benefit from working with someone who builds to your exact space rather than standard catalog dimensions. Getting those pieces right the first time saves you from costly corrections later.
If you’re on Cape Cod and want custom cabinetry or built-ins that actually fit your bathroom, reach out to Suman Custom Carpentry to talk through your project directly with the team.