
You want built-in shelving that looks like it was always part of the house, not a weekend project stapled to the wall. Maybe you’re staring at an empty alcove next to the fireplace, or you’re tired of bookshelves that don’t fit your space. Either way, you’re now facing the same question every homeowner runs into: build custom built in shelving yourself or bring in a carpenter who does this for a living.
There’s no single right answer, and honestly, it depends on your tools, your timeline, and how much you value a flawless fit. DIY built-ins can save money if you’re handy and patient. Hiring a pro gets you precise, code-compliant work without the trial and error, especially in older Cape Cod homes where walls are rarely square.
This guide walks through both paths. We’ll cover what a DIY build actually requires, from materials to tools to realistic time investment, and where professional custom built in shelving units pay for themselves in durability and design. By the end, you’ll know which route fits your project, your budget, and your skill level.
DIY vs. hiring a pro for custom built-in shelving
Before you pick up a circular saw or call a carpenter, get honest about what each path actually demands. A DIY build isn’t just cutting boards and driving screws. It means renting or owning a table saw, a pocket-hole jig, a brad nailer, and a level that actually reads true. It means learning to scribe a face frame to a wall that’s out of plumb by half an inch, which is common in homes built before 1980. Cape Cod’s older housing stock, with its settled foundations and hand-framed walls, makes this trickier than a YouTube tutorial usually admits. If you’ve never built cabinetry before, expect your first built-in to take three to four weekends, not the single Saturday the project blog promised.
Hiring a professional flips the equation. You’re paying for precision measuring, kiln-dried materials that won’t warp, and an install crew that’s fit shelving into a hundred different alcoves. A carpenter who works in your area already knows which walls in older capes and colonials tend to bow, and builds the scribe allowance into the design before the first cut is made. That experience is what turns a shelf unit from "looks okay" into something that reads as original to the house.
The real cost of DIY built-ins isn’t the lumber, it’s the hours you’ll spend fixing mistakes a pro would never make.
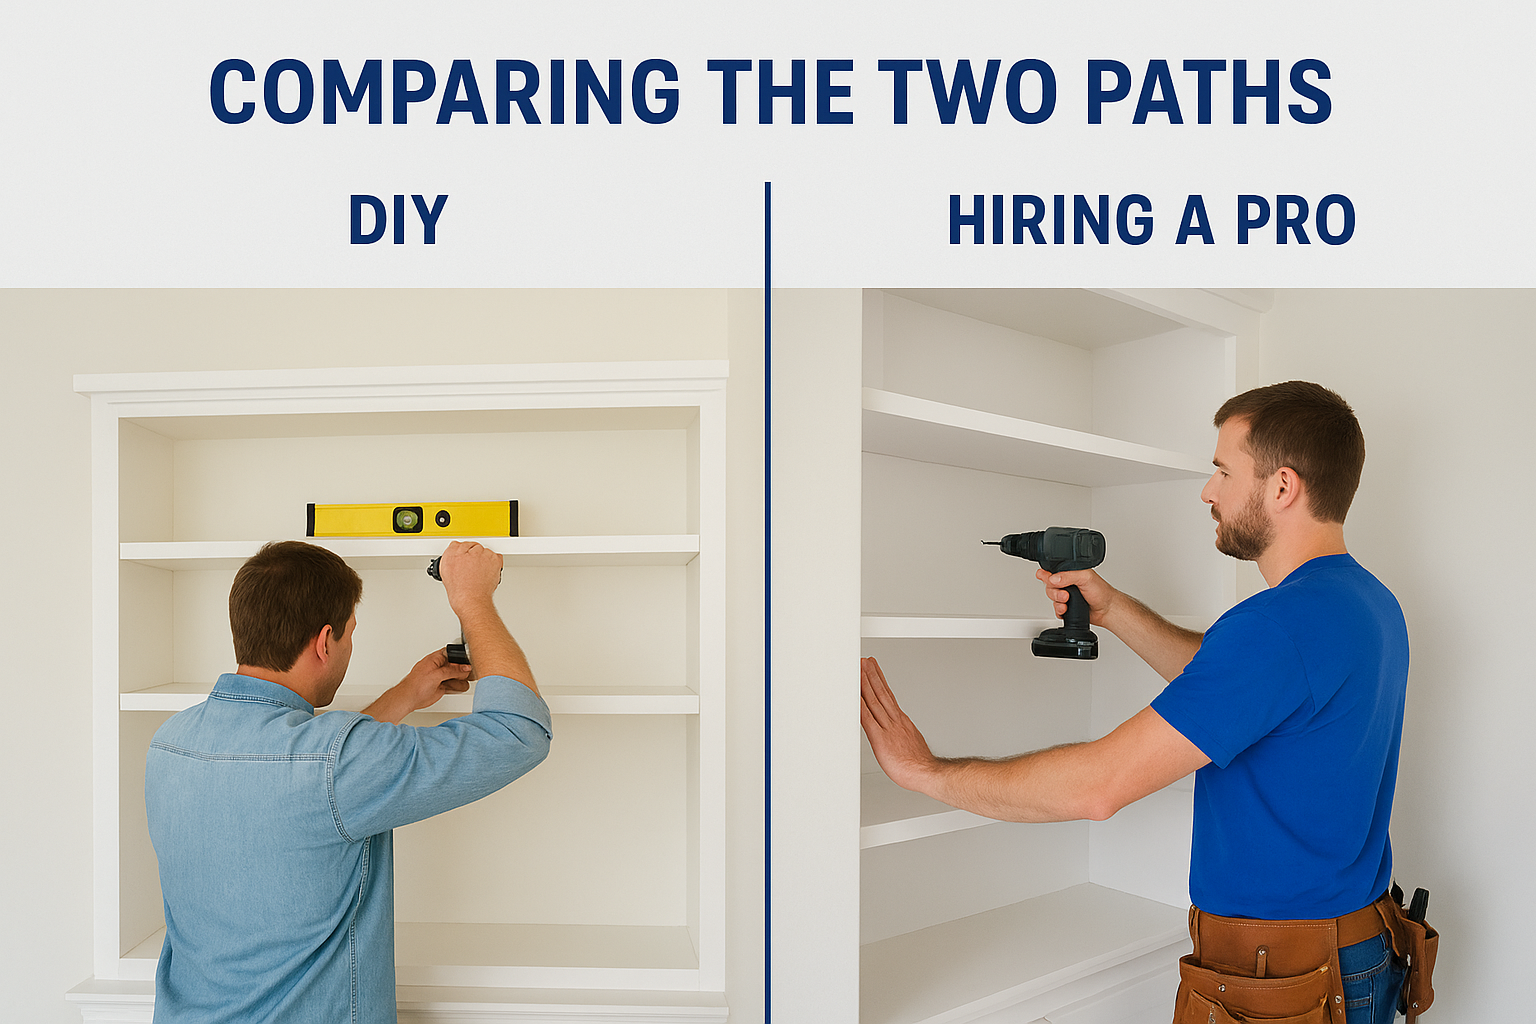
Comparing the two paths
Lay the decision out side by side and the tradeoffs get clearer fast. Money isn’t the only variable, tools, timeline, and risk tolerance matter just as much.
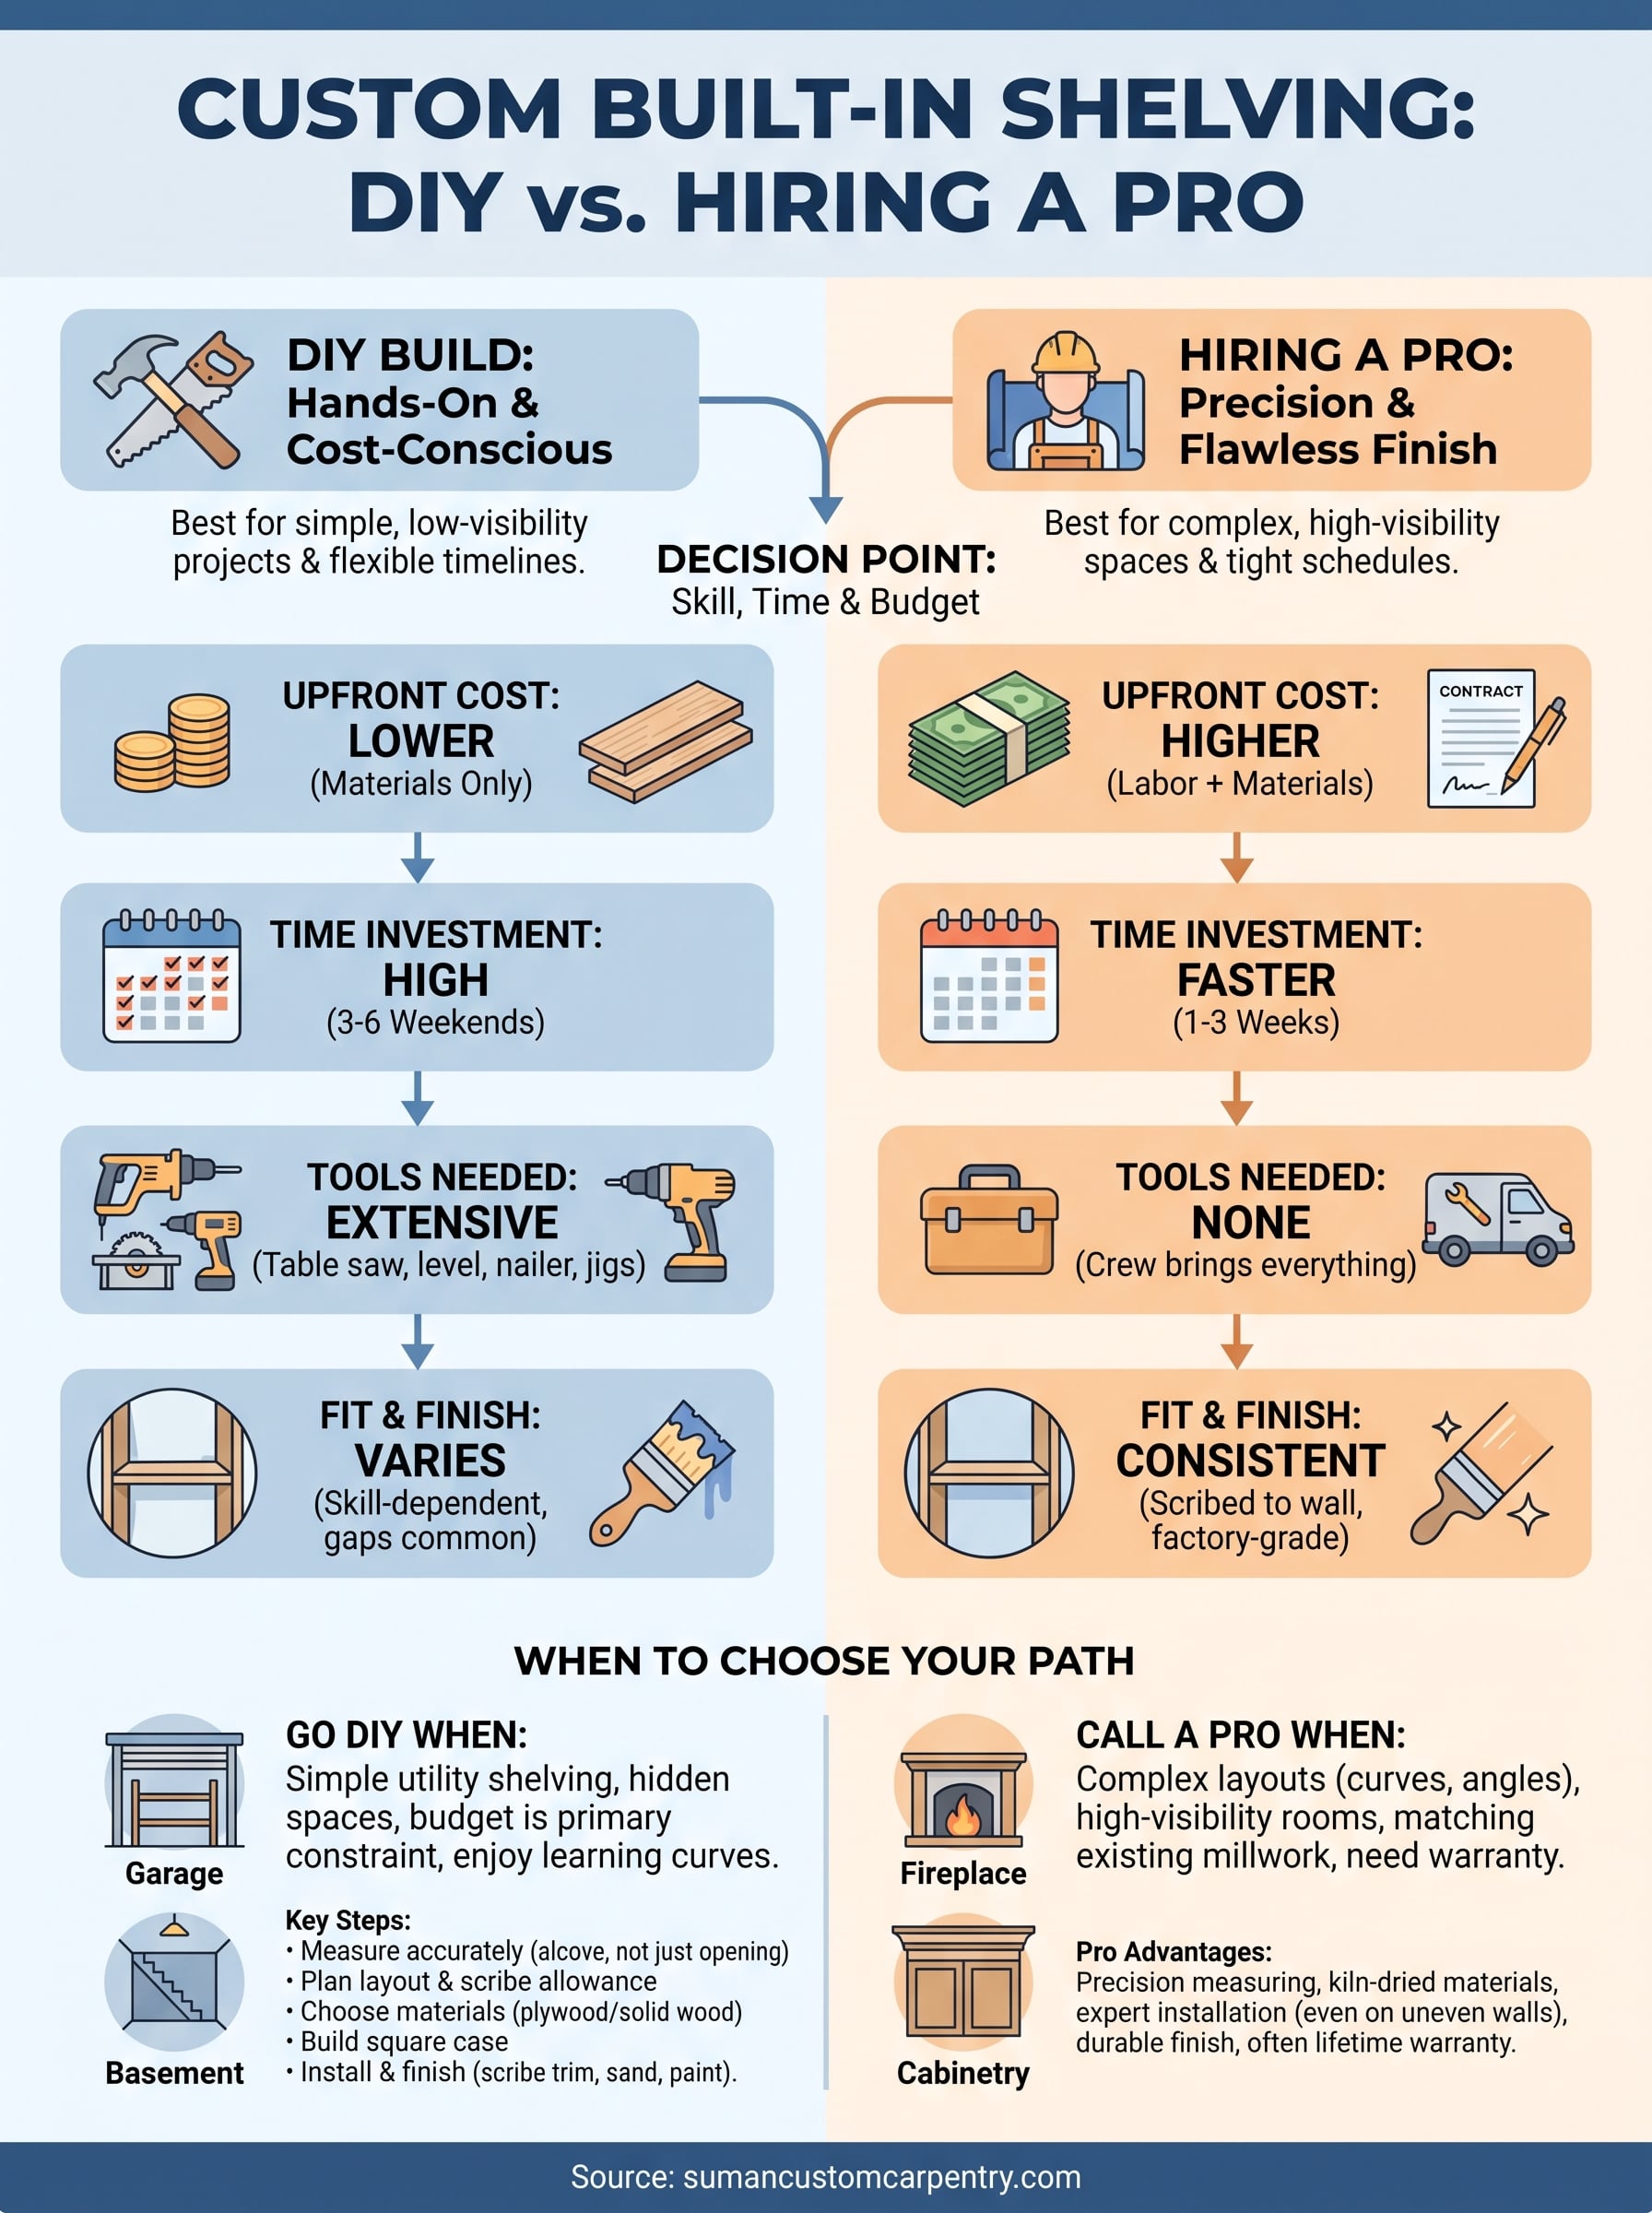
| Factor | DIY build | Hiring a pro |
|---|---|---|
| Upfront cost | Lower (materials only) | Higher (labor + materials) |
| Time investment | 3-6 weekends for a first build | 40-60 days for full custom kitchens; smaller shelving units often 1-3 weeks |
| Tools needed | Table saw, jig, nailer, level, clamps | None, brought by the crew |
| Fit accuracy | Depends on skill; gaps common on uneven walls | Scribed to the wall, tight seams |
| Finish quality | Varies with experience | Consistent, factory-grade finish |
| Warranty | None | Often lifetime on boxes and doors |
| Best for | Simple shelving, flexible timelines, tight budgets | Complex layouts, resale-focused homes, older construction |
When the math favors DIY
Sometimes building it yourself genuinely makes sense. If you’re adding simple open shelving in a garage, mudroom, or basement where perfect miters and furniture-grade finish don’t matter, DIY saves real money and gives you a project to be proud of. Skill matters here more than budget. If you’ve built a bookshelf or two, own basic power tools, and don’t mind a learning curve, a straightforward built-in shelving unit in a low-visibility space is a reasonable weekend-and-a-half project.
Otherwise, the calculation changes once the shelving sits in a living room, dining room, or anywhere guests will see it up close. Small errors, a shelf that’s a sixteenth of an inch off level, a seam where the unit meets an uneven wall, show up immediately in a finished space. Those flaws don’t just look bad, they can also lower how much value the built-in adds if you ever sell the house.
Ages and experience matter too. First-time builders often underestimate how much finish work, sanding, filling, priming, painting, adds to the timeline. That stage alone can eat up as much time as the actual carpentry. If your schedule is tight or you’re building around a big event like a holiday or a home sale, factor that finishing time in before committing to DIY.
Ultimately, the choice comes down to how much your time is worth and how visible the final product will be. A hidden closet shelf forgives mistakes. A living room built-in next to a fireplace does not. Keep that distinction in mind as you move into planning, because the steps that follow apply whether you’re picking up tools yourself or handing the project to someone who builds custom shelving for a living.
Step 1. Measure your space and plan the layout
Every built-in project starts the same way: with a tape measure, not a saw. Get the dimensions of your space wrong and nothing downstream matters, not the wood species, not the paint, not the joinery. Accurate measurements are what separate a built-in that looks original to the house from one that reads as an afterthought. Take your time here. This step costs nothing but an hour, and it’s the cheapest insurance you’ll buy on the whole project.
Measure the alcove, not just the opening
Walls move over decades, especially in older Cape Cod homes with settled foundations. Never trust that a wall is square just because it looks square. Measure width and height in at least three spots, top, middle, and bottom, and record the largest and smallest numbers you find.
- Width: measure at the top, middle, and floor level
- Height: measure at both back corners and the front opening
- Depth: measure from the wall to where the front face will sit
- Note any obstructions: outlets, baseboard heat, HVAC vents, window trim
- Check for out-of-plumb walls with a 4-foot level, not a phone app
A built-in is only as accurate as its worst measurement, so measure three times before you cut once.
Plan the layout around how you’ll actually use it
Once you know your real dimensions, sketch the layout before touching lumber. Decide how many shelves you need, where adjustable shelving makes sense versus fixed shelves for structural support, and whether you want a closed base cabinet, open shelving throughout, or a mix of both. Shelf spacing should match what’s actually going on the shelves, not a generic guess.
| What’s stored | Recommended shelf spacing |
|---|---|
| Paperback books | 8-10 inches |
| Hardcover books | 11-13 inches |
| Decorative objects, framed photos | 12-16 inches |
| Baskets or bins | 14-18 inches |
| Electronics or media equipment | Varies by device, add 2 inches clearance |
Professionals typically build in a scribe allowance of 1/4 to 1/2 inch on each side to account for wall irregularities, something worth copying even in a DIY build. Sketch your layout to scale on graph paper or in a free tool like SketchUp, and mark where each shelf lands relative to your stud locations. That drawing becomes your cut list in the next step, so the more precise it is now, the fewer surprises you’ll hit once the saw comes out.
Step 2. Choose materials and design details
Wood choice determines whether your built-in looks like furniture or looks like a garage shelf with trim glued on. Material selection matters more than most first-time builders expect, because plywood, MDF, and solid wood behave differently under paint, under weight, and over the humid Cape Cod summers that swell wood and shrink it again every winter. Get this decision right before you buy a single board, because swapping materials mid-project means redoing your cut list from scratch.
Picking the right material for the job
Plywood is the workhorse for most built-ins. Cabinet-grade plywood with a hardwood veneer takes paint and stain well, holds screws better than particleboard, and resists sagging over long spans. MDF gives you the smoothest painted finish but adds weight and hates moisture, so skip it near bathrooms or basements prone to dampness. Solid wood costs more and moves with humidity, which means you need to account for seasonal expansion in your joinery, not just your finish schedule.
| Material | Best for | Watch out for |
|---|---|---|
| Cabinet-grade plywood | Shelves, cabinet boxes, painted finishes | Edge banding needed to hide plies |
| MDF | Painted face frames, trim details | Poor moisture resistance, heavy |
| Solid hardwood | Visible shelves, high-end finish | Expands and contracts seasonally |
| Melamine board | Closets, utility shelving | Limited style options, chips easily |
Choose the wrong material and no amount of careful joinery will save the finish from failing early.
Nailing down the design details
Once you’ve settled on material, work through the smaller decisions that separate a generic shelf unit from something that reads as custom built-in shelving units designed specifically for your room. Doors or no doors changes both cost and how much dust the shelves collect. Crown molding at the top ties the unit into existing trim, while a matching baseboard at the bottom hides any gap left by an uneven floor.
- Adjustable shelf pins vs. fixed shelves for structural support
- Face frame vs. frameless (European-style) construction
- Paint-grade vs. stain-grade wood, based on whether grain should show
- Crown molding and baseboard to match existing room trim
- Cabinet doors, open shelving, or a mix of both
Drawing these choices onto your Step 1 layout before cutting anything saves you from the classic mistake of building the frame first and figuring out the doors later. Sketch it, price the materials, then move to the shop.
Step 3. Build the frame and shelves
Now the sketch becomes sawdust. Pull your cut list from the Step 1 drawing and cut every piece before you assemble anything, that discipline catches measurement errors while they’re still cheap to fix. Cut once, check twice applies here more than anywhere else in the build. A table saw with a sharp blade and a straight fence gives you cleaner edges than a circular saw and saves hours of sanding later.
Build the case first
Start with the box, not the face frame. Assemble the sides, top, and bottom using pocket screws or biscuit joints, then square the case with a framing square before the glue sets. Squaring the case now prevents a twisted unit that won’t sit flush against the wall later, a mistake that’s nearly impossible to correct once everything is fastened.
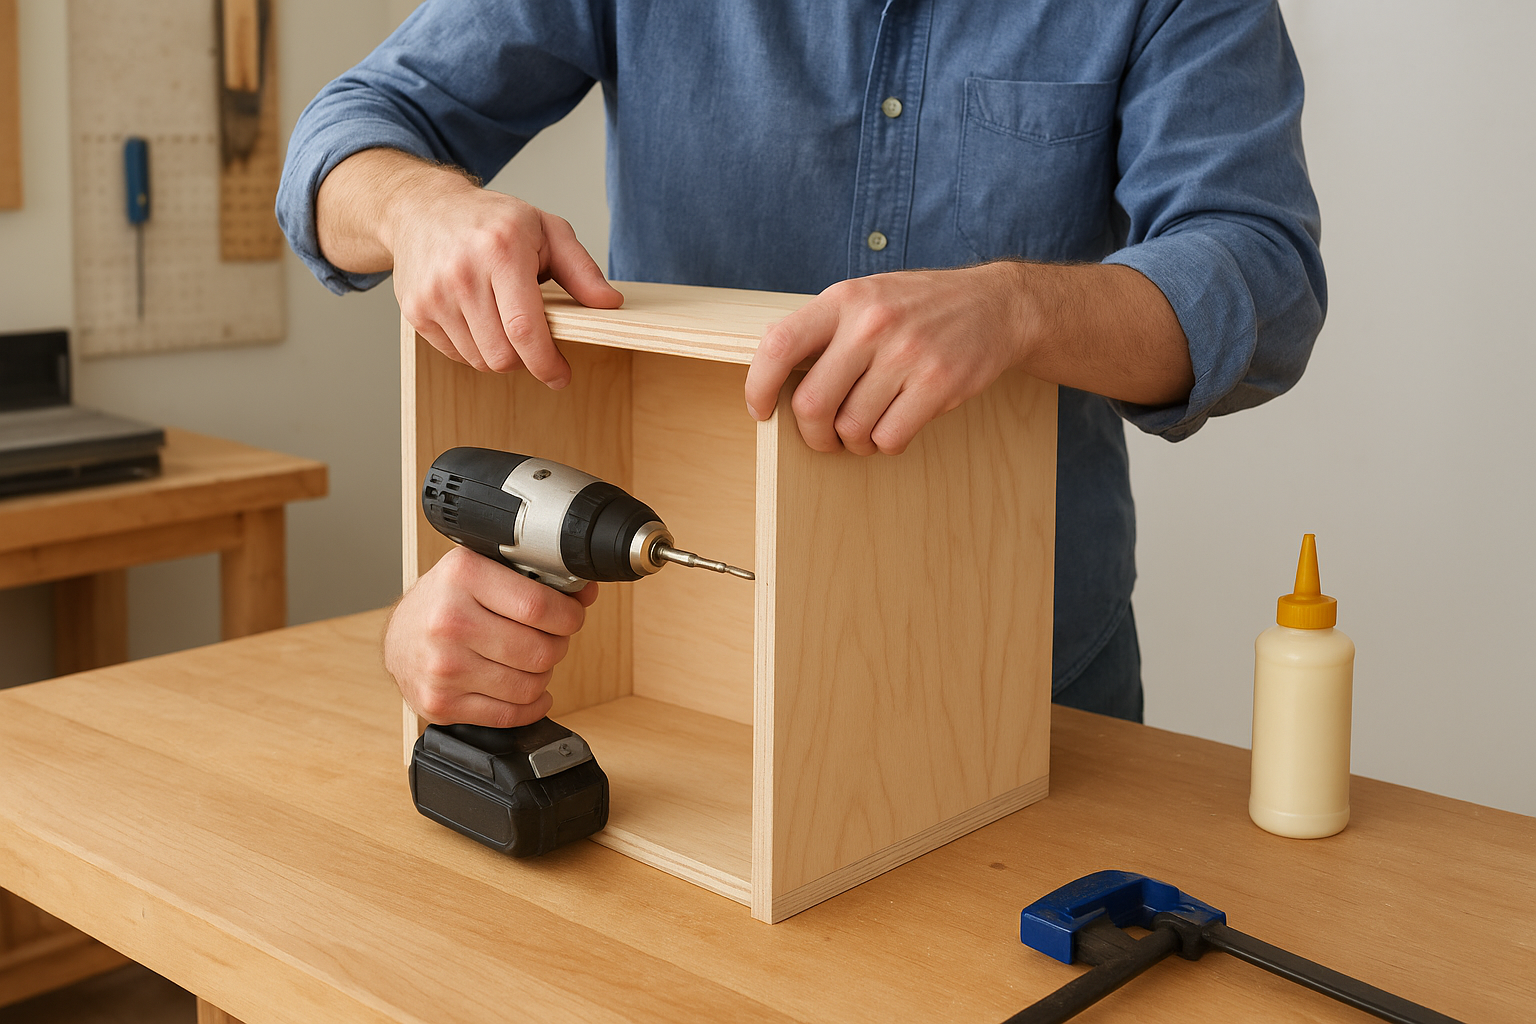
Sample cut list for a 36-inch-wide, 12-inch-deep built-in:
Sides (2): 3/4" plywood, 12" x 84"
Top/Bottom (2): 3/4" plywood, 34.5" x 12"
Back panel (1): 1/4" plywood, 36" x 84"
Fixed shelves (2): 3/4" plywood, 34.5" x 11.5"
Adjustable shelves (4): 3/4" plywood, 34.5" x 11.25"
Face frame stiles (2): 3/4" hardwood, 1.5" x 84"
Face frame rails (3): 3/4" hardwood, 1.5" x 33"
Adjust every dimension to your actual measurements, not the sample numbers above. Copy-paste cut lists from a blog post rarely match your wall.
A frame that’s out of square on day one stays out of square for the life of the shelf.
Add the shelves and face frame
Once the case is square and the glue has cured, attach fixed shelves with screws driven through the sides for structural support, then drill shelf-pin holes for any adjustable shelves using a pegboard jig to keep spacing even on both walls. Glue and nail the face frame to the front of the case, checking with a square after every piece goes on. Finally, attach the back panel, which does double duty: it hides the wall behind the unit and keeps the whole case from racking side to side. This is also the stage where custom built-in shelving starts looking like furniture instead of a box, so take the extra ten minutes to fill nail holes and knock down rough edges before moving to installation.
Step 4. Install and finish your built-in shelving
Installation is where a well-built case either locks into place like it belongs there or reveals every measurement you rushed back in Step 1. Work slowly here. Once your custom built in shelving is fastened and finished, there’s no easy do-over if a fastener misses a stud or a gap opens along the wall.
Secure the case to the wall
Find and mark every stud behind the alcove with a stud finder, then double-check with a small pilot hole before committing to full-length screws. Structural screws driven through the back panel and into studs, not just drywall anchors, are what keep a loaded bookshelf from pulling away from the wall years later. Shim behind the case as needed to bring it plumb, checking with a level at the top, middle, and bottom before you tighten anything down.
- Locate studs with a stud finder and confirm with a test screw
- Shim the case level before final fastening
- Drive screws through the back panel into at least two studs
- Countersink screw heads so trim can hide them later
Scribe trim for a seamless fit
Scribing is the step that separates a built-in from a piece of furniture shoved into a gap. Run a compass along the wall with the pencil tip tracing the wall’s actual contour onto your scribe strip, then cut along that line with a jigsaw for a joint so tight you won’t see daylight behind it. Scribe molding along the sides and top closes any gap left by an out-of-plumb wall, and it’s a five-minute fix that saves you from a caulk line that cracks within a year.
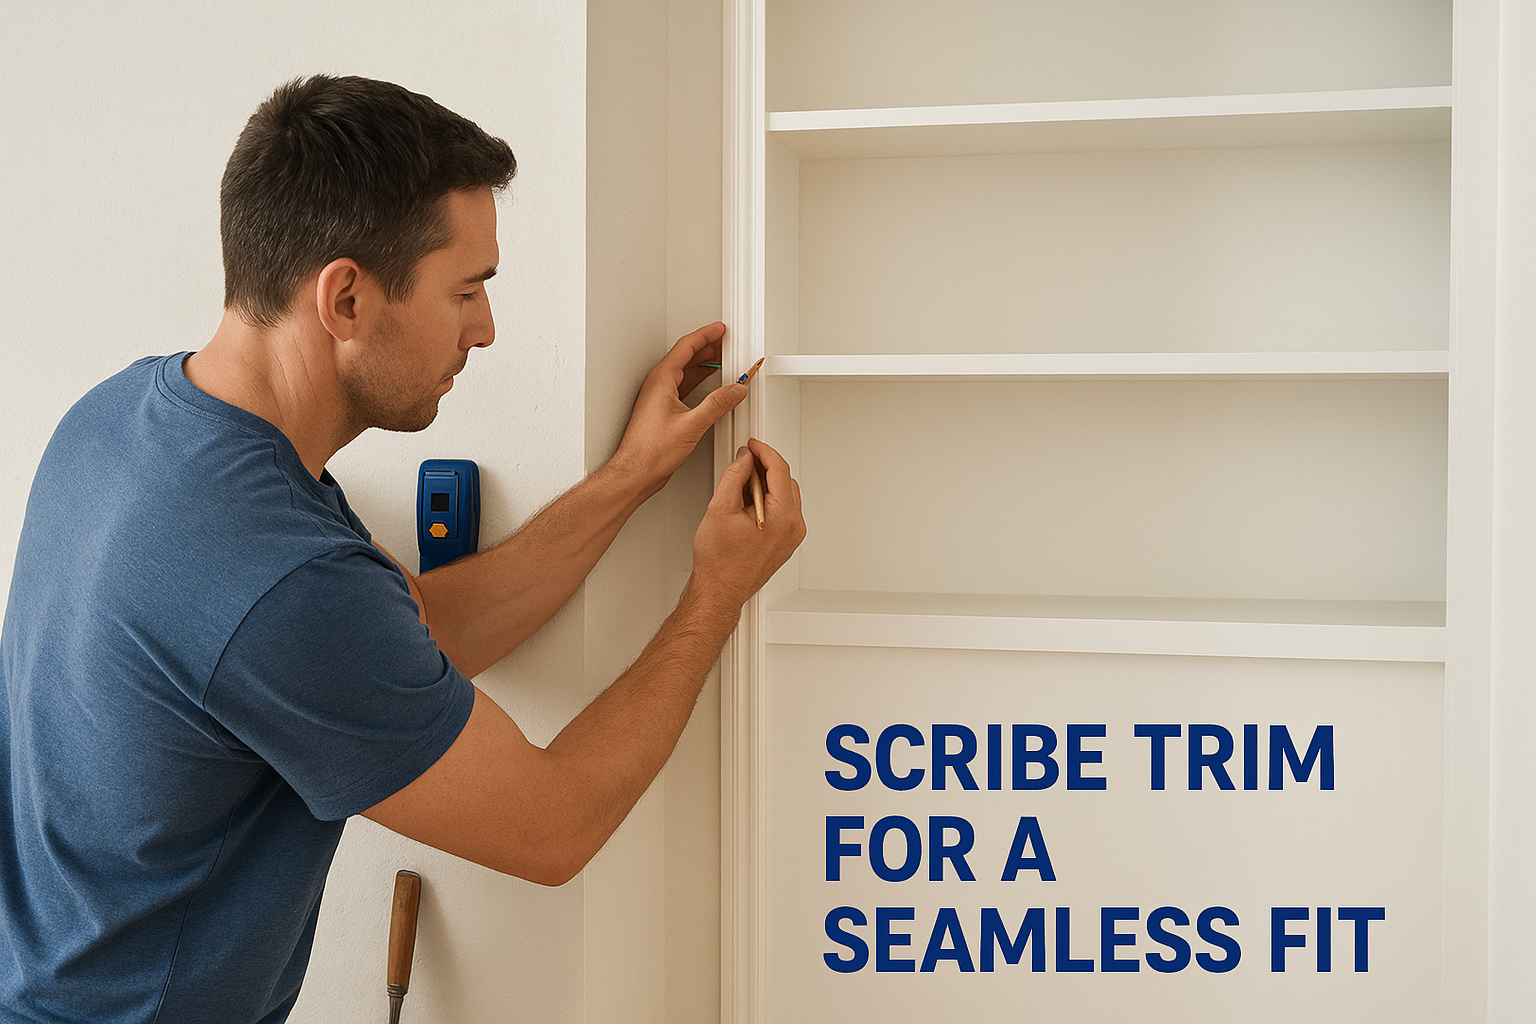
A tight scribe joint is what makes a built-in look like it grew out of the wall instead of sitting in front of it.
Sand, fill, and finish
Filling nail holes, sanding every surface to at least 220 grit, and priming before paint is the stage most first-time builders underestimate. Finish quality depends almost entirely on prep work, not the paint itself, so don’t rush past it to see the final color. For painted units, two coats of a durable enamel hold up better than a single heavy coat. For stained wood, wipe on a pre-stain conditioner first to avoid blotching, especially on softer woods like pine.
| Finish type | Coats recommended | Dry time between coats |
|---|---|---|
| Painted enamel | 2 | 4-6 hours |
| Stain and topcoat | 1 stain, 2 topcoat | 6-8 hours |
| Clear polyurethane | 2-3 | 4-6 hours |
When to call in a custom carpentry professional
Some projects announce themselves as DIY the moment you start measuring, and others tell you just as clearly that you need to hand off the tape measure. Structural complexity is usually the first sign. If your built-in needs to span a load-bearing wall, wrap around a window, or tie into existing crown molding that doesn’t run level, you’re no longer building a box with shelves in it. You’re solving a carpentry puzzle that assumes years of experience with how houses actually settle and shift.
Budget for mistakes matters too, because a botched DIY attempt doesn’t just cost you a weekend, it costs you the materials you’ll need to buy twice. Custom built in shelving built for a living room, a built-in bookcase flanking a fireplace, or a unit that has to match existing millwork throughout the house carries a much higher cost of failure than a garage shelf ever will. Once a project reaches that level of visibility, professional tolerances stop being a luxury and start being the difference between a finished room and a permanent reminder of a rushed cut.
The moment a mistake would cost more to fix than a professional would have charged to build it right, it’s time to call a pro.
Signs your project has outgrown DIY
Watch for these signals before you commit another weekend to the shop:
- The alcove involves curves, angles, or a fireplace surround rather than a flat rectangular wall
- You need the unit to match existing cabinetry, trim, or wood species elsewhere in the home
- The project involves electrical work, like built-in lighting or outlets routed through the shelving
- You’re short on time and the built-in needs to be ready for a sale, event, or holiday
- Your walls are noticeably out of plumb and scribing feels intimidating rather than routine
What a professional brings that a DIY build can’t
Experience shows up in details a first-time builder rarely anticipates. A carpenter who’s built dozens of custom built-in shelving units in older coastal homes already knows how to detail around baseboard heat, how to keep painted MDF from swelling in a humid basement, and how deep a scribe allowance needs to be on a wall that’s bowed an inch over eight feet. That knowledge, paired with a shop full of the right tools, is what turns a good idea into a finished piece that holds up for decades rather than a few seasons. If your project checks more than one box on the list above, the honest move is picking up the phone instead of the circular saw.
Choosing the right path for your space
By now you’ve got a real answer to the question you started with. A garage shelf or a simple closet unit is a fair weekend project for anyone comfortable with a saw and a level. A living room built-in flanking a fireplace, wrapping a window, or matching existing millwork is a different job entirely, one where custom built in shelving units built by hand and scribed to your actual walls beat a DIY attempt every time.
Think honestly about your walls, your timeline, and how visible the finished piece will be before you commit to either path. If your project checks several boxes from the professional section above, don’t spend another weekend fighting an out-of-plumb wall. Get in touch with Suman Custom Carpentry and let a Cape Cod shop that builds this stuff daily give your space shelving that actually fits.