
A bathroom remodel can transform one of the most-used rooms in your home, but without a solid plan, it can also become one of the most stressful projects you take on. Knowing how to plan a bathroom remodel before you pick up a single tile sample saves you from budget blowouts, missed deadlines, and design choices you’ll regret. Whether you’re updating a guest bath or gutting your primary suite, the planning phase is where good outcomes are built.
At Suman Custom Carpentry, we’ve designed and installed custom vanities, cabinetry, and millwork for bathrooms across Cape Cod since 2018. We’ve seen firsthand what separates smooth renovations from chaotic ones, and it almost always comes down to preparation. From setting a realistic budget to understanding the correct sequence of demolition and installation, the decisions you make early on shape every phase that follows.
This guide walks you through the full process step by step: budgeting, setting timelines, choosing materials, hiring the right people, and organizing the work in the right order. By the end, you’ll have a clear framework to plan your remodel with confidence, and avoid the costly mistakes that catch most homeowners off guard.
What to decide before you start planning
Before you dive into figuring out how to plan a bathroom remodel, there are foundational questions you need to answer first. These decisions shape everything from your budget ceiling to which contractors you’ll need, so skipping this step leads to expensive mid-project corrections. Clarifying your priorities upfront gives every subsequent decision a reference point, and it keeps you from being pulled in different directions by trends, sales pressure, or a contractor with a completely different vision than yours.
Know your goals and non-negotiables
Every remodel has a primary goal, whether that’s increasing resale value, fixing a layout that no longer works, or replacing fixtures that have become outdated or unreliable. Write yours down before any other step. Then list your non-negotiables: the things that are off the table regardless of budget pressure. For example, you might decide a double vanity is a firm requirement, but the tile pattern is flexible.
When you separate must-haves from nice-to-haves before the design phase begins, you make faster, better decisions every time a trade-off comes up.
This simple exercise also helps you communicate clearly with contractors and designers. Vague goals produce vague quotes, and vague quotes produce budget surprises at exactly the wrong moment.
Understand how the space will be used
Think about who uses the bathroom daily and what their routine actually looks like. A primary bathroom shared by two adults has completely different functional demands than a kids’ bath or a guest powder room. Consider storage needs, counter space, shower versus tub preference, and any accessibility requirements you may need now or in the future.
Use this checklist to organize your thinking before any contractor conversation:
- Number of daily users
- Morning routine overlap (one sink or two?)
- Storage requirements (towels, toiletries, linens)
- Accessibility needs (grab bars, walk-in shower, wider doorway)
- Ventilation and lighting priorities
- Plumbing moves you’re considering
Answering these questions before you call anyone puts you in control of every conversation that follows.
Step 1. Set the scope and budget that fits your home
Scope and budget are the two decisions that control every other choice in your remodel. When you understand how to plan a bathroom remodel correctly, you set these two parameters before touching anything else. A cosmetic refresh with new fixtures and paint sits in a completely different category from a full gut renovation that moves plumbing and changes the footprint.
Define your scope first
Your scope determines your contractor list, your permit requirements, and your timeline. A surface-level update typically includes replacing vanities, lighting, mirrors, and tile without relocating pipes. A full renovation involves demolition, potential structural changes, and all-new plumbing and electrical runs.
Use this quick reference to identify where your project falls:
| Scope Level | What’s Included | Typical Timeline |
|---|---|---|
| Cosmetic refresh | Fixtures, paint, hardware | 1-2 weeks |
| Mid-level remodel | Vanity, tile, lighting, no plumbing moves | 3-5 weeks |
| Full gut renovation | Layout changes, new plumbing and electrical | 6-12 weeks |
Build a realistic budget
Once you know your scope, set a budget with a 15-20% contingency buffer built in from the start. Hidden costs like water damage behind walls or outdated wiring appear often in older Cape Cod homes. Custom vanities and millwork typically represent 20-30% of a bathroom budget, so factor those in early rather than treating them as an afterthought.
A budget without a contingency is not a budget; it is a best-case scenario that rarely survives demolition.
Step 2. Lock in the layout, storage, and function
Once your budget is set, locking in the layout is the next critical step in figuring out how to plan a bathroom remodel. Moving a toilet or shower requires rerouting plumbing, which adds significant cost, so decide early whether you’re keeping the existing footprint or changing it. Every layout decision you make here affects what trades you’ll need and how long the project runs.
Map your storage needs before finalizing the design
Storage is the most overlooked part of bathroom planning. Most homeowners focus on tile and fixtures while underestimating how much they need to store, and then live with inadequate cabinet space for years. Before you finalize any design, count your actual storage items: towels, toiletries, cleaning supplies, and any medications or first aid items that live in the bathroom.

A custom vanity built specifically for your space solves this problem better than any off-the-shelf unit. Measure your wall space, ceiling height, and door clearances before meeting with a carpenter or designer so you arrive with real numbers rather than rough estimates.
Confirm function matches how you actually use the space
Traffic flow and task zones determine whether a bathroom feels functional or frustrating. Place the vanity and mirror where natural light hits best, and keep the toilet area as private as your footprint allows. Verify that drawer and door swings won’t conflict with each other or the main entry before finalizing your plan.
Your layout should serve your daily routine, not the other way around.
Step 3. Choose materials and finishes that will last
Material selection is where many homeowners spend too much time chasing trends and too little time thinking about long-term performance. When you’re working through how to plan a bathroom remodel, your finish choices need to hold up against daily moisture, cleaning products, and heavy use for at least a decade. Prioritizing durability from the start prevents costly replacements and keeps your bathroom looking sharp years after installation.
Prioritize durability in wet zones
The areas around your shower, tub, and floor take the most abuse, so material quality matters most in these spots. Porcelain tile is one of the most reliable options for floors and shower walls because it resists moisture and cleans easily. Rectified tile with minimal grout joints also reduces the mold-prone surface area that plagues older bathroom designs.
The finish you choose for wet zones should be rated for floor use or explicitly marked as moisture-resistant before you commit to it.
Match finishes to your maintenance tolerance
Your lifestyle determines how much upkeep you can realistically commit to. Natural stone looks beautiful but requires sealing and careful cleaning. Quartz countertops on a custom vanity give you a low-maintenance, durable surface that handles daily use without special treatment. Before finalizing any material, ask the supplier directly about cleaning requirements, sealing schedules, and typical lifespan.
- Porcelain tile: minimal maintenance, highly durable
- Quartz vanity tops: no sealing required, stain-resistant
- Natural stone: requires annual sealing, higher upkeep
- Sealed solid wood cabinetry: durable with proper ventilation
Step 4. Hire the right pros and cover permits
Knowing how to plan a bathroom remodel means understanding that the right team is just as important as the right materials. A bathroom renovation typically involves multiple trades, and coordinating them in the wrong order, or hiring unqualified contractors, costs you time and money. Vet every contractor before signing anything: check their license status with the Massachusetts Division of Professional Licensure, verify insurance coverage, and ask for references from similar projects.
Know which trades your project actually needs
Not every remodel requires every trade, so matching contractors to your actual scope prevents overspending. Use this list to identify who your project requires:
- General contractor or carpenter: overall coordination, custom millwork, vanities, built-ins
- Licensed plumber: any fixture relocation, supply line work, or drain changes
- Licensed electrician: new lighting circuits, GFCI outlet installation, exhaust fan wiring
- Tile installer: floor and wall tile in wet zones
Hiring a carpenter who also manages trade coordination simplifies communication and reduces the gap between what you planned and what gets built.
Pull permits before any work starts
Permit requirements in Massachusetts apply to plumbing, electrical, and structural changes, even in a bathroom remodel. Contact your local building department early, since permit timelines vary by town on Cape Cod. Skipping permits creates problems at resale and voids many contractor warranties, so treat them as a fixed step, not an optional one.
Step 5. Map the exact remodel order and timeline
The sequence in which work happens determines whether your project runs smoothly or stalls while waiting on trades. Understanding how to plan a bathroom remodel includes knowing that each phase depends on the one before it, and scheduling contractors out of order creates rework that costs both time and money. A written timeline with clear milestones keeps every trade accountable and gives you a concrete way to spot delays before they compound.
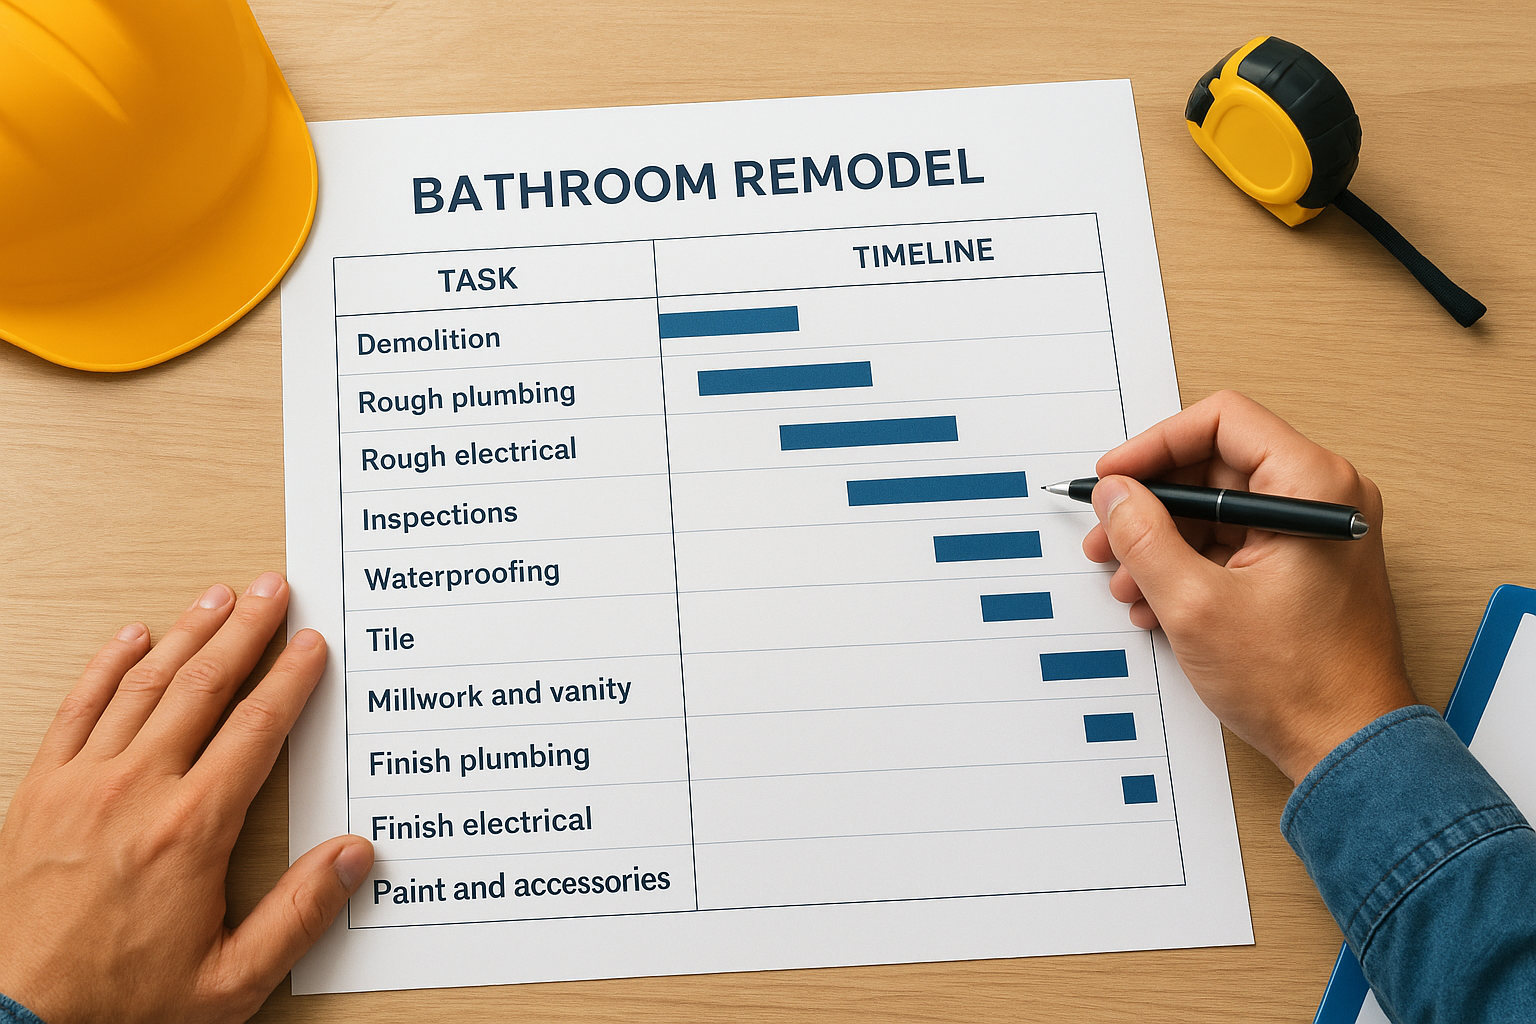
Build your schedule backward from your target completion date so you know exactly when each trade needs to start.
Follow the correct trade sequence
Working in the right order prevents finished surfaces from being damaged by trades coming in afterward. Locking in this sequence before any work begins also lets you schedule each contractor with accurate start dates rather than rough guesses. Here is the standard order for a full bathroom remodel:
| Phase | Work Involved | Who Does It |
|---|---|---|
| 1. Demolition | Remove fixtures, tile, drywall | GC or carpenter |
| 2. Rough plumbing | Drain and supply rough-in | Licensed plumber |
| 3. Rough electrical | New circuits, fan, lighting runs | Licensed electrician |
| 4. Inspections | Plumbing and electrical sign-off | Building department |
| 5. Waterproofing | Backer board, membrane in wet zones | Tile installer |
| 6. Tile | Floor and wall tile installation | Tile installer |
| 7. Millwork and vanity | Custom vanity and cabinetry install | Carpenter |
| 8. Finish plumbing | Fixtures, faucets, toilet set | Licensed plumber |
| 9. Finish electrical | Outlets, switches, lighting trim | Licensed electrician |
| 10. Paint and accessories | Final coat, hardware, mirrors | GC or painter |
Build two to three buffer days between each phase so that a single trade delay does not push back your entire completion date.
Next steps for a smooth remodel
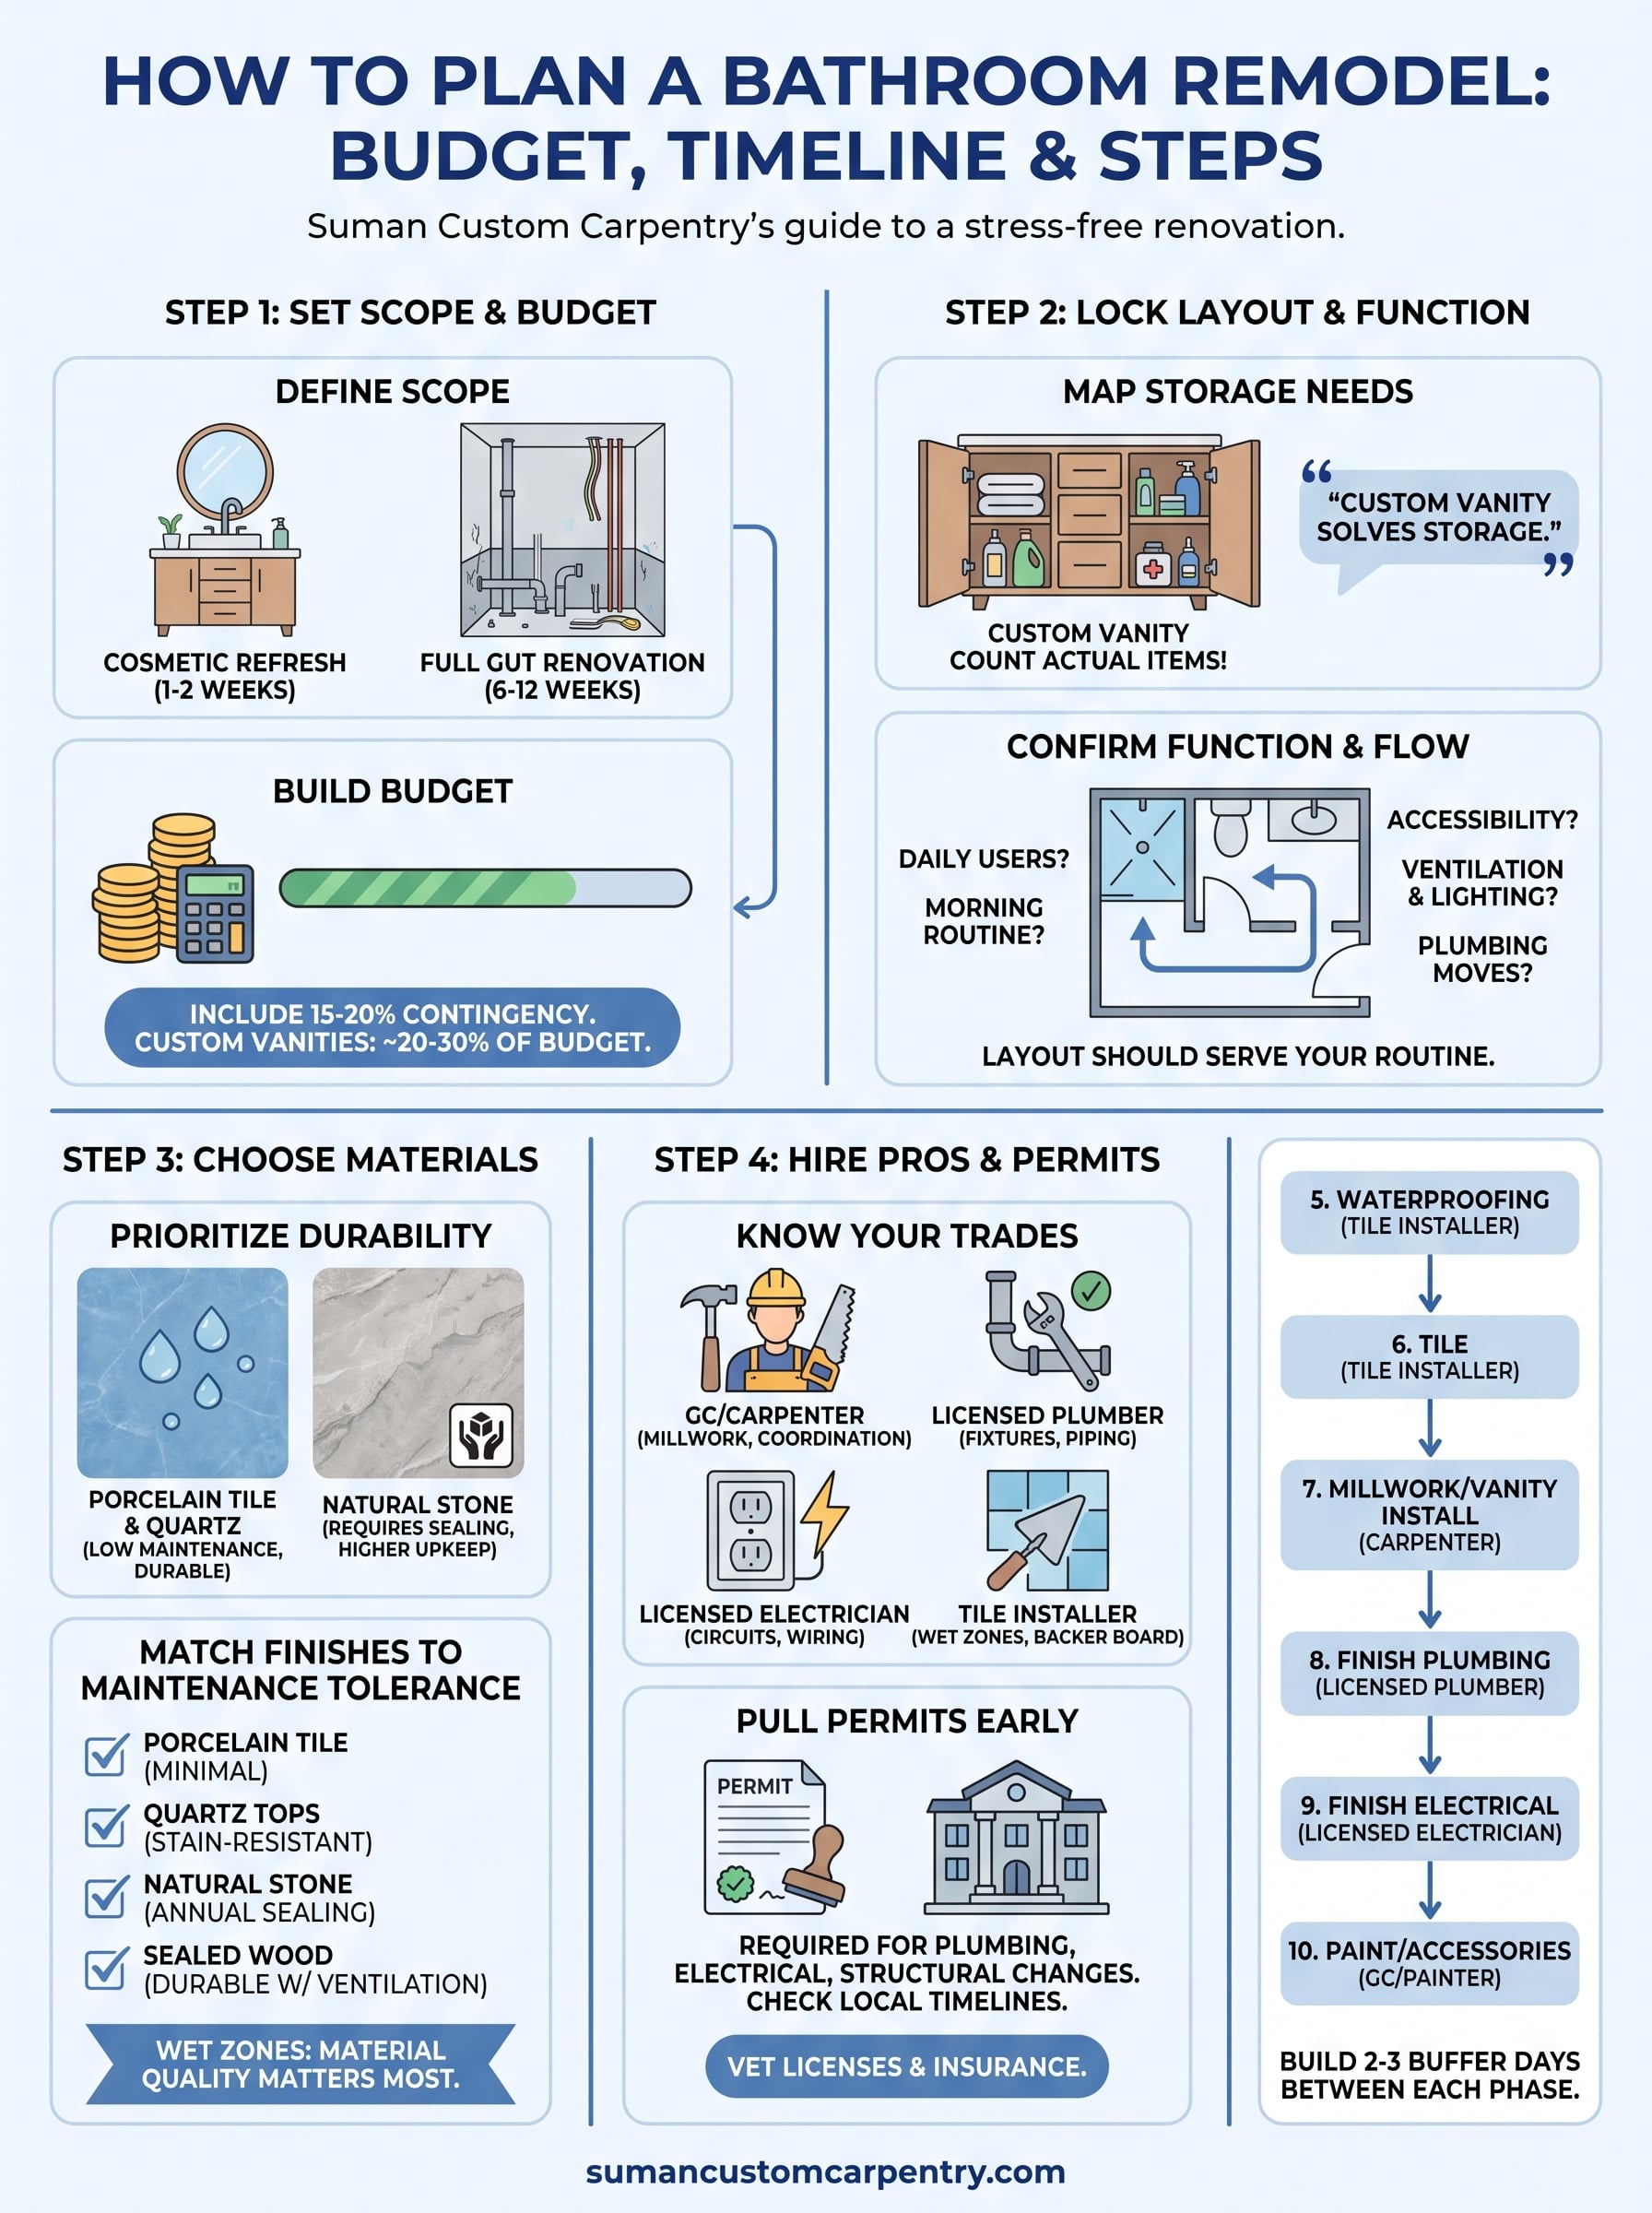
You now have a complete framework for how to plan a bathroom remodel from the first budget number to the final coat of paint. The difference between a project that finishes on time and one that drags on for months comes down to decisions made before any work starts: a clear scope, a realistic budget with contingency, a locked layout, durable materials, verified contractors, and a sequenced schedule every trade follows.
Take what you have learned here and put it into a single project document. Write down your scope, your non-negotiables, your trade sequence, and your target completion date in one place so you can share it with every contractor you bring on. Clarity on paper translates directly into fewer surprises on-site.
If you need custom vanity work, built-ins, or any millwork as part of your remodel on Cape Cod, contact Suman Custom Carpentry to start your project consultation.