
A kitchen renovation is one of the most rewarding upgrades you can make to your home, and one of the easiest to botch without a plan. Between choosing materials, coordinating trades, setting a realistic budget, and keeping the whole project on schedule, there are dozens of decisions that need to happen in the right order. That’s exactly why having a solid kitchen renovation checklist matters. It keeps you organized, prevents costly surprises, and gives you a clear path from demo day to the final walkthrough.
At Suman Custom Carpentry, we’ve built and installed custom kitchens across Cape Cod since 2018. Every project we take on, from cabinetry design to final trim, is hand-built in our Hyannis shop and managed start to finish by our team. Through hundreds of kitchen builds, we’ve seen what separates a smooth remodel from a stressful one. It almost always comes down to preparation before the first board is cut.
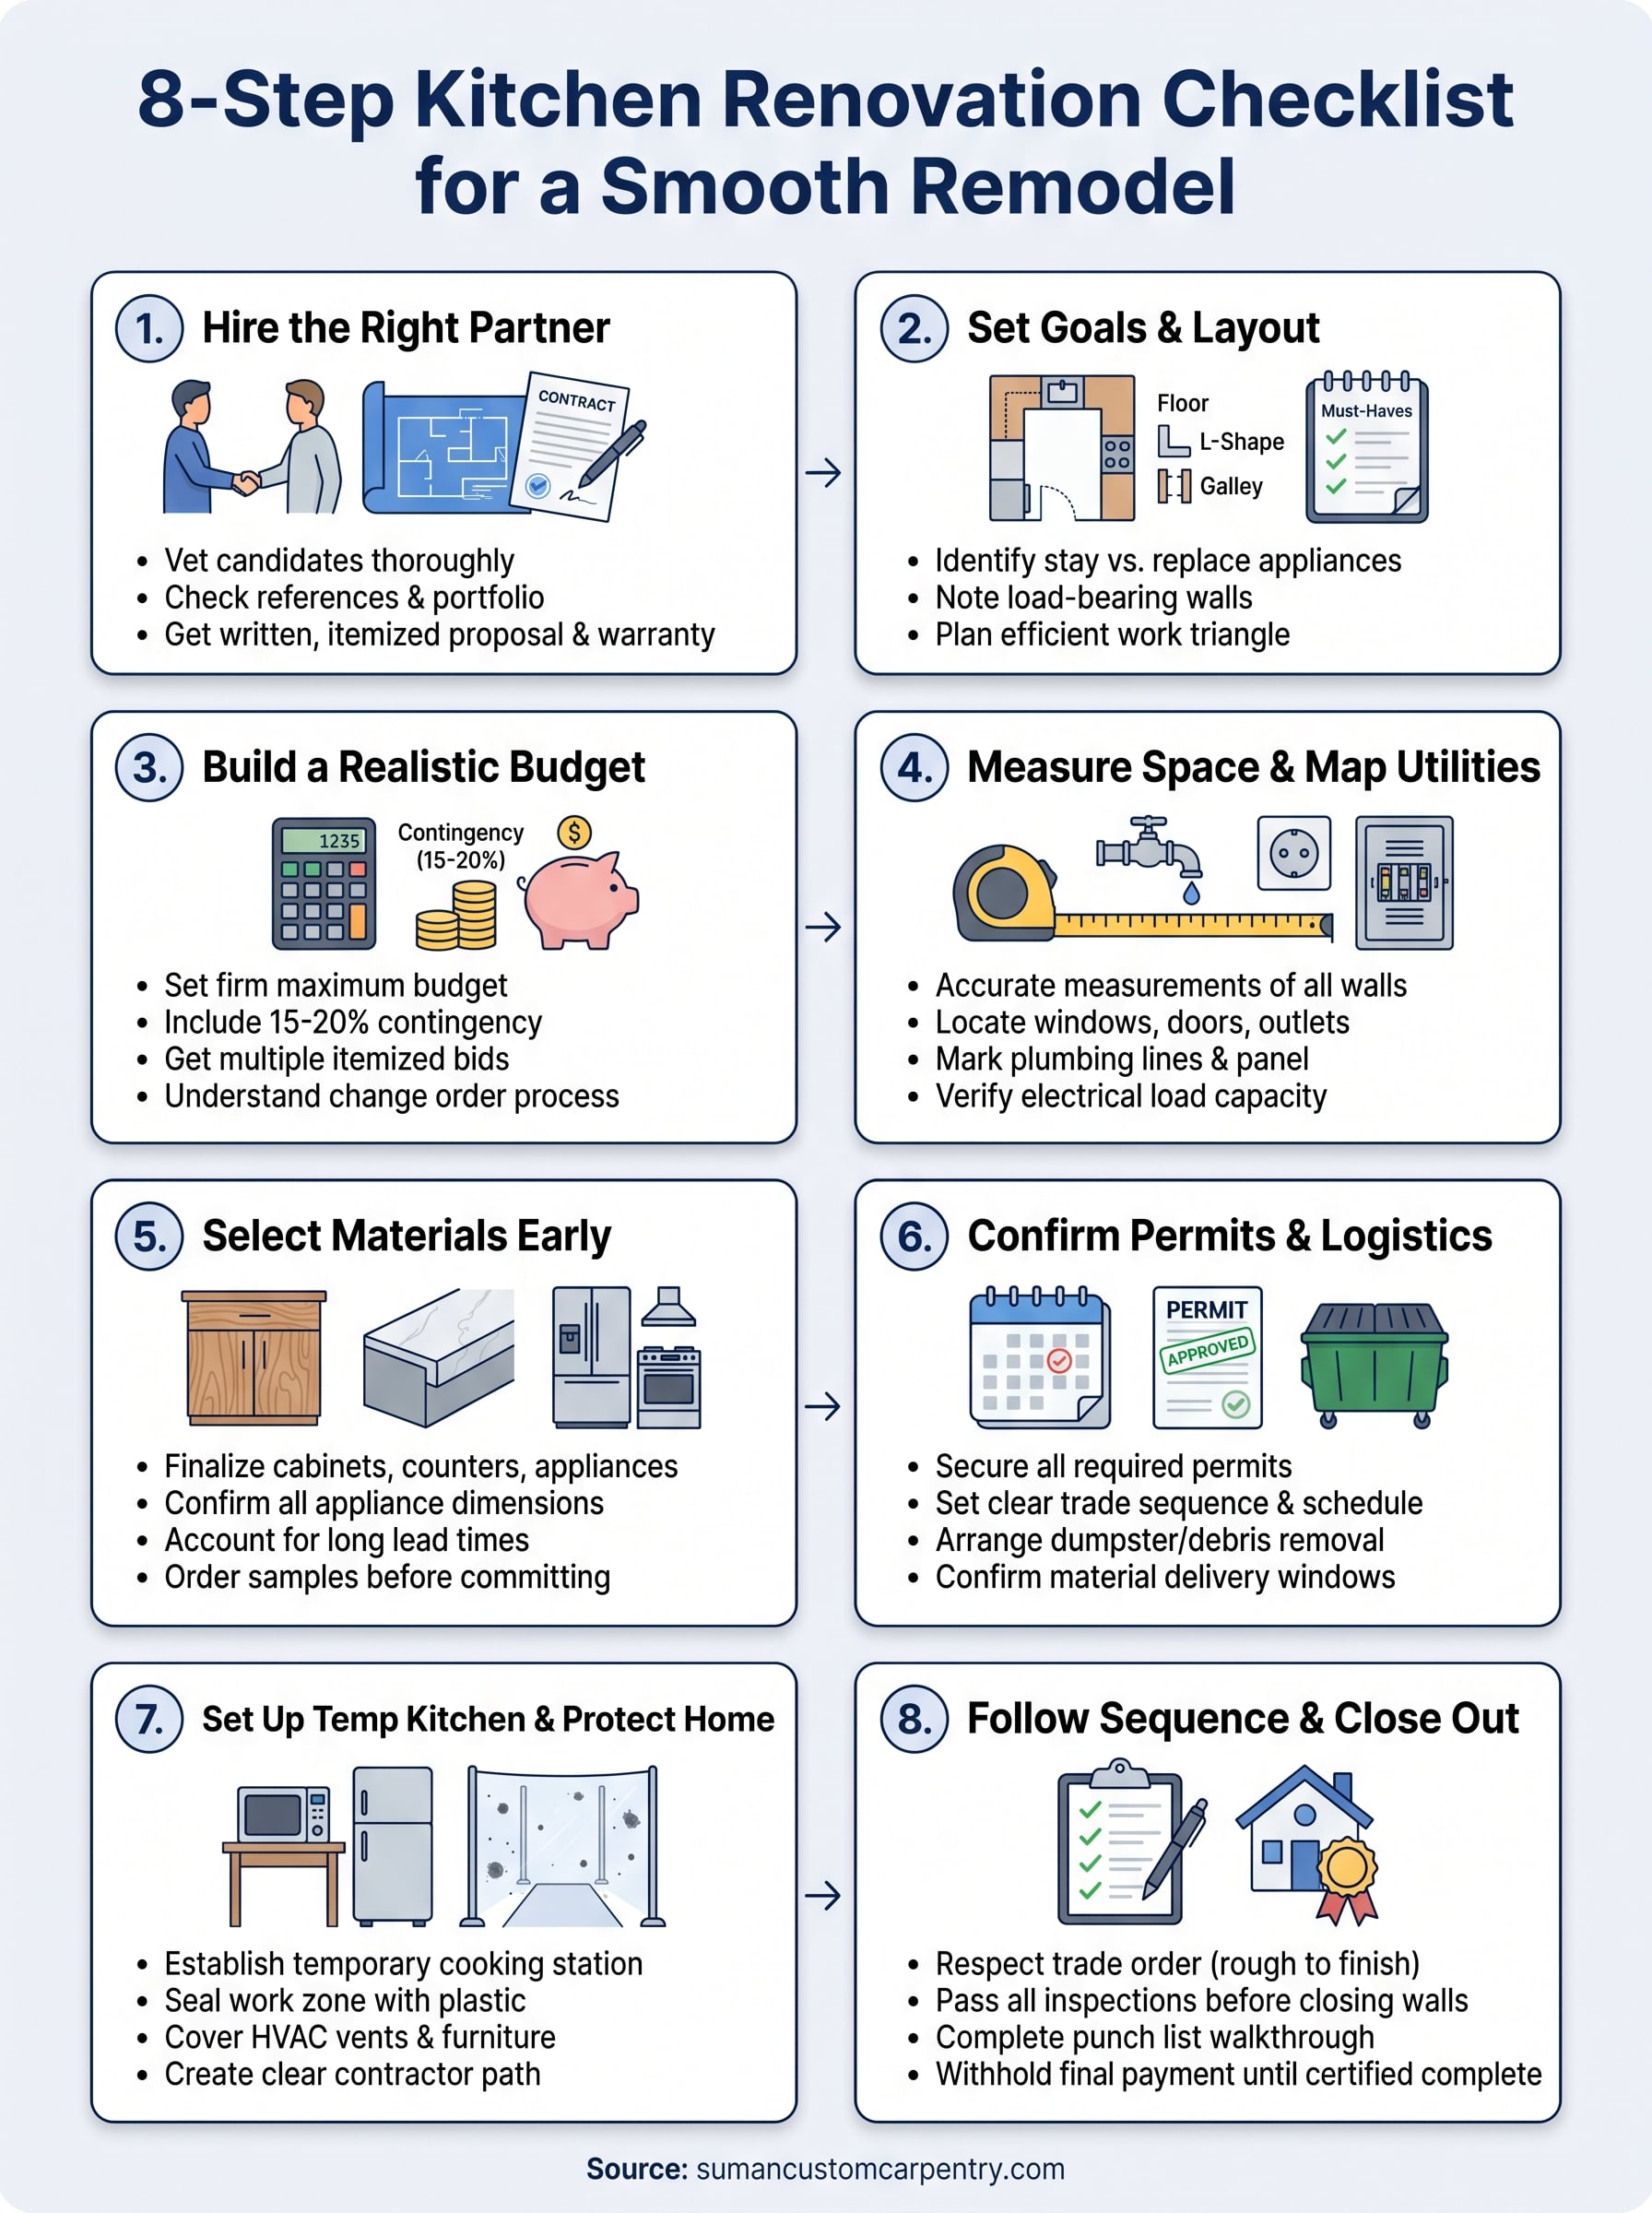
This guide breaks the process into eight clear steps, covering everything from early goal-setting and budgeting through installation and punch list completion. Whether you’re planning a full gut renovation or replacing your cabinets and countertops, use this as your roadmap. Each step builds on the last so nothing falls through the cracks, and so you actually enjoy the process instead of just surviving it.
1. Hire the right kitchen remodel partner
Who you hire sets the ceiling for every other decision in your project. A skilled, communicative contractor keeps your project on schedule and within budget. The wrong one creates delays, unexpected costs, and work you’ll need to redo later. Before you finalize any other step in your kitchen renovation checklist, spend real time vetting your remodeling partner. This step deserves far more attention than most homeowners give it, and it pays off at every phase that follows.
Checklist items to complete
Getting this step right takes actual legwork before you commit to anyone. Work through each item below before you sign anything:
- Verify the contractor is fully licensed and insured in your state
- Request at least three references from recently completed kitchen projects
- Review a portfolio of past work, especially kitchens similar in scope and style to yours
- Confirm whether custom cabinetry is built in-house or subcontracted to a third party
- Ask for a written, itemized proposal that separates materials, labor, and timeline clearly
- Check that the contract includes a clear warranty covering both labor and materials
Questions to ask before you sign
The proposal gives you numbers. Your questions reveal how the contractor actually runs a job. Ask every candidate the following before you put your signature down:
- Who manages day-to-day work on site, and can you reach them directly?
- How do you handle unexpected structural issues or hidden damage found during demolition?
- What does your client communication schedule look like during an active build?
- Do you pull the required permits, or does that responsibility fall to the homeowner?
The answers to these questions tell you more about how your project will actually run than any review or portfolio ever will.
Common pitfalls to avoid
Choosing on price alone is the most consistent mistake homeowners make at this stage. A low bid often signals corners cut on materials or a timeline built on optimism rather than real experience. You also want to avoid signing a vague contract that lacks specifics on scope, payment milestones, and timeline. Anything not written down does not exist in a dispute. Handle this correctly now, and you will avoid renegotiating the entire job halfway through demolition.
2. Set goals, priorities, and your new layout
Before any contractor picks up a tape measure, you need to know what you actually want from this project. Skipping this step leads to scope creep, budget overruns, and a finished kitchen that solves the wrong problems. Write down your non-negotiables versus nice-to-haves so every decision you make later has a clear reference point.

Checklist items to complete
Work through this portion of your kitchen renovation checklist before your first design meeting so nothing gets decided by default:
- List your three biggest frustrations with your current kitchen layout
- Choose a layout direction: galley, L-shape, U-shape, or open concept
- Identify which appliances stay and which get replaced
- Note any structural walls you suspect are load-bearing
- Confirm your primary workflow: where you prep, cook, and clean
Questions to ask before you sign
Your contractor should challenge your layout assumptions, not simply confirm them. Ask your designer or carpenter these questions before locking anything in:
- Does the layout support an efficient work triangle between the sink, stove, and refrigerator?
- Are there code requirements or structural constraints that limit where plumbing or electrical can move?
A layout that looks great on paper but fights your home’s existing infrastructure will cost you significantly more to build.
Common pitfalls to avoid
Copying a layout from a magazine without accounting for your actual room dimensions is a fast way to waste design time. Your kitchen’s daily traffic flow and how you actually cook should drive every layout choice, not trends or what worked in someone else’s home.
3. Build a budget with a realistic contingency
A kitchen renovation budget that leaves no room for surprises is a plan built to fail. Material costs shift, trades run into unexpected complications, and hidden problems behind walls show up without warning. Set your full budget ceiling before you start requesting proposals, and build a contingency of at least 15 to 20 percent on top of your base project cost from the start.
Checklist items to complete
This portion of your kitchen renovation checklist requires honest math before you commit to any scope of work. Work through each item below:
- Set a firm maximum budget including all materials, labor, permits, and design fees
- Add a 15 to 20 percent contingency for unexpected structural or utility issues
- Get at least two itemized bids so you can compare costs line by line
- Confirm which items are included in the contractor’s quote and which you must source separately
Questions to ask before you sign
Your contractor needs to give you clear answers on where cost uncertainty lives in your specific project. Ask these questions before you finalize your budget commitment:
- Which line items carry the most price variability once work begins?
- How do you handle change orders, and what approval process do you use?
A contractor who cannot explain their change order process clearly will surprise you with invoices mid-project.
Common pitfalls to avoid
Budgeting only for best-case scenarios is where most renovation budgets collapse. Avoid anchoring your entire financial plan to the lowest bid you receive without fully understanding what that bid excludes.
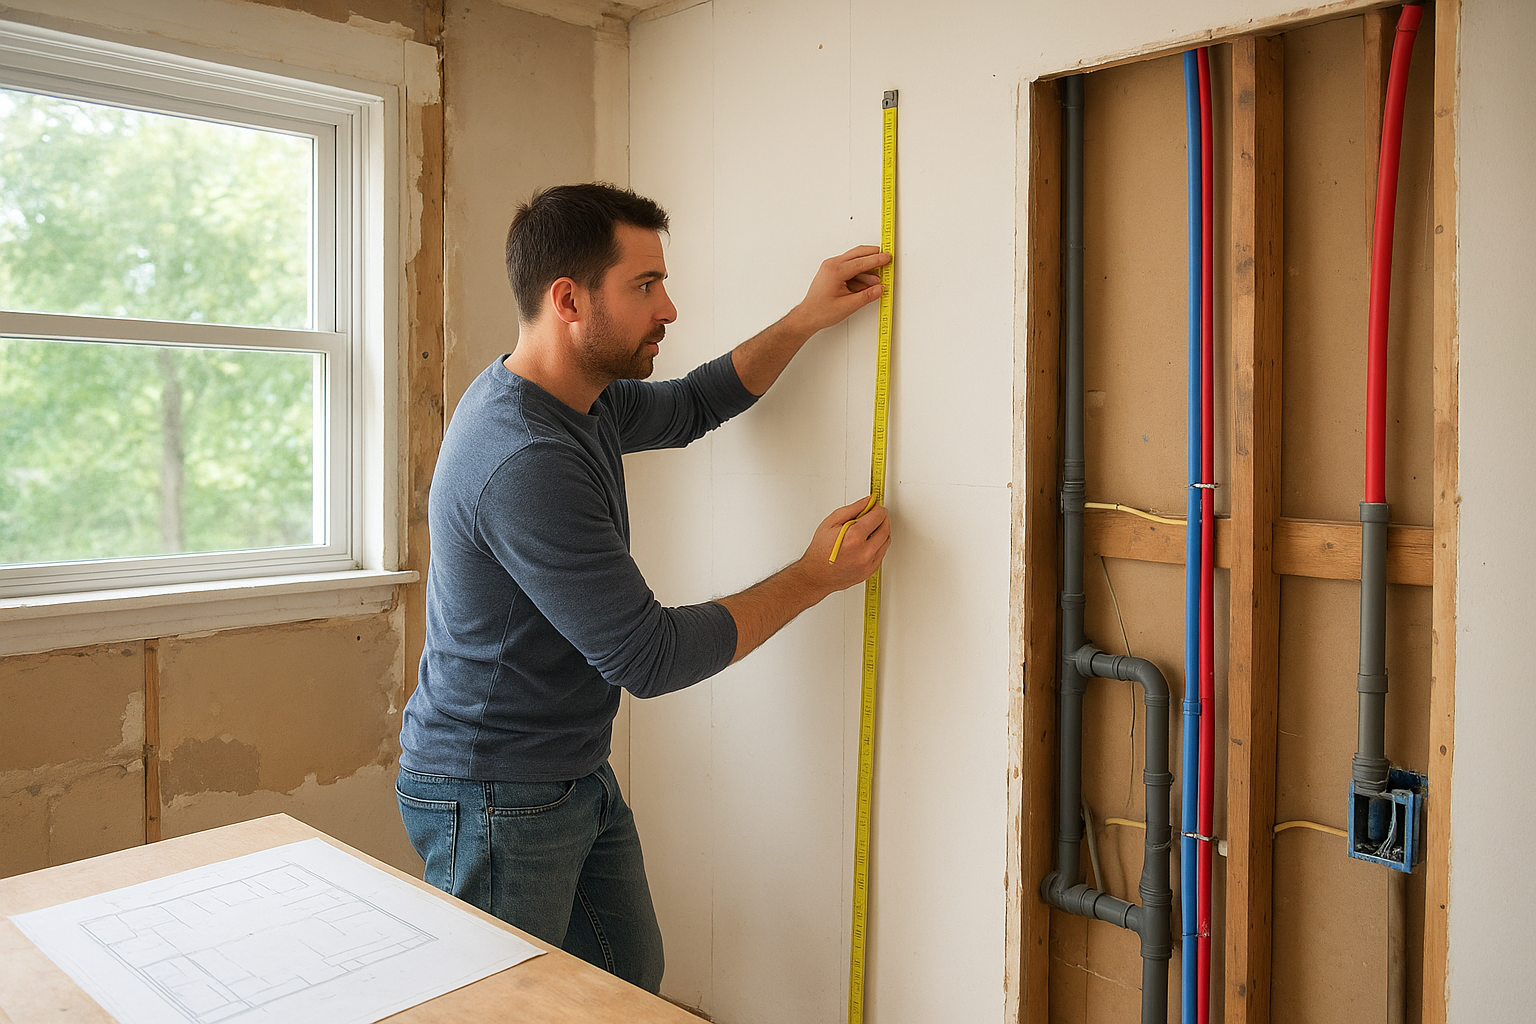
4. Measure the space and map plumbing and wiring
Accurate measurements and a clear picture of your existing utilities are the foundation of a buildable kitchen design. Without them, your cabinet layout may look perfect on paper but conflict with a drain line, a load-bearing wall, or an electrical panel that nobody documented. Getting this step done before materials are ordered prevents expensive redesigns mid-build.
Checklist items to complete
This part of your kitchen renovation checklist requires physical documentation, not estimates. Gather exact data from the actual space before your contractor finalizes any drawings:
- Measure floor-to-ceiling height at multiple points to catch any floor or ceiling variations
- Note the exact location of every window, door, and outlet on all four walls
- Mark existing plumbing supply and drain lines and confirm pipe sizes
- Identify the electrical panel location and document which circuits currently serve the kitchen
- Confirm whether existing electrical service supports any new appliance loads you are planning
Questions to ask before you sign
Your contractor needs to review these measurements alongside licensed professionals before any orders are placed. Ask direct questions about scope and responsibility at this stage:
- Will an electrician or plumber review the drawings before cabinet orders are finalized?
- Which trades do you coordinate directly, and which am I expected to hire separately?
Moving plumbing or upgrading electrical service adds real cost and timeline that must be factored into your budget before a single cabinet is ordered.
Common pitfalls to avoid
Relying on original builder drawings is a common mistake. Pipes and wiring shift during decades of renovations and repairs. Always verify conditions in the field rather than assuming old documentation reflects what is actually inside your walls today.
5. Select cabinets, counters, and appliances
Material selections are where your kitchen renovation checklist gets real. Every choice you make here drives lead times, installation sequencing, and your total project cost, so locking in decisions early is critical.
Checklist items to complete
Your contractor cannot finalize cabinet drawings or confirm appliance cutouts until you have made firm selections across all three categories. Work through each item before your build begins:
- Choose cabinet style, wood species, and finish
- Select countertop material and confirm edge profile
- Confirm all appliance models and pull spec sheets for exact dimensions
- Verify delivery lead times for every item ordered
- Order finish samples and countertop slabs before committing
Questions to ask before you sign
Understanding who manages material procurement protects you from scheduling gaps that stall your build. Ask your contractor these questions before orders go out:
- Who is responsible for ordering cabinets and coordinating delivery to the job site?
- What happens if a material arrives damaged or the wrong finish is shipped?
Appliance lead times can run 8 to 12 weeks, so confirm availability before you set your project start date.
Common pitfalls to avoid
Selecting countertop material after cabinets are installed forces your fabricator to work around a finished space, adding cost and unnecessary risk. Avoid finalizing your cabinet layout without confirmed appliance dimensions in hand, because even a one-inch discrepancy in a refrigerator cutout requires expensive field modifications.
Resist the urge to swap appliance models mid-project. A late change affects ventilation requirements, electrical circuits, and countertop cutouts all at once.
6. Confirm permits, scheduling, and logistics
Permits and scheduling are the operational backbone of your project. Skipping permits creates legal liability and complicates your home’s resale, while a poorly sequenced schedule forces trades to wait on each other and stretches your timeline unnecessarily. Locking down both before demo begins keeps your kitchen renovation checklist moving forward without avoidable stops.
Checklist items to complete
Confirm every logistical detail in writing before your start date. Work through this list with your contractor at least two weeks before demolition begins:
- Confirm which permits are required and who is responsible for pulling them
- Verify permit approval timelines with your local building department
- Get a written schedule showing the sequence of all trades: demo, framing, electrical, plumbing, cabinet install, countertop templating, and final trim
- Arrange dumpster placement or debris removal before demo day
- Confirm delivery windows for cabinets and appliances against the build schedule
Questions to ask before you sign
Your contractor should own the permit process entirely. Ask these questions to confirm there are no gaps in responsibility:
- Will inspections interrupt the build schedule, and how many are required?
- Who coordinates trade scheduling if one subcontractor runs behind?
A schedule with no buffer between trades is a schedule that falls apart the moment one delivery runs late.
Common pitfalls to avoid
Starting demo before permits are approved is a mistake that stops work immediately and can result in fines. Avoid assuming your contractor handles permits without confirming it explicitly in writing in your signed contract.
7. Set up a temporary kitchen and protect the home
Your kitchen will be out of commission for weeks, and your home needs protection from dust and debris throughout that window. Skipping this step turns a manageable inconvenience into a genuinely miserable experience. Address both temporary cooking arrangements and home protection measures before demo day, not after.
Checklist items to complete
This portion of your kitchen renovation checklist is easy to overlook until you are living without a sink or stove. Set everything up at least two days before demolition starts:
- Set up a temporary kitchen station in a spare room, basement, or garage with a microwave, hot plate, and mini fridge
- Move essentials: dishes, coffee maker, utensils, and pantry staples to your temporary setup
- Hang heavy plastic sheeting in every doorway connecting to the work zone
- Cover HVAC vents in adjacent rooms to stop construction dust from spreading through your system
- Establish a clear contractor entry path that keeps foot traffic away from the rest of your home
Questions to ask before you sign
Your contractor should have a standard approach to dust containment and site cleanliness. Confirm the specifics before work begins:
- How do you contain dust during demolition and sanding phases?
- Who is responsible for daily cleanup during the active build?
A contractor who cannot answer these questions directly will leave your home in worse shape than necessary between visits.
Common pitfalls to avoid
Underestimating how long you will rely on your temporary setup is the most common mistake here. Plan for a timeline longer than your contractor’s estimate, because delays happen. Never leave valuable furniture or flooring unprotected in rooms adjacent to the work zone.
8. Follow the build sequence and close out the job
The final step in your kitchen renovation checklist is the one that determines whether your project ends cleanly or drags on with unresolved issues. Trade sequencing matters: rough electrical and plumbing must clear inspection before walls close, cabinets go in before countertop templating, and appliances install last. Respecting this order keeps your project on track through final punch list completion.
Checklist items to complete
Closing out a renovation requires active attention from you, not just your contractor. Track each milestone as it completes so nothing gets glossed over in the final push:
- Confirm rough inspections pass before drywall and finish work begins
- Verify cabinet installation is complete before countertop templating is scheduled
- Schedule final inspections for electrical, plumbing, and overall occupancy
- Walk the space with your contractor and document every punch list item in writing
- Confirm all warranties, manuals, and receipts are handed over before final payment
Questions to ask before you sign
Your contractor should have a formal close-out process that protects both parties. Ask these questions before the final invoice arrives:
- How do you document and resolve punch list items, and what is your response timeline?
- When does the warranty on labor and materials officially begin?
A contractor who resists a formal punch list walkthrough has no intention of returning to fix anything.
Common pitfalls to avoid
Releasing final payment before every punch list item is resolved is the single biggest close-out mistake homeowners make. Withhold your final payment until every open item is completed and verified in person.
Wrap-up and next steps
Following this kitchen renovation checklist from start to finish gives you control over a process that, without structure, tends to spiral quickly. Every step in this guide builds on the previous one for a reason: hire the right team, lock in your goals, set a real budget, verify your space, finalize your materials, confirm permits and logistics, protect your home during the build, and close out with a formal punch list. Skip any step and the consequences show up downstream, usually at the worst possible moment.
If you are planning a custom kitchen on Cape Cod and want a team that hand-builds every cabinet in-house and manages your project from design through installation, we are ready to talk through what your renovation actually requires. Contact Suman Custom Carpentry to schedule a consultation with our owner, Dieyson Suman, and get your project started on solid footing.