
Bare cabinet tops that stop dead against the ceiling look unfinished, and gaps between cabinets and ceiling collect dust and grease. Crown molding for kitchen cabinets solves both problems while giving your kitchen the kind of finished, custom look that separates a real renovation from a box-store install. If you’re staring at that awkward space above your cabinets wondering what to do with it, you’re in the right place.
This guide walks you through the practical decisions: matching profile styles to your cabinet door design, picking the right crown size and projection for your ceiling height, and understanding when scribe molding or a filler strip solves a problem crown alone can’t fix. We’ll also cover installation basics, from cutting angles on uneven walls to choosing between stain-grade and paint-grade material.
We’ve installed crown on hundreds of kitchens across Cape Cod, from tight galley layouts to open-concept great rooms, and the details that matter rarely show up in generic tutorials. Whether you’re planning a full custom kitchen or just want to dress up existing cabinets, this article gives you the specifics to make the right call before you pick up a saw.
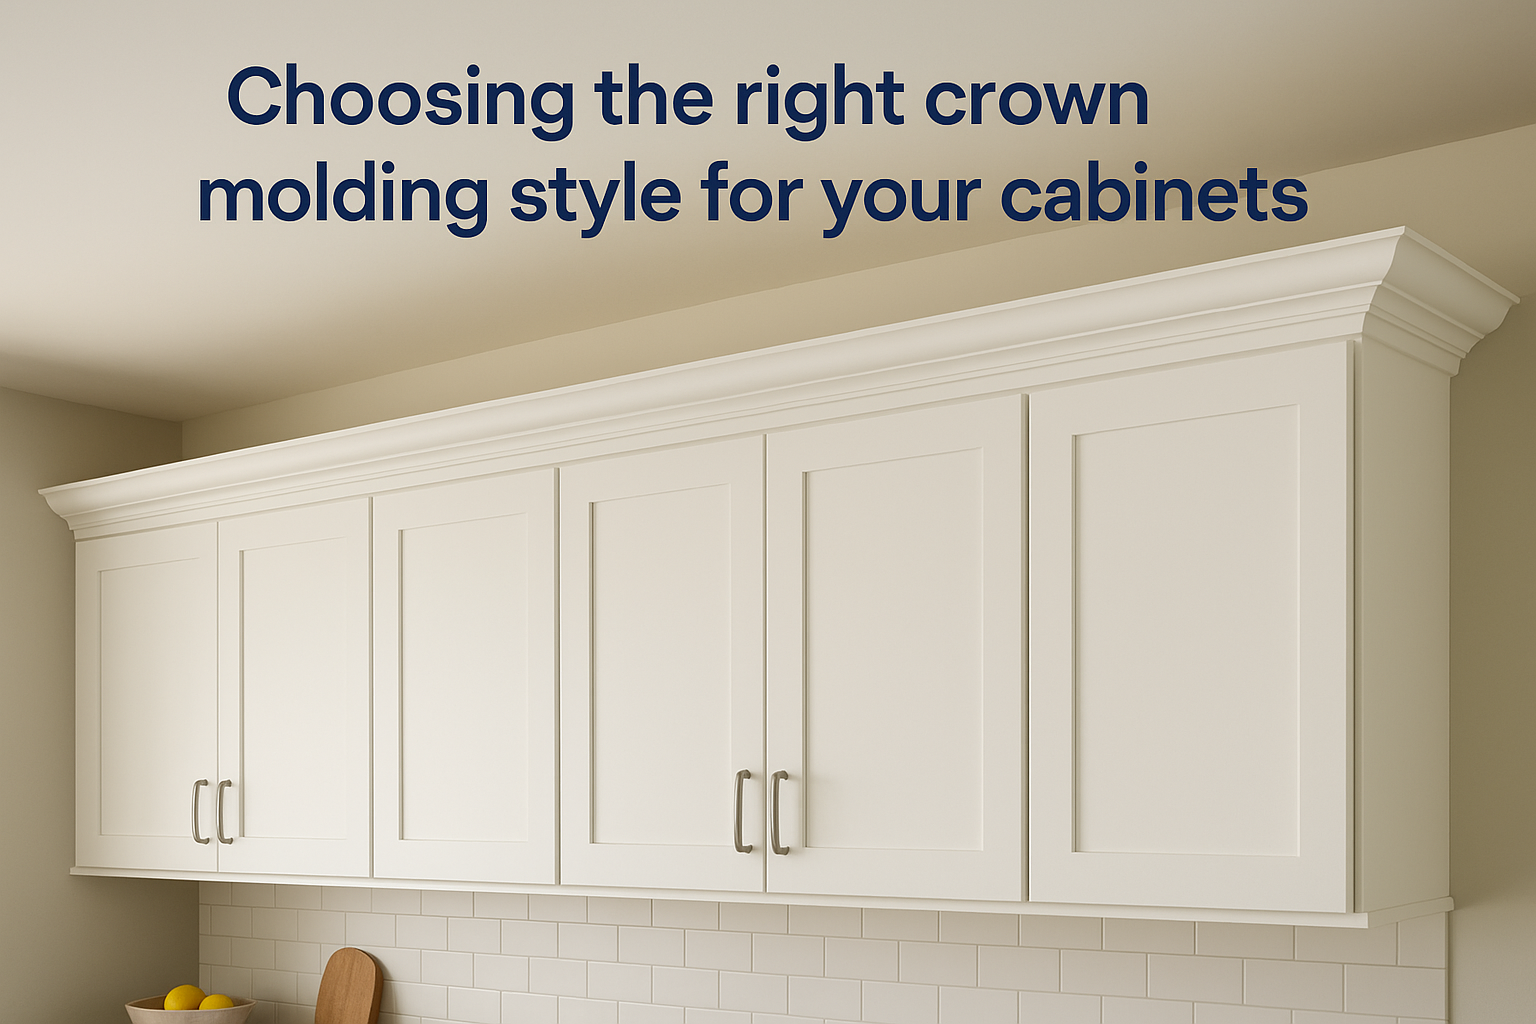
Choosing the right crown molding style for your cabinets
Before you touch a miter saw, figure out which profile actually belongs on your kitchen. Crown molding for kitchen cabinets isn’t one-size-fits-all. A heavy, ornate profile on flat-panel shaker doors looks like it wandered in from a different house, and a delicate cove strip on a bold traditional kitchen disappears visually. The style you choose should echo the lines already present in your cabinet doors, your trim elsewhere in the house, and the overall feel you’re going for. Walk through your kitchen and look at the door style first. That’s your starting point, not the molding catalog.
Match the profile to your cabinet door style
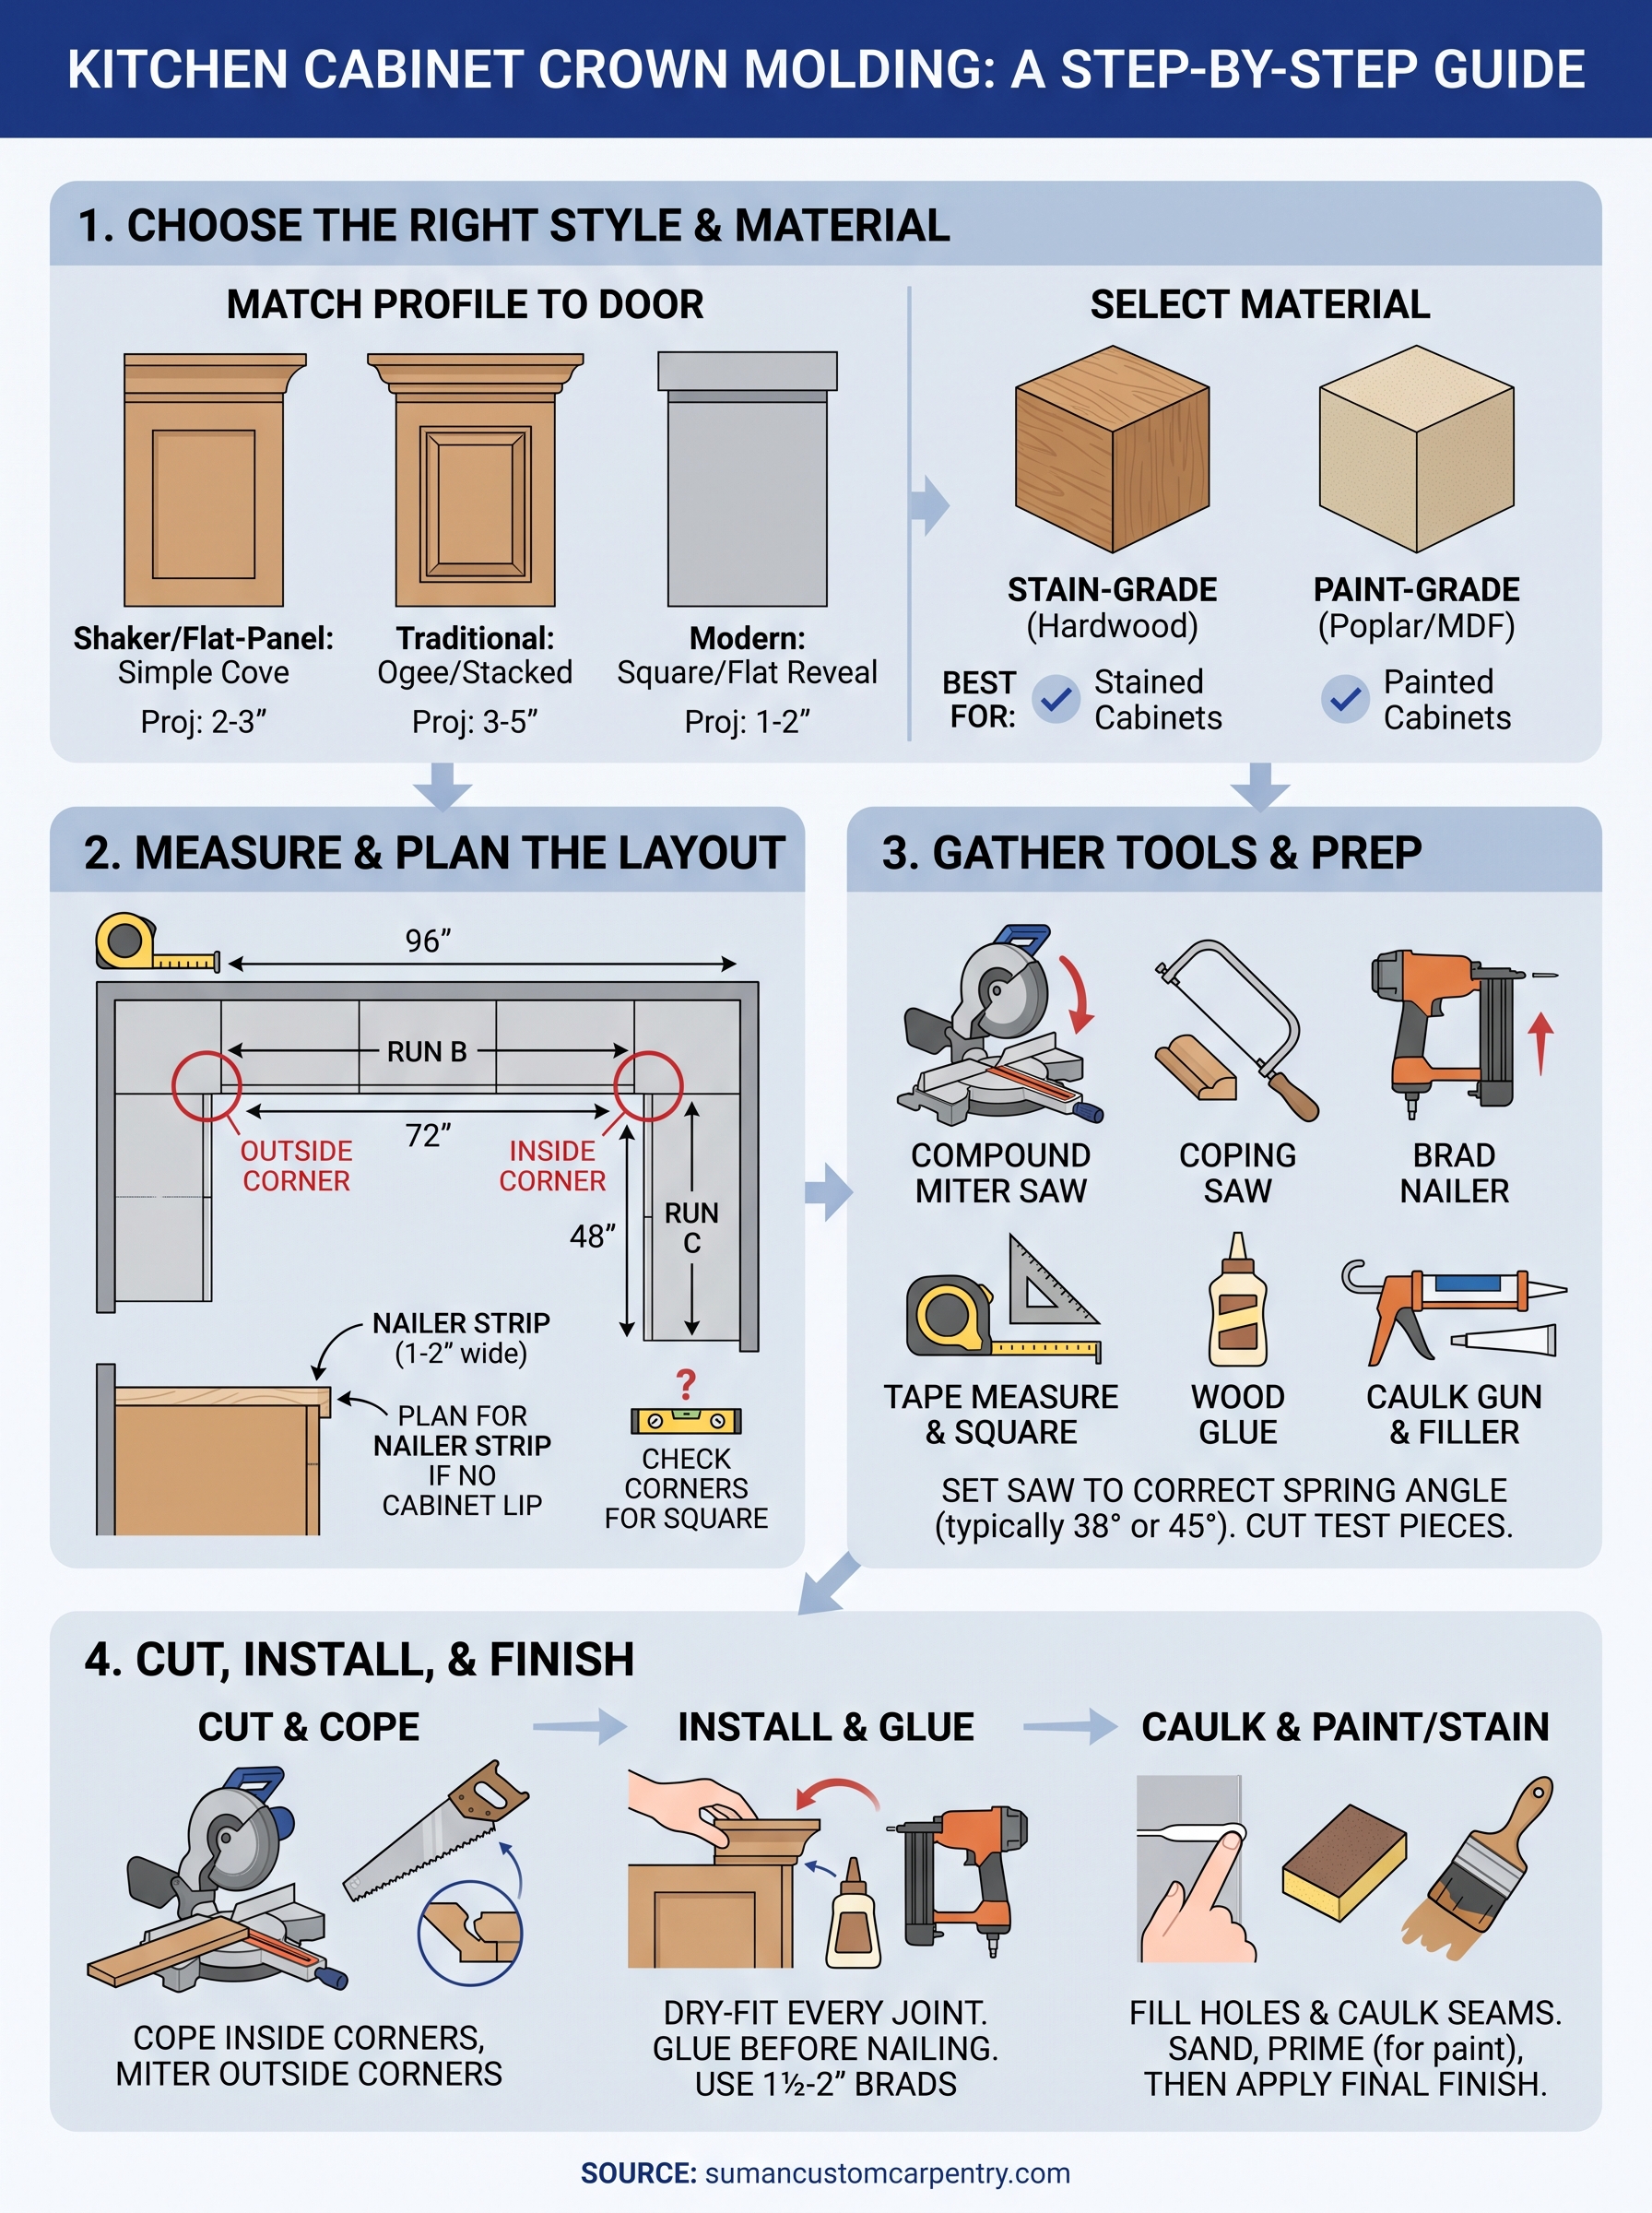
Shaker and flat-panel cabinets pair best with simple, clean profiles: a basic cove, a stepped crown, or a small dentil-free design with one or two curves. Raised-panel or traditional cabinets can handle more detail, ogee curves, egg-and-dart patterns, or stacked crown built from multiple pieces. Modern, slab-front kitchens often skip crown entirely in favor of a flat reveal or a simple square-edged cap, since anything curvy fights the minimalist look.
The crown profile should look like it grew out of the cabinet door, not like it was bolted on afterward.
Here’s a quick reference for matching profiles to common cabinet styles:
| Cabinet door style | Recommended crown profile | Typical projection |
|---|---|---|
| Shaker / flat-panel | Simple cove or stepped crown | 2" to 3" |
| Raised-panel traditional | Ogee or stacked crown | 3" to 5" |
| Modern slab-front | Square cap or flat reveal | 1" to 2" |
| Cottage / beadboard | Small cove with light detail | 2" to 3" |
Decide on stain-grade versus paint-grade material
Stain-grade crown is milled from solid hardwood, usually the same species as your cabinet doors, oak, maple, or cherry, so the grain and color match once finished. It costs more and shows every imperfection in the miter cuts, so it demands tighter joinery. Paint-grade crown is typically poplar or MDF, both of which take paint smoothly and hide small gaps with a bit of caulk. If your cabinets are stained wood, stick with stain-grade crown in a matching species. If your cabinets are painted, paint-grade material saves money and installs faster.
Account for your ceiling height and cabinet-to-ceiling gap
Measure the gap between your cabinet tops and the ceiling before you buy anything. A small gap of 1 to 2 inches calls for a low-profile crown with modest projection, while a gap of 4 inches or more can support a taller, multi-piece crown stack without looking top-heavy. In kitchens with 8-foot ceilings, oversized crown molding can make the room feel shorter and boxier, so keep the scale proportional. In rooms with 9 or 10-foot ceilings, you have more room to go bold with a stacked profile or added light rail underneath.
Consider whether crown alone will work, or if you need scribe molding
Most older Cape Cod homes have ceilings that aren’t perfectly flat, and crown molding installed tight against an uneven ceiling will show gaps in some spots and tight seams in others. That’s where scribe molding comes in: a flat strip attached to the top of the cabinet that gets sanded or planed to follow the exact contour of the ceiling, with the crown then applied on top of it for a clean, gap-free line. If your walls are relatively true, standard crown installed directly on the cabinet top or on a filler strip usually gets the job done without extra steps.
Step 1. Measure your cabinets and plan the layout
Grab a tape measure, a notepad, and a helper before you cut a single piece of molding. Accurate measurements at this stage save you from wasted material and mismatched joints later, and they let you order or mill the right amount of crown the first time. Measure the total linear footage across the front of every cabinet run, then measure again along any side runs that return to a wall. Add 10 percent to your total for waste from miter cuts and mistakes, especially if this is your first time cutting crown.
Measure each run and note the corners
Walk your kitchen cabinet by cabinet and record the length of each straight run separately, rather than one grand total. This matters because inside corners, outside corners, and any cabinet ends that meet appliances or walls each need different cut angles. Sketch a simple top-down diagram of your cabinet layout and mark where each corner falls.
Example layout notes:
- Run A (sink wall): 96" straight, ends in outside corner left
- Run B (stove wall): 72" straight, inside corner right, meets fridge cabinet left
- Run C (island cap, if applicable): 48" straight, both ends open
Measure every run individually. A single wrong number on your cut list ruins two pieces of molding instead of one.
Check for square corners and ceiling variation
Use a speed square or a torpedo level to check whether your cabinet corners are actually 90 degrees. Many are close but not exact, especially in older homes where walls have settled. Note any corner that’s off by more than a degree or two, because that’s where you’ll need to adjust your miter angle slightly instead of relying on a standard 45-degree cut. At the same time, hold a straightedge against the ceiling above each cabinet run to spot dips or high spots that will affect how tight your crown sits.
Decide on filler strips or a nailer before you cut
If your cabinet tops sit flush with no lip to nail into, you’ll need a nailer strip, a thin board attached to the top back edge of the cabinet that gives the crown something solid to fasten to. Plan for this now, not after your molding is cut, since it changes your overall height and projection slightly. Order or rip your nailer strips from ¾-inch plywood or solid stock to match the depth you need, typically 1 to 2 inches, so the crown has full support along its entire length once installed.
Step 2. Gather your tools and materials
Before you make a single cut, lay out everything you’ll need on your workbench or kitchen table. Having the right miter saw setup and a complete parts list keeps you from stopping mid-project to run to the hardware store, which is when mistakes happen because you’re rushing to finish before dinner. Crown molding for kitchen cabinets doesn’t require an exotic tool kit, but a few specific items make the difference between clean joints and visible gaps.
Build your tool checklist
Start with a compound miter saw, since crown molding needs angled cuts on two planes at once and a standard miter saw won’t give you the precision you need. Add a coping saw or a jigsaw with a fine blade for coped inside corners, which almost always look better than mitered inside corners on crown. Round out the kit with these essentials:
- Compound miter saw with a fine-tooth blade (60+ teeth for clean cuts)
- Coping saw or jigsaw for coped joints
- Brad nailer (18-gauge) with 1½" to 2" brads
- Tape measure and combination square
- Wood glue for miter joints
- Caulk gun and paintable caulk
- Sanding block or sanding sponge (120 and 220 grit)
- Safety glasses and hearing protection
A sharp blade and a coping saw solve more crown molding problems than any amount of caulk ever will.
Choose the right crown material and quantity
Once your tools are ready, order your crown based on the linear footage you calculated in Step 1, plus your 10 percent waste buffer. Matching material grade to your cabinet finish matters here: stain-grade hardwood for stained cabinets, poplar or MDF for painted ones. Buy your nailer strip stock at the same time, along with wood filler that matches your final finish, either a stainable filler for wood tones or a standard paintable filler for painted crown.
| Material | Best for | Notes |
|---|---|---|
| Poplar crown | Painted cabinets | Smooth grain, holds paint well |
| MDF crown | Painted cabinets, budget projects | No grain, prone to swelling if exposed to moisture |
| Oak or maple crown | Stained cabinets | Matches common cabinet species |
| Cherry crown | High-end stained kitchens | Premium look, higher cost |
Set up a stable cutting station
Finally, set up your miter saw on a flat, stable surface with enough clearance on both sides to support long pieces of crown as you cut them. Crown molding flexes and wobbles more than flat trim, so a saw stand with roller supports or a helper holding the far end prevents inaccurate cuts from an unsupported board dipping mid-cut.
Step 3. Cut and fit the crown molding
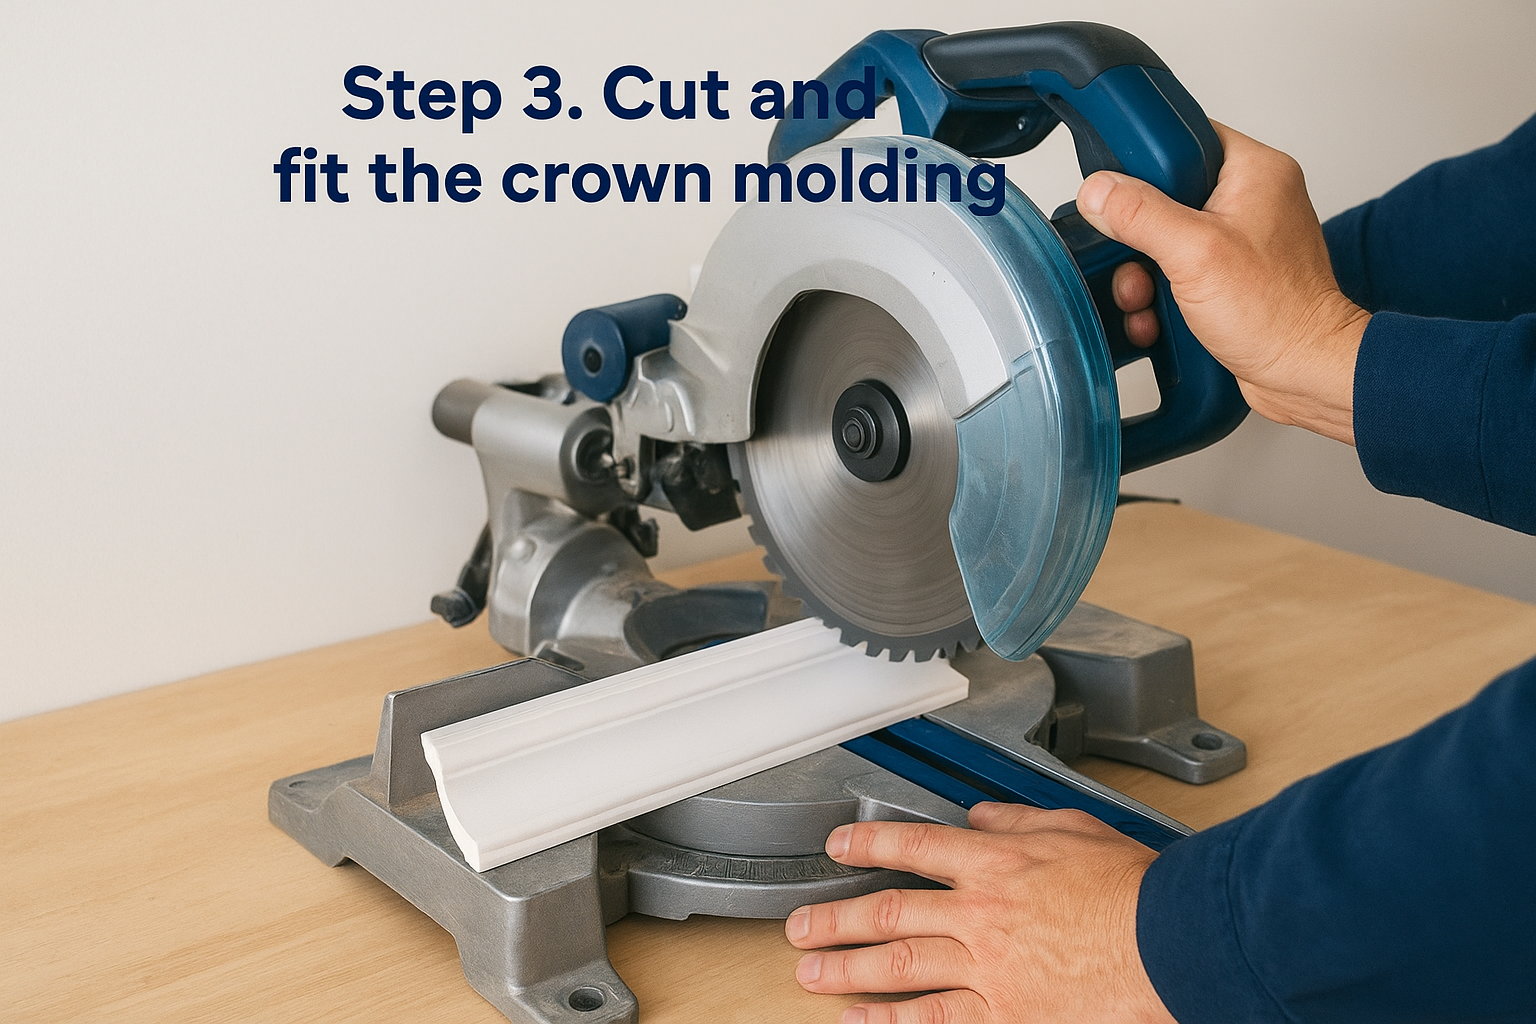
Cutting crown molding trips up more DIYers than any other part of this project, mostly because the angles aren’t what your brain expects. Crown molding for kitchen cabinets sits at a spring angle against the wall and cabinet top, which means every miter and cope you cut has two angles working at once instead of one. Before you cut real material, run three or four test cuts on scrap pieces of the same crown profile so you can dial in your saw settings without wasting good stock.
Set your saw for the correct spring angle
Most kitchen crown molding uses either a 38-degree or 45-degree spring angle, and your saw needs to match it exactly or your joints won’t close. Check the molding itself, most manufacturers stamp the angle on the back, or measure the flat back edges with a protractor if it’s unmarked. Once you know the spring angle, set your compound miter saw to the matching bevel and miter combination from a standard crown-cutting chart, or use a crown-cutting jig that holds the molding at the correct tilt so you cut it flat on the saw table instead of tipped against the fence.
Get the spring angle wrong and every single joint in the kitchen will fight you, no matter how careful your measurements are.
Cope inside corners instead of mitering them
Inside corners on crown molding almost always look better coped than mitered, because wood movement and slightly-off ceilings open up mitered inside joints within a year. Cut a standard 45-degree inside miter first, then use your coping saw to follow the exact profile line left by that cut, removing the back edge at a slight backward angle so only the front profile touches the adjoining piece.
- Cut a 45-degree inside miter on the piece you’re coping.
- Trace the resulting profile line with a pencil if it’s hard to see.
- Cut along that profile with a coping saw, angling the blade back slightly.
- Test-fit against the adjoining piece and sand the edge for a tight, gap-free seam.
Dry-fit every joint before nailing anything
Hold each cut piece up to the cabinet, unattached, and check the fit at every corner before you commit to nails or glue. Dry-fitting the full run catches a miscut angle or a slightly long piece while it’s still an easy fix, rather than after it’s nailed in place and the glue has set. Mark each piece with painter’s tape noting which cabinet run and corner it belongs to, since crown pieces look nearly identical once cut and it’s easy to mix up left and right ends.
Step 4. Install, caulk, and paint for a clean finish
Once every piece is dry-fitted and you’re happy with the joints, it’s time to actually attach the crown molding for kitchen cabinets to the cabinet tops for good. Work one run at a time rather than nailing everything up at once, since a mistake caught early on one piece is easier to fix than untangling a whole kitchen’s worth of crown after the fact.
Nail the crown in place with glue at the joints
Apply a thin bead of wood glue to each mitered or coped joint before you nail anything, since the glue does more to hold the joint tight over time than the brads alone. Load your 18-gauge brad nailer with 1½ to 2-inch brads and fasten the crown into the nailer strip or cabinet top at roughly 12 to 16-inch intervals, angling the nail slightly to catch solid wood behind it. Work from one end of a run to the other, checking that each new piece sits flush with the last before firing the nailer, since a nail set into a slightly misaligned piece is hard to pull back out cleanly.
Glue the joints before you nail them. That’s what keeps a crown seam tight five years from now instead of just on install day.
Fill nail holes and caulk every seam
After the crown is secured, fill each nail hole with wood filler that matches your finish plan, stainable filler for stain-grade crown or standard paintable filler for paint-grade material. Run a bead of paintable caulk along the top and bottom edges where the crown meets the ceiling and the cabinet top, then smooth it with a wet finger or a caulk tool. This step is what hides the small gaps that even a careful install leaves behind on an uneven ceiling, and it’s the difference between a crisp finished line and a project that looks unfinished up close.
Sand, prime, and paint or finish to match
Once the caulk and filler have fully cured, usually 24 hours, sand the entire crown run lightly with 120-grit paper followed by 220-grit to smooth any rough edges or filler spots. For paint-grade crown, prime first with a quality bonding primer, then apply two thin coats of your cabinet’s paint color rather than one heavy coat, which tends to pool in the profile’s curves. For stain-grade crown, match your stain color to the cabinets exactly before applying a clear topcoat, and test the stain on a scrap piece first since new wood absorbs stain differently than your existing cabinets did years ago.
A small detail that changes the whole kitchen
Crown molding sits at the top of the room, but it’s usually the first thing people notice when they walk in. Crown molding for kitchen cabinets closes off that awkward gap, ties your cabinets into the ceiling line, and gives a kitchen the finished look that separates a real renovation from a rushed one. Get the profile right, cope your inside corners, and take your time on the caulk line, and you’ll end up with a detail that outlasts every trend that comes through your kitchen after it.
Not every kitchen calls for a DIY weekend, especially when your ceilings are uneven, your cabinets are custom-built, or you just want it done right the first time without burning through a stack of scrap molding. If that’s where you’re at, talk to our team at Suman Custom Carpentry about a crown molding install built to match your cabinets exactly.